Adjusting the feeder, Optional easyfeed 120 feeder shown above, Head 1 adjustment – side tabbing – Rena T-650 User Manual
Page 22: Head 1 adjustment – front tabbing, Head 1 adjustment – applying stamps, Head 2 adjustment – side tabbing
MECHANICAL SETUP
Adjusting the Feeder
A properly adjusted feeder should deliver one piece of media to the tabber at a time, at a speed
that is slower than the tabber transport speed.
Important! The feeder’s transport speed must be set slower than the Tabber’s transport speed, in
order to generate at least a 2” gap between pieces.
In addition; if you exceed the maximum tabbing rate, of the tabber, it will flash the “Exceeding
Tabbing Rate” warning for ten seconds; to give you a chance to slow down the tabber (lower the
tabber transport speed) and feeder.
If you continue to exceed the maximum tabbing rate the tabber will stop and display
“Status: Maximum Tabbing Rate Exceeded”. At that time, you will need to lower the speed of
the tabber and feeder and then press RUN to continue.
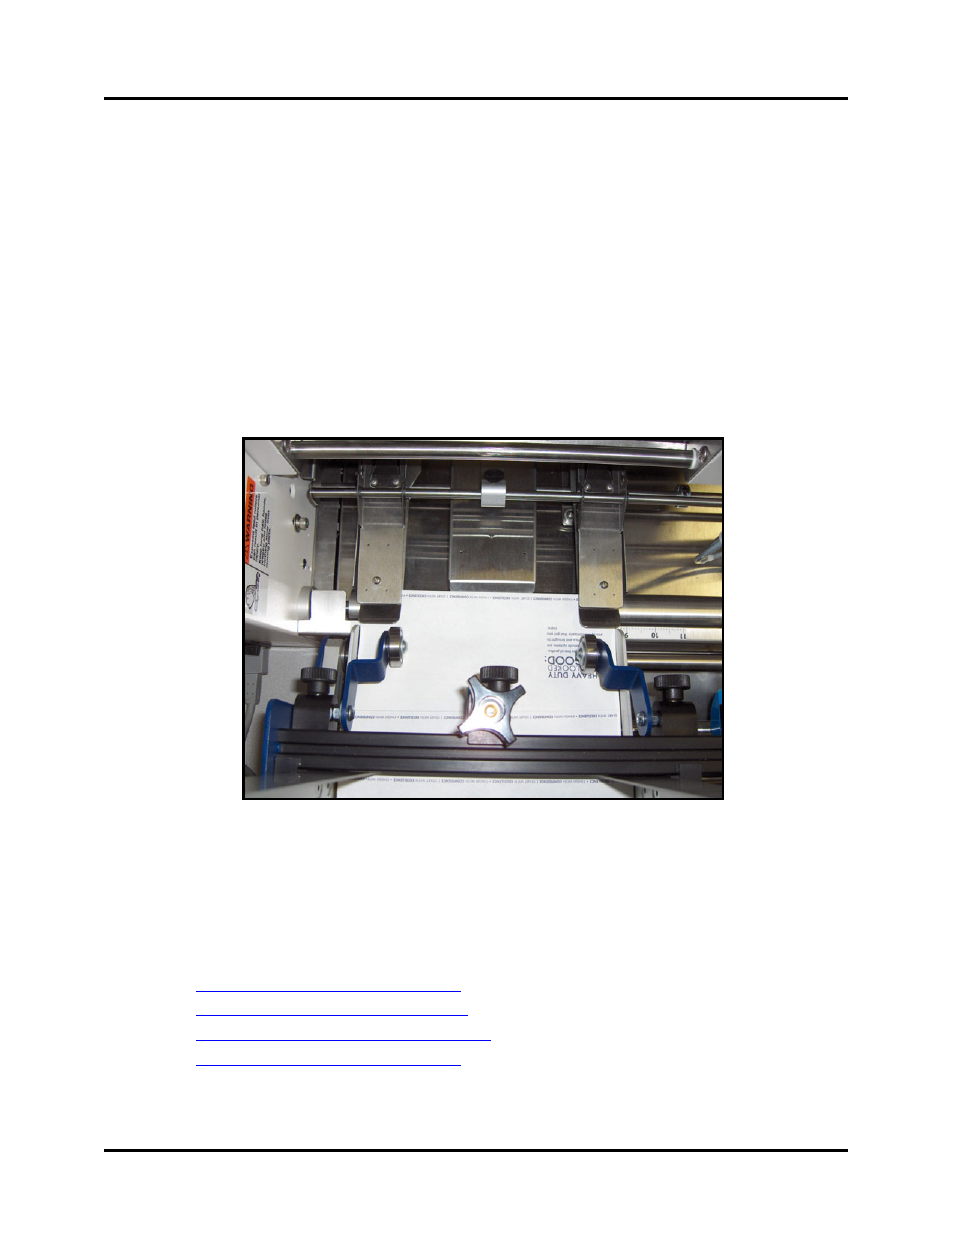
Adjust the feeder position so that the media enters between the Tabber’s Left and Right Media
Guides Assemblies, as shown below.
Optional EasyFeed 120 feeder shown above.
Please refer to the EasyFeed 120 Operations Manual for feeder setup instructions.
NOTE: When you press RUN on the tabber, there will be a small delay in feeder start to
allow the tabber transport to get up-to-speed.
Proceed to the appropriate section for your application:
Head 1 Adjustment – Side Tabbing
Head 1 Adjustment – Front Tabbing
Head 1 Adjustment – Applying Stamps
Head 2 Adjustment – Side Tabbing
T-650 Operations REV. 8/25/2010
22