Guralp Systems Scream User Manual
Page 120
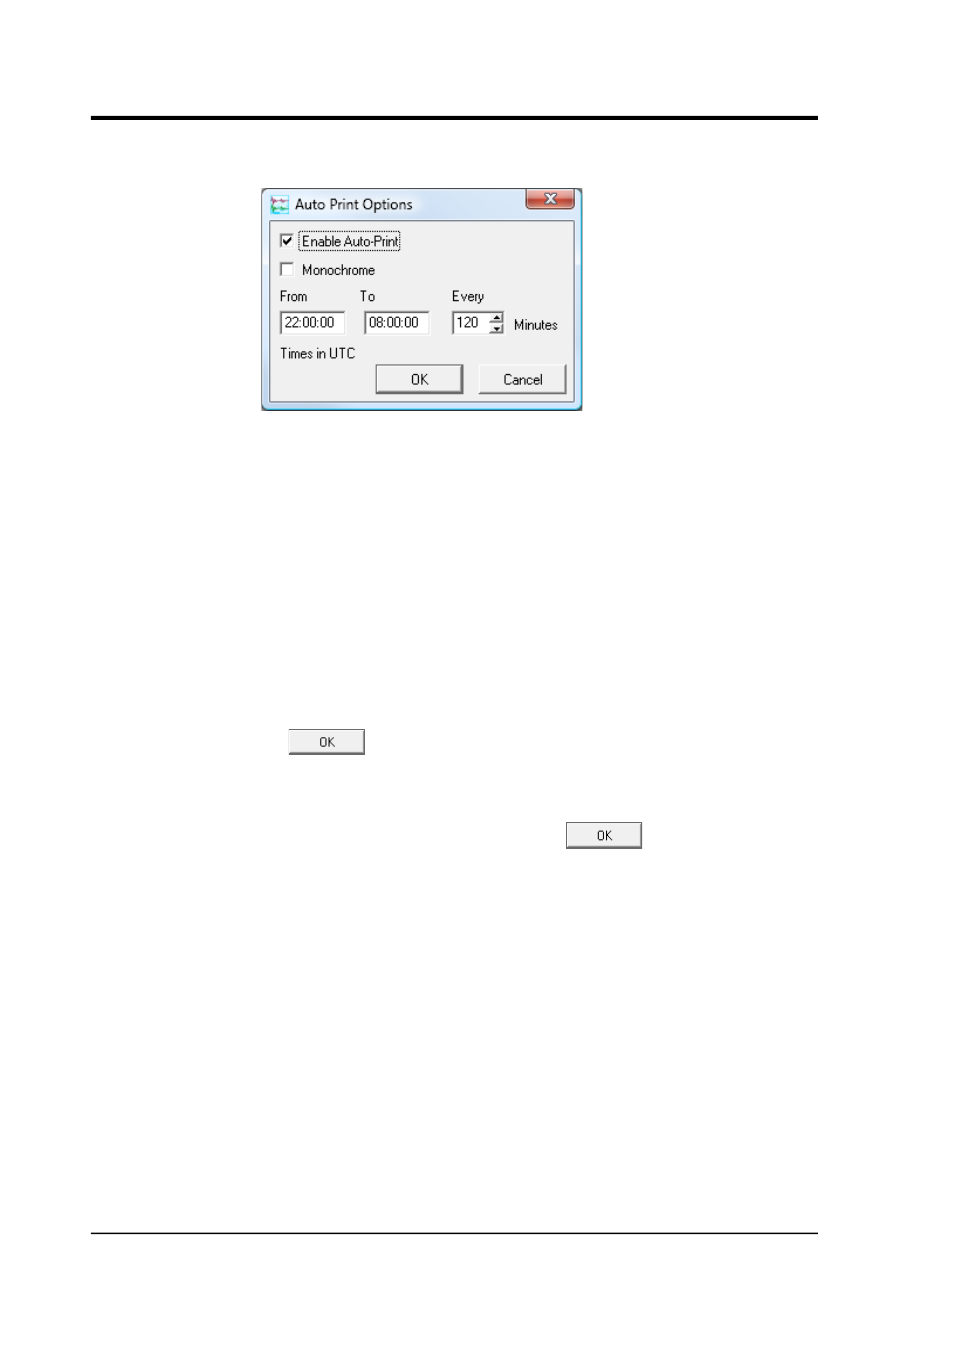
Scream! 4.5
2. Choose Auto-Print… and tick Enable Auto-Print
3. If you want print-outs in black and white, tick Monochrome.
4. In the three boxes below, specify the time period each day when
Scream! will auto-print, and the interval between print-outs.
Printing takes place at the end of each time period.
For example, if you set From to 05:00:00, To to 10:00:00 and
Every to 120 (minutes), Scream! will automatically print the
contents of this Waveview window every day at 0700, 0900 and
01100 UTC. If you have also set the Waveview window's width
so that it displays 120 minutes of data, the resulting printouts
will cover the entire period 0500–1000.
5. Click
.
Each page has a title at the bottom, which is taken from the title of the
Waveview window. To change this title, right-click in the window and
select Label…. Enter a new label, and click
.
This label is also used as the job name when Scream! sends data to
your printer.
Any changes you make to the Waveview window will now be reflected
in later printouts. If you want to examine the data yourself, you
should Duplicate the Waveview window and minimize the one that is
printing, so that the scale and other settings are not changed. Printing
will continue in the background.
If you attempt to Auto-Print from a printer other than the default, only
the first printout will be sent to the other printer. After this, Scream!
will revert to the default.
120
Issue K