Guralp Systems Scream User Manual
Page 54
Scream! 4.5
All data received on the server's serial ports will be sent to these
clients automatically. On the client side, to begin receiving data, you
should simply tick the Receive Data box on the My Client tab. No
other action is necessary. If your client is behind a firewall, you will
need to unblock the UDP port at the client side.
See Section 1.1.4 on page 56 for details of how to set up the server.
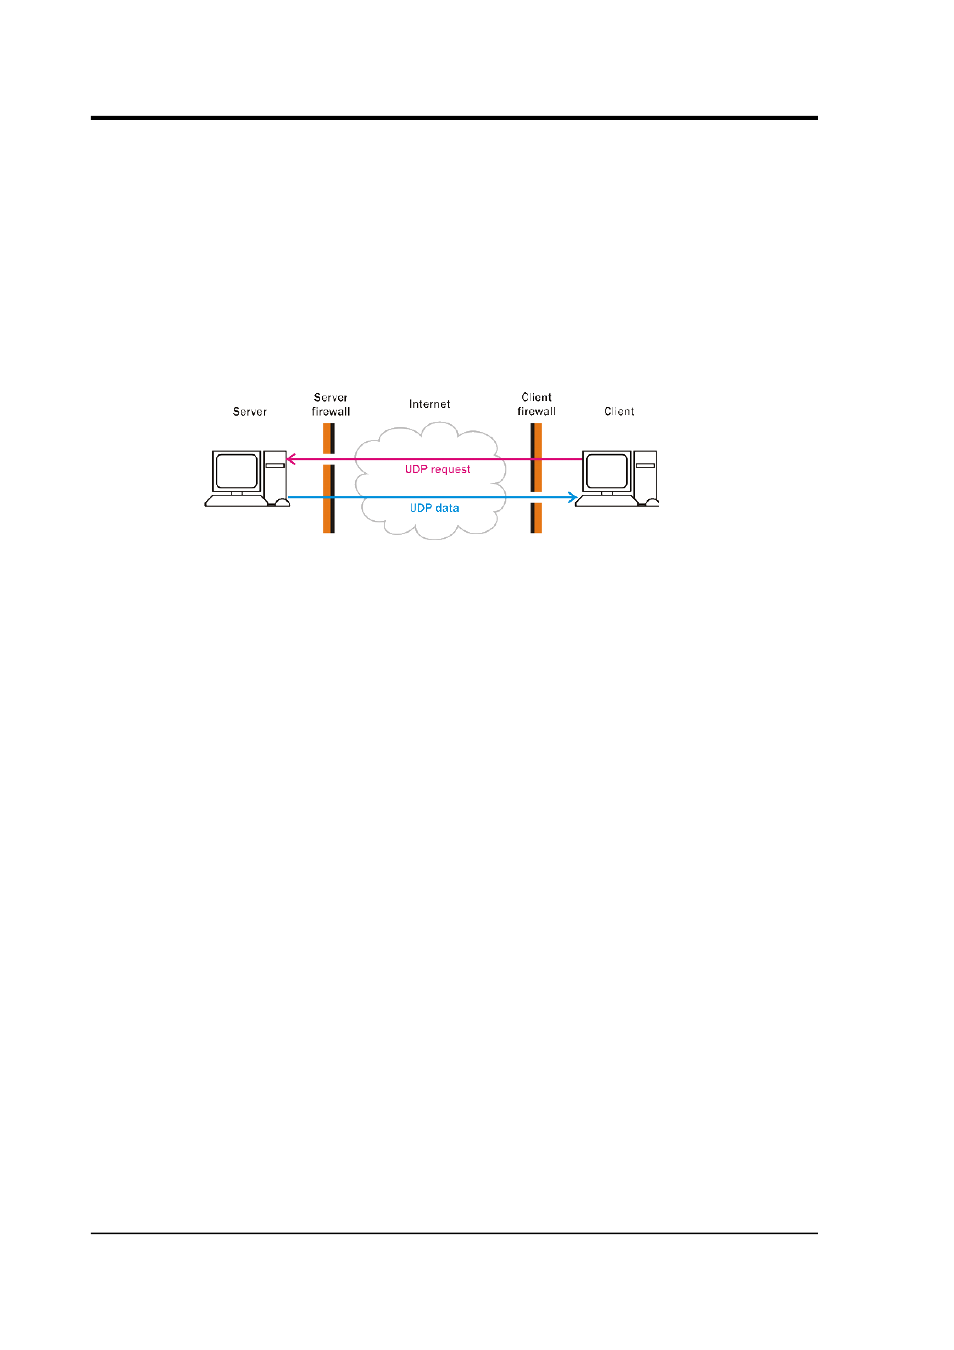
Additional clients may also request data from the Scream! server. This
method is known as “client pull”:
The requests are placed in UDP packets which the server can
recognize. If your server is behind a firewall, you will need to unblock
the UDP port at both client and server side.
To request data from the server by this method:
1. Switch to the My Client tab.
2. Tick Receive Data to start Scream! listening.
3. Right-click anywhere in the Servers list box, and select Add
UDP Server…. Enter the IP address (in numerical form or as a
hostname) followed by a colon (:) and the port number on
which the server waits for requests; e.g. 192.168.42.98:1567.
4. Test communications by right-clicking on the newly-added
server, and selecting GCFPING. A message appears in the
Control pane logging the ping being sent. If communication is
good and the server is enabled for client requests, you will
receive a GCFACKN message (acknowledgement) from the
server. This will also appear in the Control pane.
5. Request data by right-clicking on the server and selecting
GCFSEND:B from the pop-up menu (B for big-endian byte
order). Streams should soon begin to appear in Scream!'s main
window.
54
Issue K