Guralp Systems Scream User Manual
Page 121
User guide
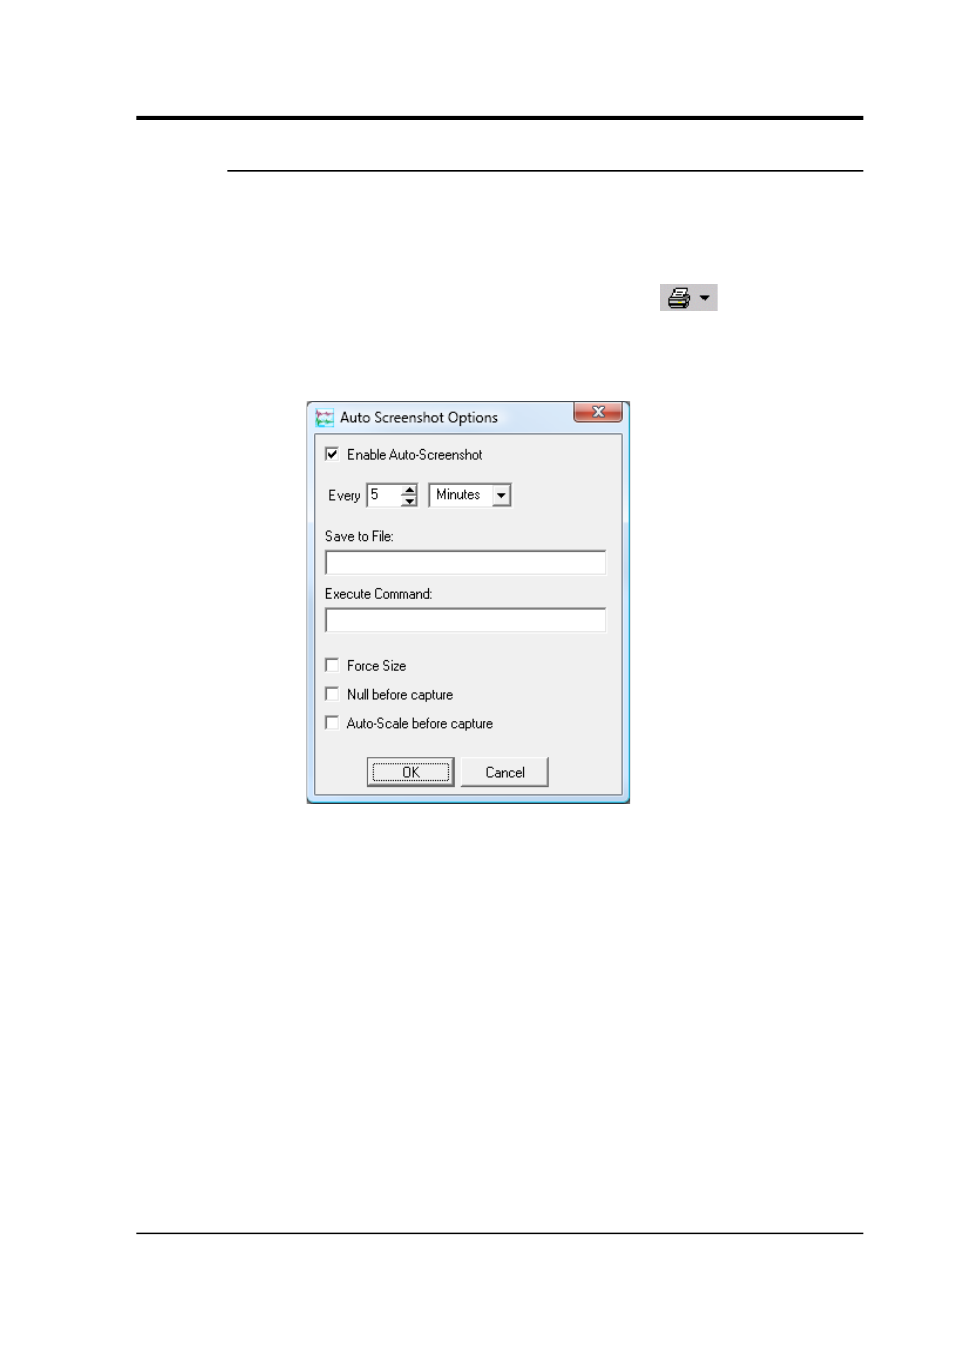
10.1.2 Automatic screen-shots
You can save screen-shots from a Waveview window at regular
intervals. These can be saved to a file or used as input files for another
program. The Waveview window does not have to be visible for a
screen-shot to be taken; you can minimize it
1. Click the arrow beside the Print icon
to display a
drop-down menu.
2. Choose Auto-screenshot… and tick Enable Auto-Screenshot.
3. Set the time interval between screen-shots in the two boxes
beneath. Unlike Auto-Print, a screen-shot will be taken at this
interval throughout the day.
4. Enter a file name for the screen-shot in Save to File. If you also
want Scream! to run a command using this file as input, enter it
in the Execute Command box. Screen-shots are saved in PNG
format so, under Windows, you should add .png to the end of
the file-name.
5. Ticking Force Size, and filling in an image width and height in
the two boxes that appear, forces the Waveview window to have
the size that you specified. Every image will also have this size.
Whilst Force Size is active, you cannot resize the window.
However, you can still obscure it with other windows, or move
it partially off the screen.
January 2014
121