Step 3: setting the rx mode(p. 96), Step 3: setting the rx mode – Canon imageCLASS MF275dw Wireless All-In-One Monochrome Laser Printer User Manual
Page 105
➠
After the message [Settings applied.] appears, the [RX Mode Settings] screen is displayed.
Step 3: Setting the RX Mode
Answer the questions on the screen to select the proper RX mode.
1
On the RX mode settings screen, press [Next].
2
Answer the questions displayed on the screen by pressing [Yes] or [No].
➠
When you have completed answering all the questions, the selected RX mode is displayed on the screen.
3
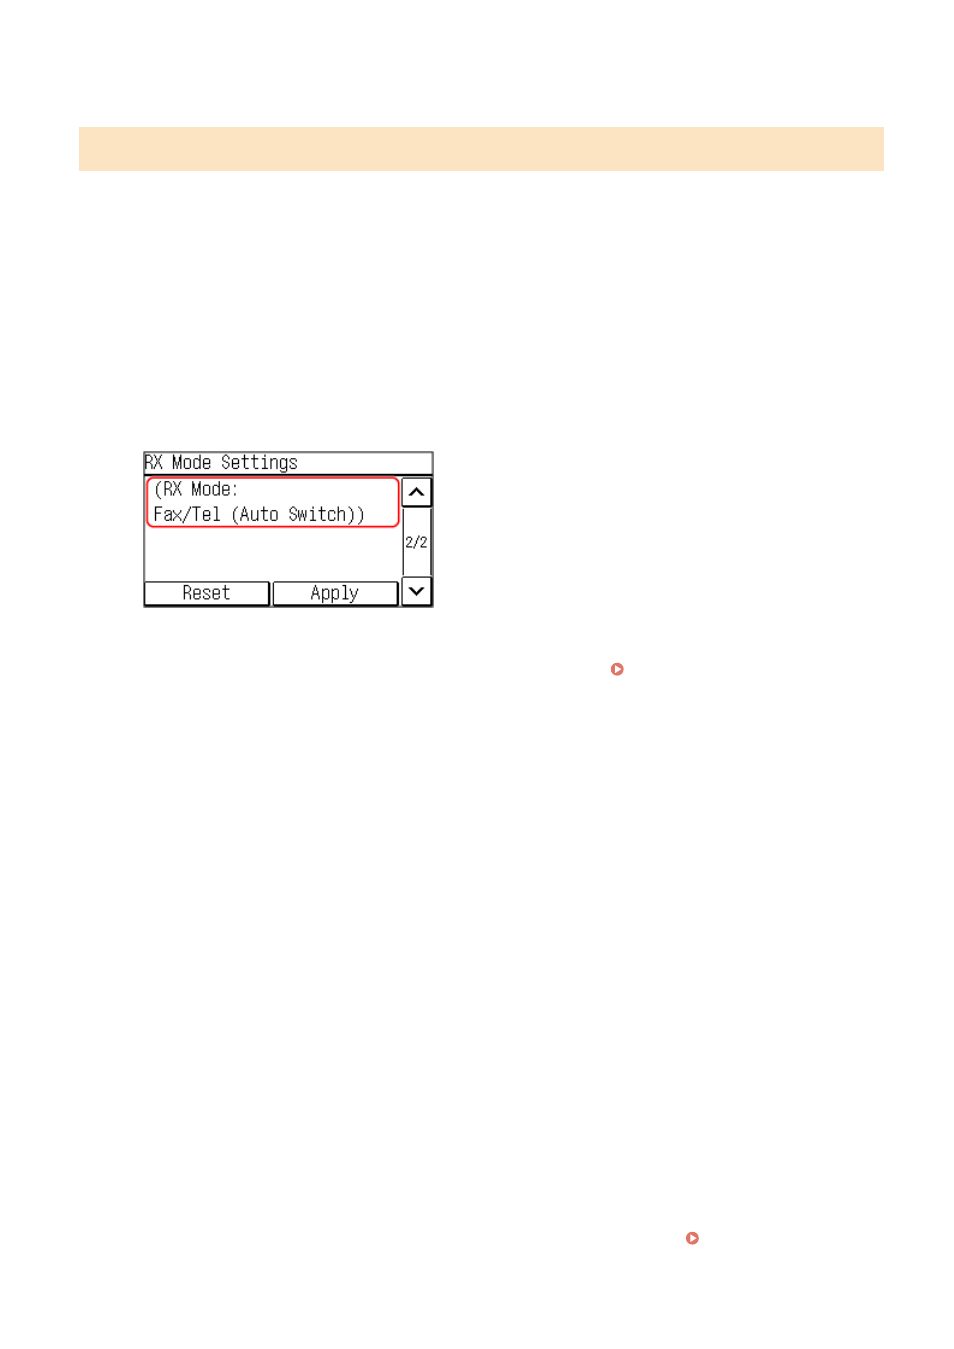
Check the selected RX mode.
The RX modes operate as follows:
* If you have subscribed to a Distinctive Ring Pattern Detection (DRPD) service provided by your telephone
company, [DRPD: Select Fax] is also available for the receiving mode. Changing Fax RX Mode and Setting
the Action when Receiving a Fax(P. 223)
[Fax/Tel (Auto Switch)]
Enables use of both fax and telephone.
●
Faxes are automatically received.
●
When a telephone call is received, the machine rings. Pick up the handset to answer the call.
[Auto]
Used for fax only.
●
Faxes are automatically received.
●
Incoming telephone calls cannot be answered.
[Answering Machine]
Enables use of both fax and phone.
●
Faxes are automatically received.
●
When a telephone call is received, the answering machine function can be used to record messages. You
can answer the call by picking up the handset before recording starts.
* Set the answering machine so that the recording function activates after the machine rings one or two
times.
* When recording your message, it is recommended that you keep about four seconds of silence, or keep
the entire message within 20 seconds.
[Manual]
Enables use of both fax and phone.
●
The machine rings when receiving both fax and phone calls.
●
If you hear a fax tone when picking up the handset, receive the fax manually. Receiving Faxes(P. 238)
Setting Up
96