Teac GigaStudio 3 User Manual
Page 138
138
139
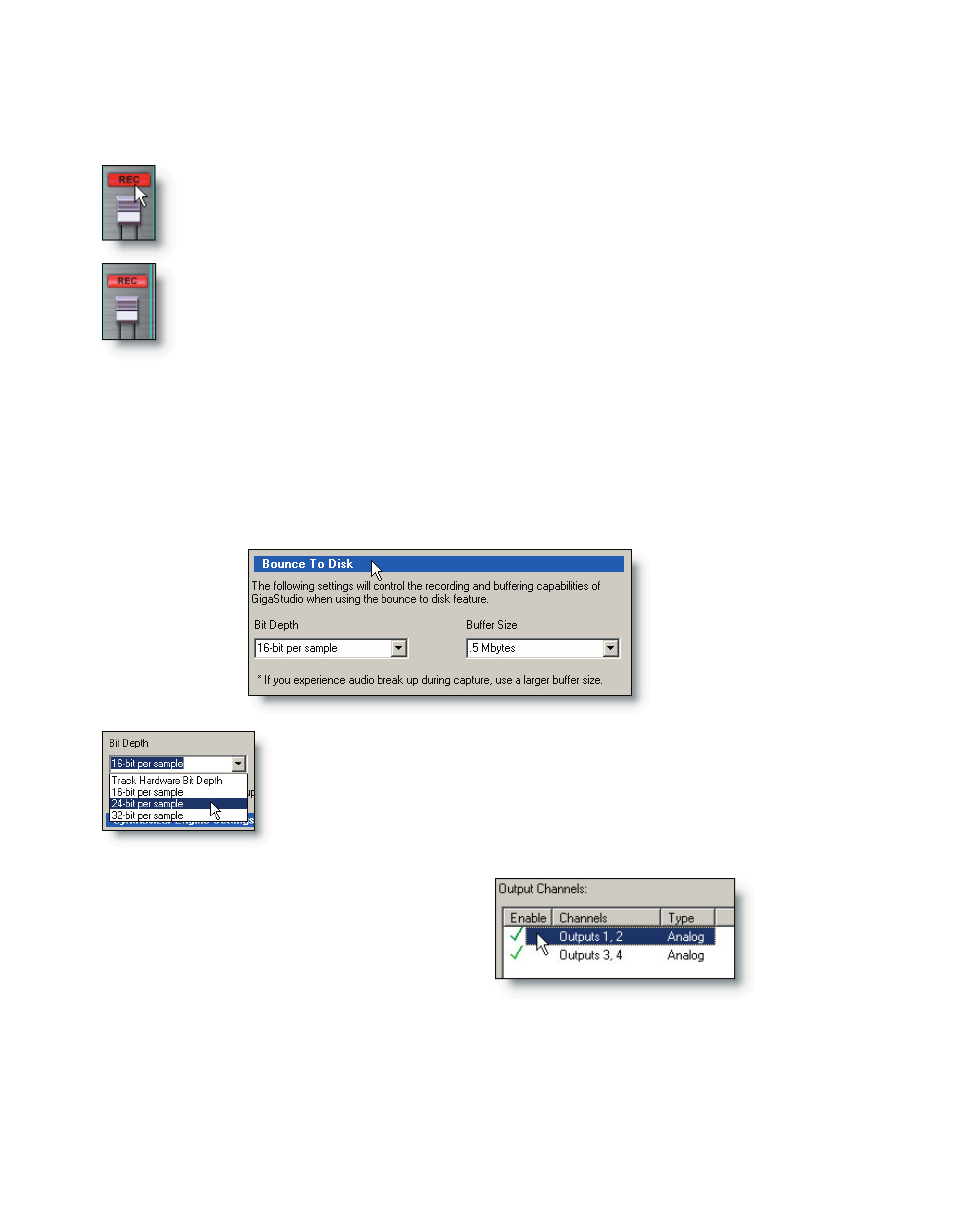
To arm a track, switch to the DSP Station Output Master view and click on the REC
buttons to arm as many channels as you want for capturing stereo tracks.
As soon as a channel pair is armed, the REC button(s) will change from
grey to dim red. This indicates the track is in record-ready status, but not
yet recording.
When the recording actually begins, the REC button(s) will become
bright red to indicate that a recording is in progress.
Before doing any actual recording, you will need to verify or perhaps make some
settings adjustments with regard to the capture function as well as to your audio hard-
ware settings.
Go to the System Settings->Synthesizer dialog and define the bit depth of the cap-
tured waves. Leave the Buffer Size setting alone for now. If you hear drop-outs in the
captured waves, you can experiment with larger buffer sizes.
You can select any bit depth that your audio hardware driver is
capable of supporting. In this case, we can select from 16, 24, or 32
bits per sample. Selecting the “Track Hardware Bit Depth” option
will set the capture bit depth to the same as that of the audio
hardware bit depth setting in the System Settings->Hardware
dialog.
On the Hardware settings page, you
will need to have as many outputs en-
abled as you want recorded tracks. Click
on any available output channels and a
green check mark will verify the enabled
channels.
In making these settings, bear in mind that the bit depth of the captured waves
should match those of the other audio files in your multi-track DAW. This will help keep
all your audio files consistent with regard to bit-depth.