Tutorial 7: print and stitch – Baby Lock Palette 10 (ECS10) Instruction Manual User Manual
Page 155
154
C
re
a
ting Embr
oide
ry
Pa
tte
rns
Us
ing Ima
ge
s
Tutorial 7: Print and Stitch
Tutorial 7: Print and Stitch
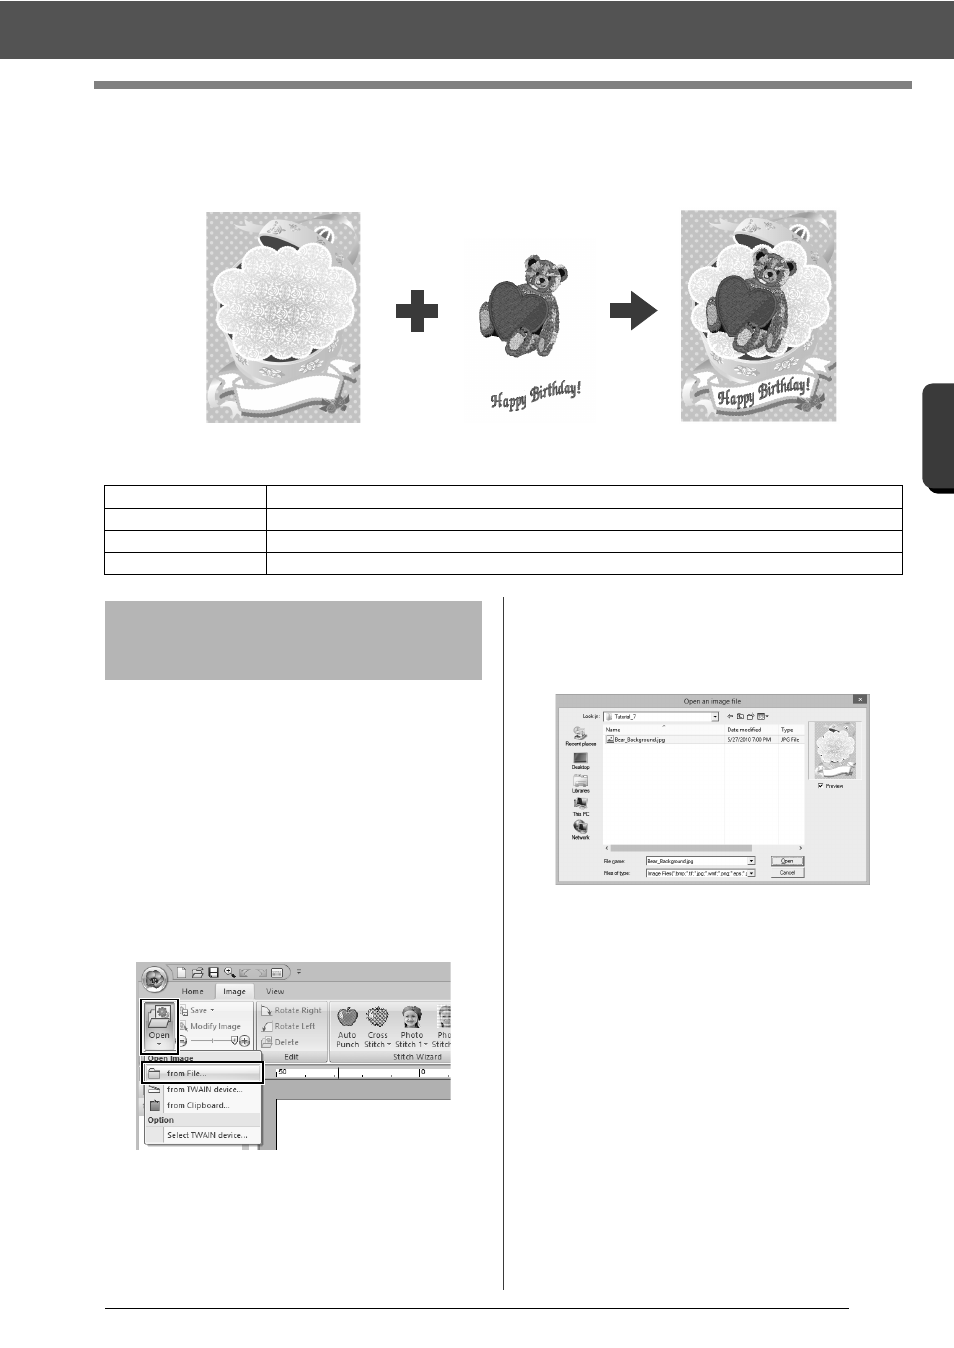
In this example, we will create a design that combines embroidery and an image.
The sample file for this tutorial is located at Documents (My documents)\Palette Ver.10\Tutorial\Tutorial_7.
For this example, we will use the gift box image
(Bear_Background.jpg) and the embroidery pattern
of the bear (tutorial_7_Bear.pes).
1
Start up Layout & Editing.
Specify a Design Page size of 130 × 180 mm.
cc
"Specifying the Design Page Settings" on
page 14
2
Click the [Image] tab.
3
Click [Open] in the [Image] group, and then
click [from File].
4
Import the file [Bear_Background.jpg].
Select the file Bear_Background.jpg in the
folder [Documents (My documents)\Palette
Ver.10\Tutorial\Tutorial_7].
cc
"Importing Image Data" on page 150.
5
Display the [Import] pane.
Step 1
Creating a design combined with a background image
Step 2
Printing the background image
Step 3
Printing the positioning sheet
Step 4
Embroidering
Print the background image on fabric.
Embroider
Step 1
Creating a design
combined with a
background image