Step 2 creating the embroidery design, Step 3 checking a divided pattern – Baby Lock Palette 10 (ECS10) Instruction Manual User Manual
Page 190
189
Tutorial 9-3: Embroidering With the Jumbo Frame
3
The Design Page appears on the screen as
shown below.
a
Side 1 embroidering area
Area embroidered first
b
Side 2 embroidering area
Area embroidered second
The embroidery pattern is automatically
divided into the different areas.
For this example, an embroidery pattern provided
with this software will be used in the procedure
described below.
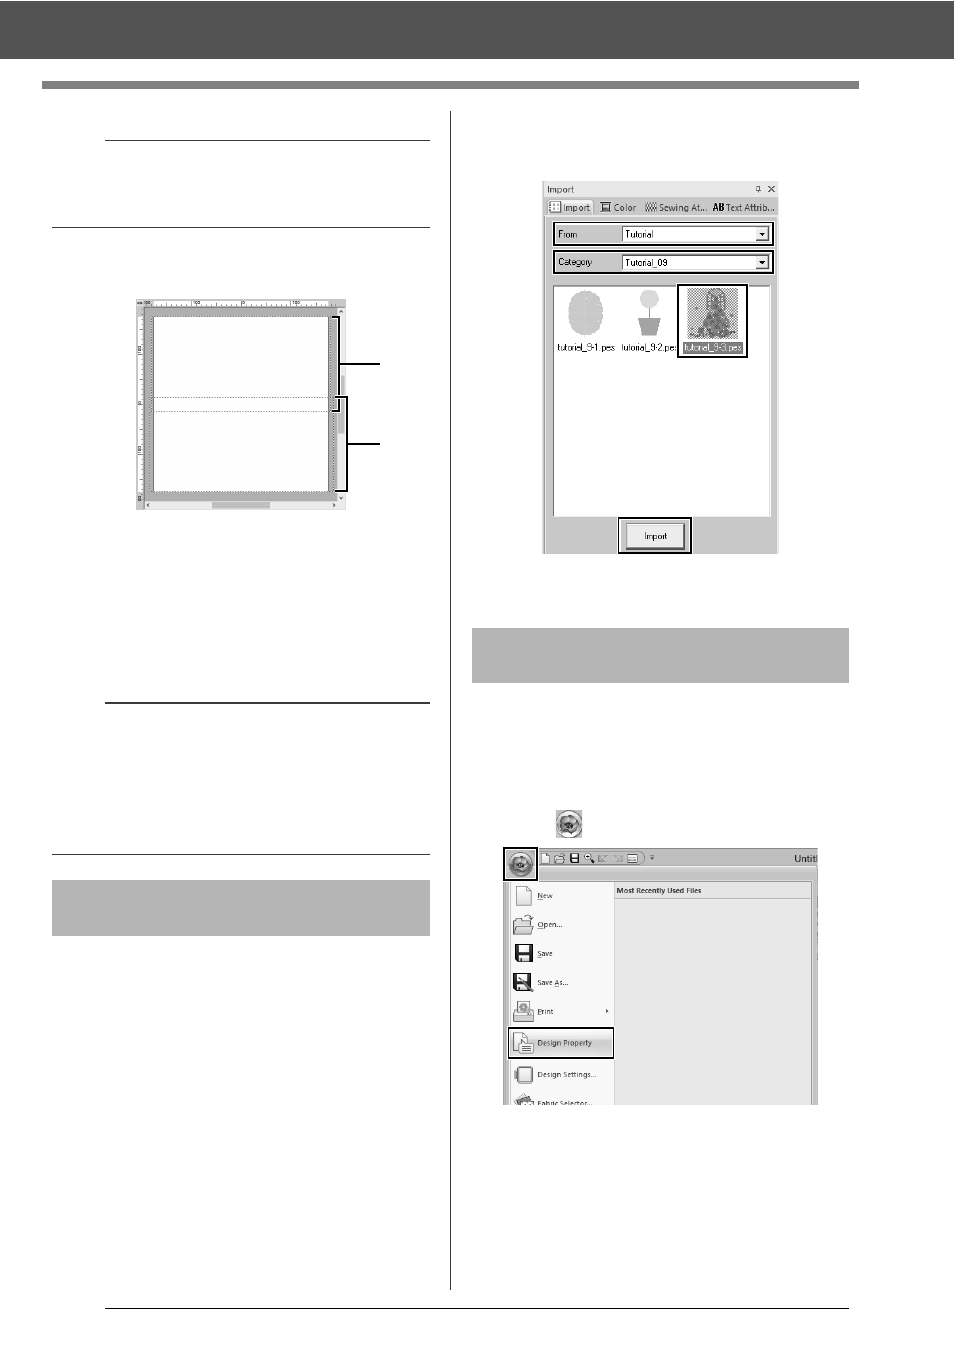
1
Display the [Import] pane.
2
Select [Tutorial] from the [From] selector and
[Tutorial_9] from the [Category] selector.
Click [tutorial_9-3.pes], then [Import].
cc
"Importing embroidery designs" on
page 91.
Before starting to embroider, the divided embroidery
pattern can be checked. If a pattern that you do not
wish to be divided has been split onto Side 1 and
Side 2, you can check the embroidery pattern, then
adjust it so it is not split.
1
Click ,
then
[Design Property].
a
Check the size of embroidery frames that can be
used with your machine before changing the
setting.
a
The embroidery pattern is split with a section
overlapping
a
and
b
.
If the pattern arranged in this section uses satin
stitches, the stitch may change when the pattern is
split. Therefore, we recommend shifting the
pattern or changing the sew type to fill stitches.
Step 2
Creating the embroidery
design
a
b
Step 3
Checking a divided
pattern