Applying stamps, Checking and editing the sewing order – Baby Lock Palette 10 (ECS10) Instruction Manual User Manual
Page 237
236
De
sign Ce
nte
r
Sew Setting Stage
Stamps can be applied to regions in the Sew Setting
Stage of Design Center.
1
Click the [Sew Setting] tab.
2
Click [Stamp] in the [Tools] group, and then
select the desired tool from [Stamp Tools].
: Click this button to apply a stamp.
: Click this button to edit the applied stamp.
Settings for stamps are specified in the same way
that they are in Layout & Editing.
cc
"Applying and editing stamps" on
page 58
1
Click the [Sew Setting] tab.
2
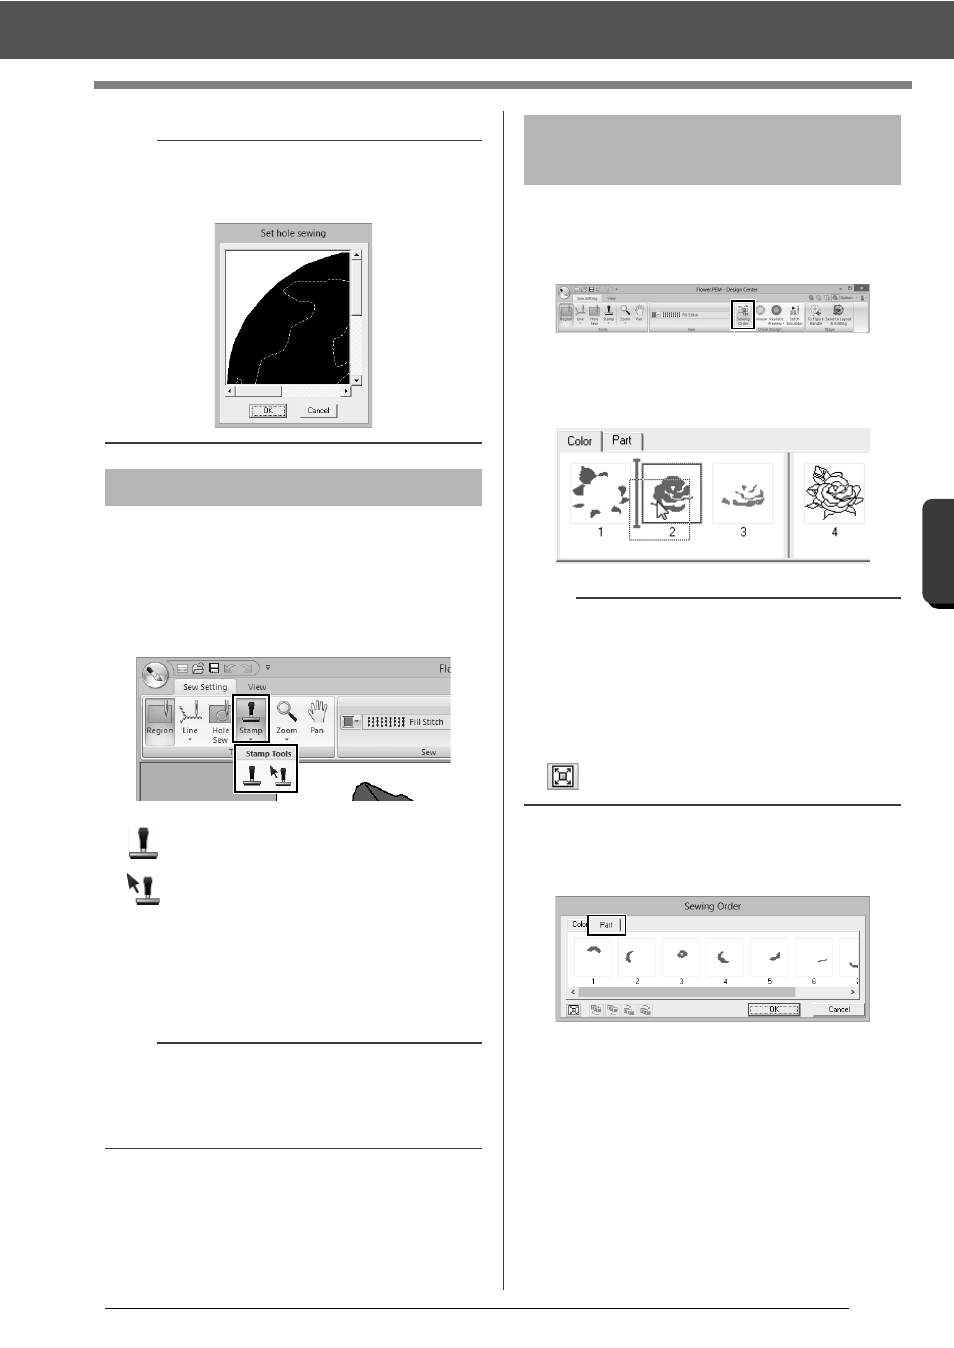
Click [Sewing Order] in the [Check Design]
group.
3
To change the sewing order of a color, select
the frame for the color, and then drag the
frame to the desired position.
4
To view the sewing order of multiple patterns
of the same color, select the frame, and then
click the [Part] tab.
5
To change the sewing order of a pattern,
select the frame for the pattern, and then drag
the frame to the desired position.
6
Click [OK].
b
To cancel hole sewing, click the white inner region.
The inner region will be sewn twice when it
appears in the same color as the outer region.
Applying stamps
b
Some stamp patterns are provided with this
application; however, by using Programmable
Stitch Creator, you can edit the patterns that are
provided or you can create your own.
Checking and editing the
sewing order
b
• To select additional frames, hold down the
<Shift> or <Ctrl> key and select each frame.
• The frames containing regions are separated
from the frames containing outlines with a thick
vertical line. Frames from one side of the line
cannot be moved to the other side.
• To enlarge the pattern for better viewing, click
.