Creating fill/stamp stitch pattern, Step 1 opening a fill/stamp stitch pattern – Baby Lock Palette 10 (ECS10) Instruction Manual User Manual
Page 261
260
Pr
o
g
ra
mmab
le
S
tit
ch
C
rea
to
r
Creating Fill/Stamp Stitch Pattern
Creating Fill/Stamp Stitch Pattern
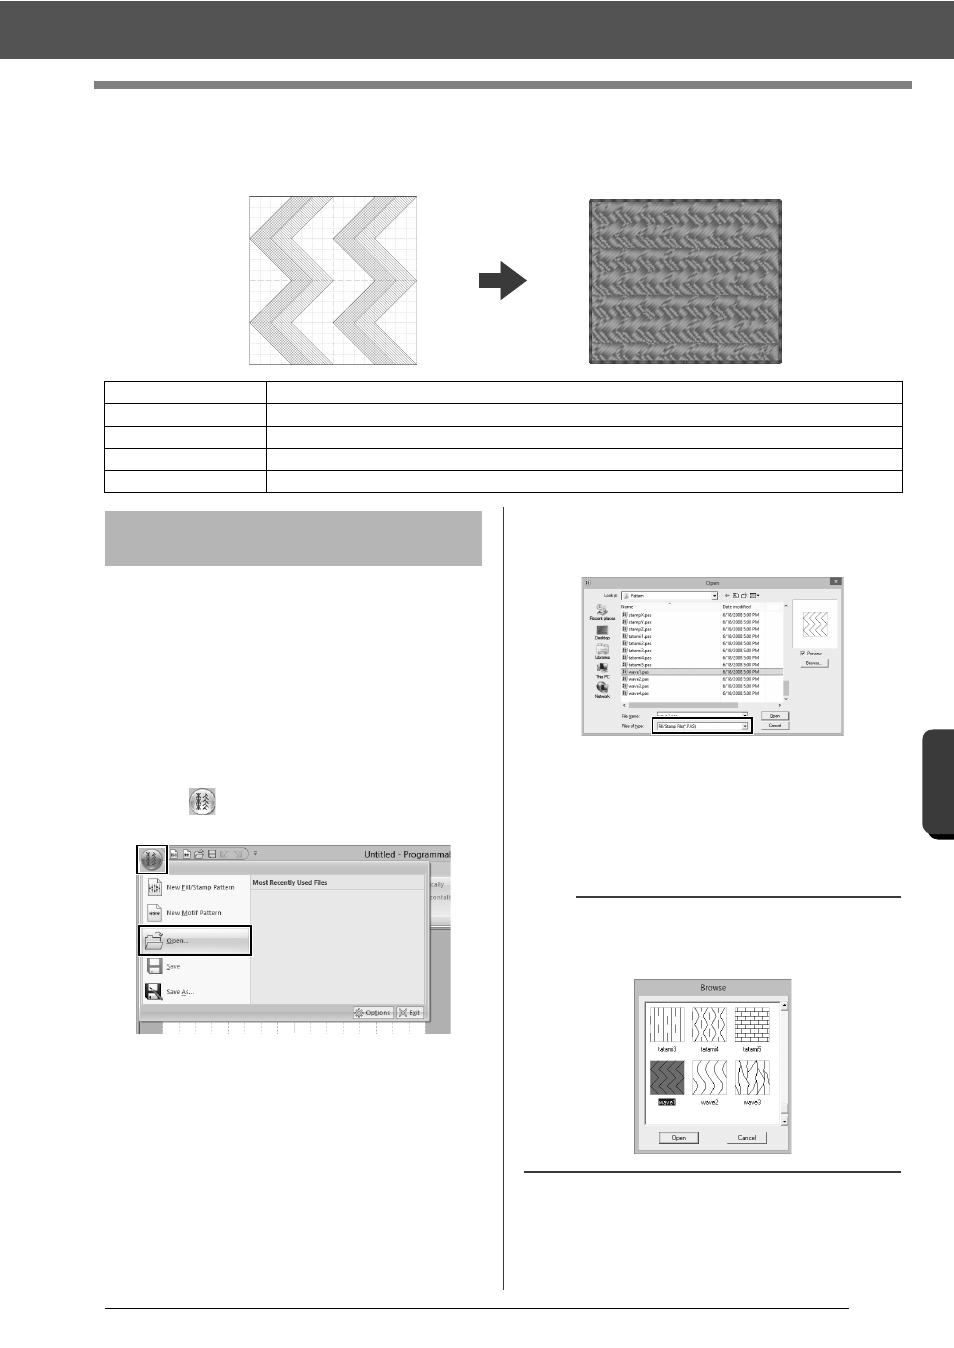
Existing programmable stitch patterns can be edited to create new patterns.
First, we will open a fill/stamp stitch pattern to be
edited. In this example, we will use pattern
wave1.pas.
1
Click the down arrow in the bottom-left corner
of the [Start] screen to show the [All Apps]
view.
2
Click [Programmable stitch Creator] under
the title [Palette Ver.10] in the screen.
3
Click
, and then select [Open] from the
command list.
4
Select Fill/Stamp File(*.PAS) in the Files of
type selector.
Select the pattern file wave1.pas.
The pattern file can be found at the following
location.
For example, (Drive where Palette was
installed)\Program Files (Program Files
(x86))\Baby lock\Palette Ver.10\Pattern.
Step 1
Opening a fill/stamp stitch pattern
Step 2
Drawing lines to edit the fill/stamp stitch pattern
Step 3
Applying embossing/engraving effects to the fill/stamp stitch pattern
Step 4
Saving the edited fill/stamp stitch pattern
Step 5
Using the edited fill/stamp stitch patterns in Layout & Editing
Step 1
Opening a fill/stamp stitch
pattern
b
To view the data in the selected folder as
thumbnails in the [Browse] dialog box, click
[Browse].