Step 2 duplicating, flipping and moving shapes – Baby Lock Palette 10 (ECS10) Instruction Manual User Manual
Page 26
25
Tutorial 1: Drawing shapes to create an embroidery design
2
Create the leaf on the right.
This time, we will import a shape pattern. We
will also specify the color and sew type for the
region.
(A) Click the [Import] tab.
(B) Select [Outline Shapes] from the [From]
selector and [Basic Shapes] from the
[Category] selector.
(C) Select [BS_shapes27.pes], and then
click [Import].
(D) Click the [Shapes] tab.
(E) Click
for line sewing, and then click
under [Colors Used] to select [LIME
GREEN].
(F) Click the [Line sew type] selector, and
then select [Zigzag Stitch].
(G) As with the line color, click
for region
sewing, and then click
under [Colors
Used] to select [LIME GREEN].
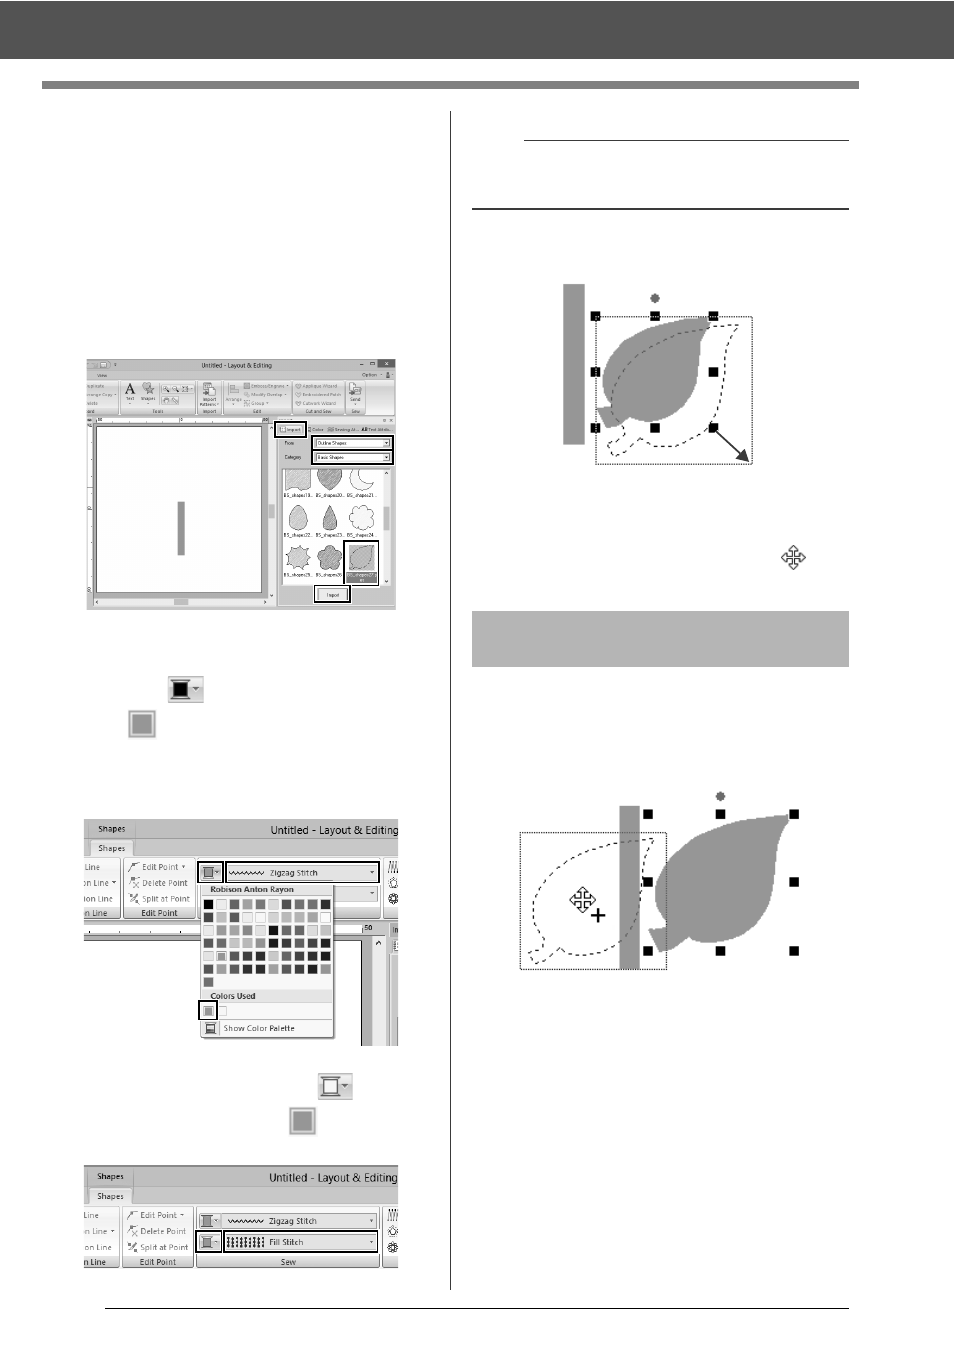
(H) Drag the handle to adjust the leaf to the
desired size.
(I) Place the pointer over the leaf so that the
shape of the pointer changes to
, and
then drag the leaf to the desired position.
Now, we will duplicate the leaf on the right side, flip
it horizontally, and then move it to the left side of the
stem.
1
To duplicate the leaf on the right.
(A) Select the leaf.
(B) While holding down the <Ctrl> key, drag
the leaf to move it.
(C) Release the mouse button.
b
The thread colors being used are listed under
[Colors Used].
Step 2
Duplicating, flipping and
moving shapes