Baby Lock Palette 10 (ECS10) Instruction Manual User Manual
Page 264
263
Creating Fill/Stamp Stitch Pattern
1
Start up Layout & Editing.
2
Select an embroidery pattern.
3
From the [Region sew type] selector (in the
[Shapes] tab), select [Prog. Fill Stitch].
4
Display the [Sewing Attributes] pane.
cc
"Specifying sewing attributes" on
page 54
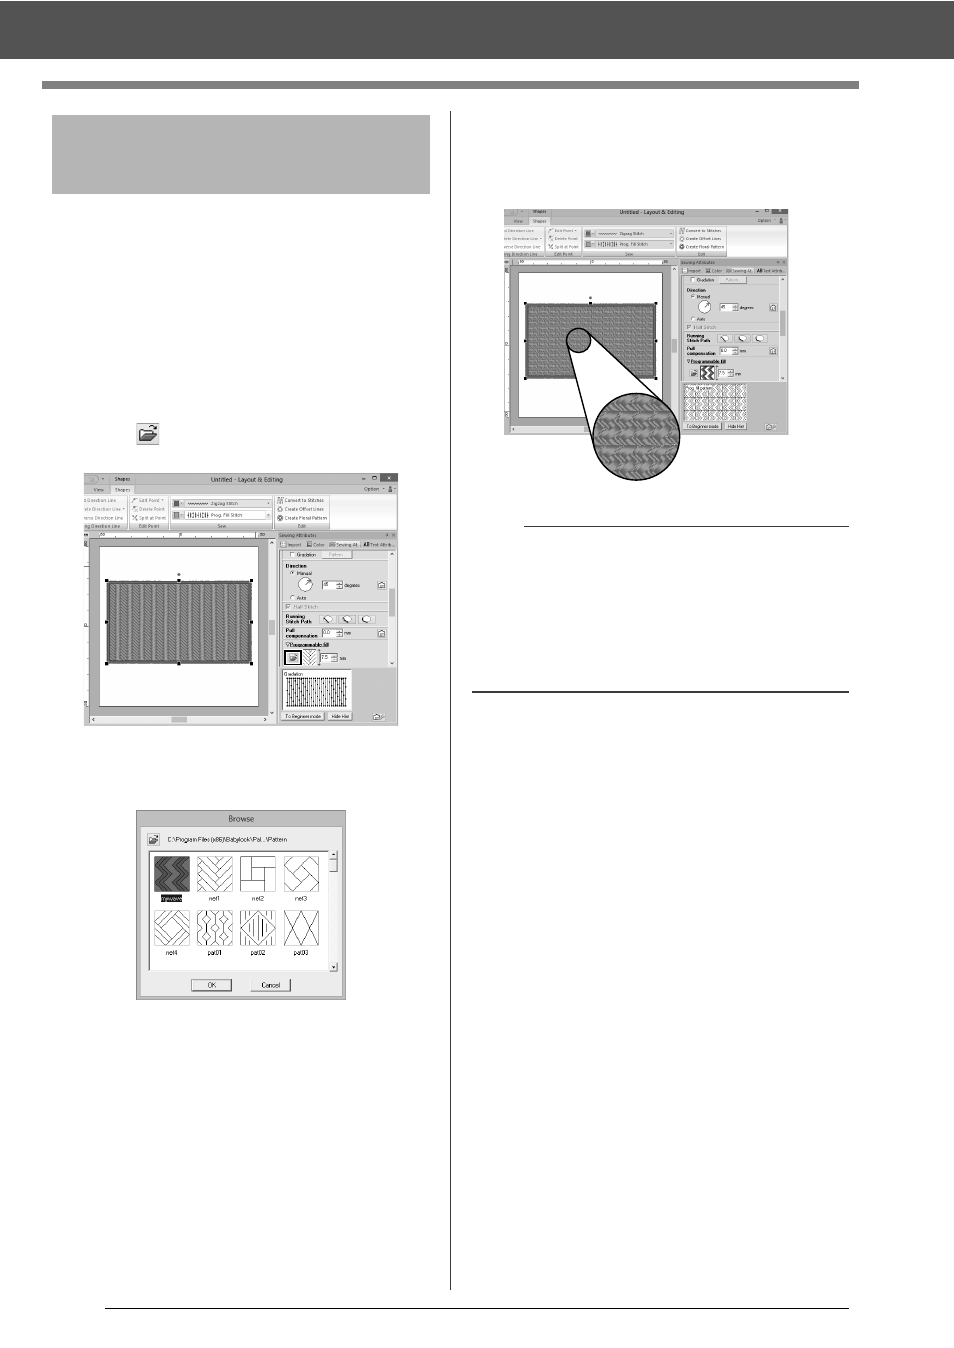
5
Click
below
[Programmable fill] in the
[Region sew] section.
6
Select the drive and folder where the pattern
was saved in Step
4
.
7
Click the edited fill/stamp stitch pattern, and
then click [OK].
The pattern is applied to the inside regions
of the embroidery pattern.
Step 5
Using the edited fill/stamp
stitch patterns in Layout &
Editing
b
• A fill/stamp stitch pattern can also be applied as
a stamp by using the Stamp Tools.
cc
"Applying and editing stamps" on page 58
• For best results, refer to "Notes on
programmable fill stitches and stamps" on
page 335.