Hypertherm THC ArcGlide User Manual
Page 88
88
ArcGlide THC Instruction Manual 806450
2 – Installation
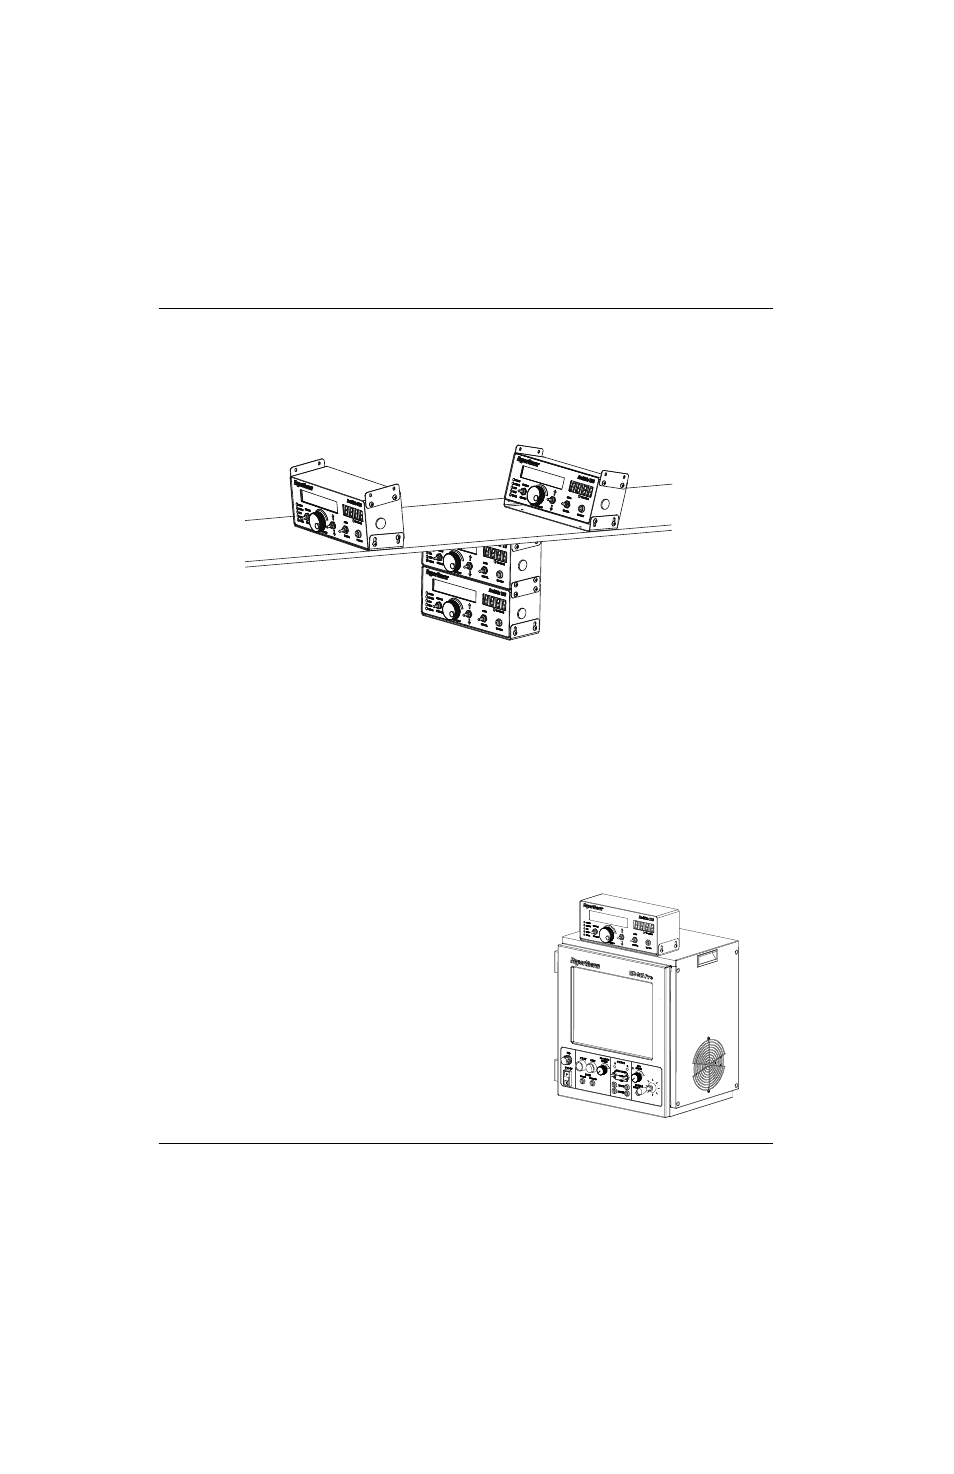
The mounting brackets on the top and bottom of the HMI allow you to install it singly or stacked, under or on another
piece of equipment, and level or tilted. See
Figure 21
To install the HMI:
1. Remove the mounting bracket from the HMI.
2. Place the mounting bracket on the surface where you will mount the HMI and attach the bracket with screws through
the holes in the bottom of the bracket.
3. Remount the HMI in the mounting bracket by loosely fastening the screws through the sides of the bracket into the
top or bottom holes in the sides of the HMI.
4. Adjust the HMI to the angle you want it and tighten the screws.
5. Attach one end of the power cord to the AC power connector on the back of the HMI. Prepare the other end for the
100 VAC – 120 VAC or 200 – 230 VAC power outlet.
You can also mount the HMI on top of the EDGE Pro CNC. The
EDGE Pro enclosure has 4 mounting holes for the HMI bracket.
Use 4 10-32 x 1/2 inch screws to fasten the HMI to the EDGE Pro
CNC enclosure.
Two HMIs stacked and mounted
level under a surface.
HMI mounted on a surface
and tilted down.
HMI mounted on a surface
and tilted up.