NewTek TriCaster 855 User Manual
Page 174
Page | 158
TRANSITION DELEGATES
An executive maxim suggests “Don’t do anything yourself when
you can delegate it. We briefly examined the Utility Delegate
tools back in Section 8.1.1, where we discovered that
delegating controls can multiply their functionality.
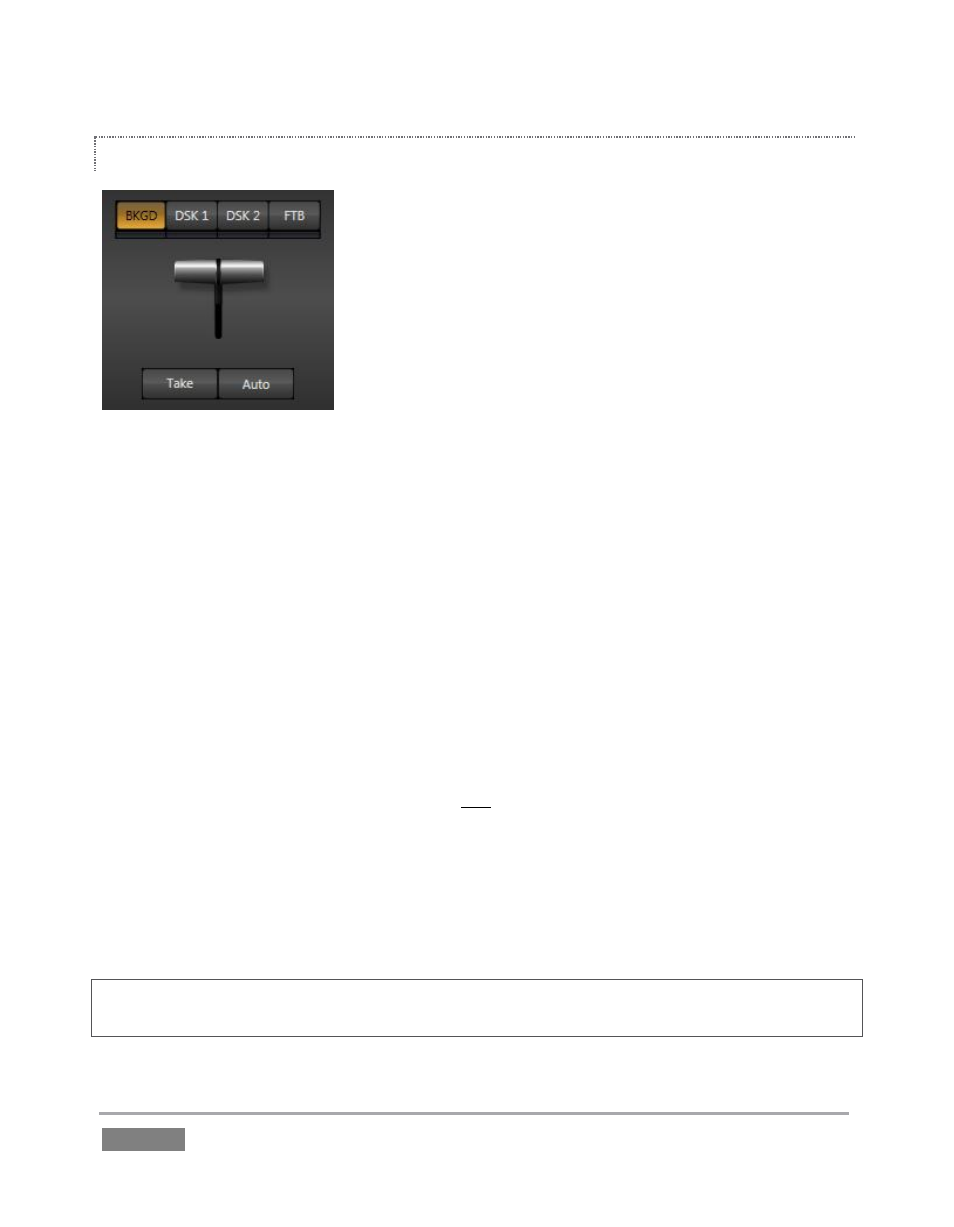
The familiar main T-Bar, Auto and Take controls occupying the
left half of TriCaster’s Transition control group are now joined by
a set of Transition Delegate buttons. Let’s see how applying the
concept of delegating controls affects their use:
Assign something suitable to both DSK layers, using the Utility row with FX delegated.
Click the local Take buttons to hide both DSK layers, if they are visible on output.
Click the BKGD button in the Transition Delegate group.
Click the main Auto button (below the T-Bar).
The result of the last operation is identical to what would have occurred had you pressed the
local BKGD layer Auto button at right instead.
Now, hold down the Ctrl key and click the delegate button for DSK 1. Or if you have a
TriCaster CS (control surface), press both the BKGD and DSK 1 buttons in its Transition
Delegate group at the same time instead.
You have just delegated the controls below to two video layers. You can likely guess what comes
next.
Press Auto or Take, and observe the result.
Now add DSK 2 to the delegate selection, and switch again.
The BKGD layer is updated, DSK 1 is removed, and DSK 2 is displayed.
Hint: The Look Ahead Preview monitor (Section 9.2) reflects your Transition Delegate selections,
and allows you to configure video layers for upcoming switcher operations with great confidence.
Figure 155