NewTek TriCaster 855 User Manual
Page 52
Page | 36
Hint: Audio tab layouts for different TriCaster models vary. For example, TriCaster 855 has eight
audio inputs rather than four, so Network source controls are located in the Internal Audio tab.
TriCaster 455 presents Network controls in External Audio (Figure 25).
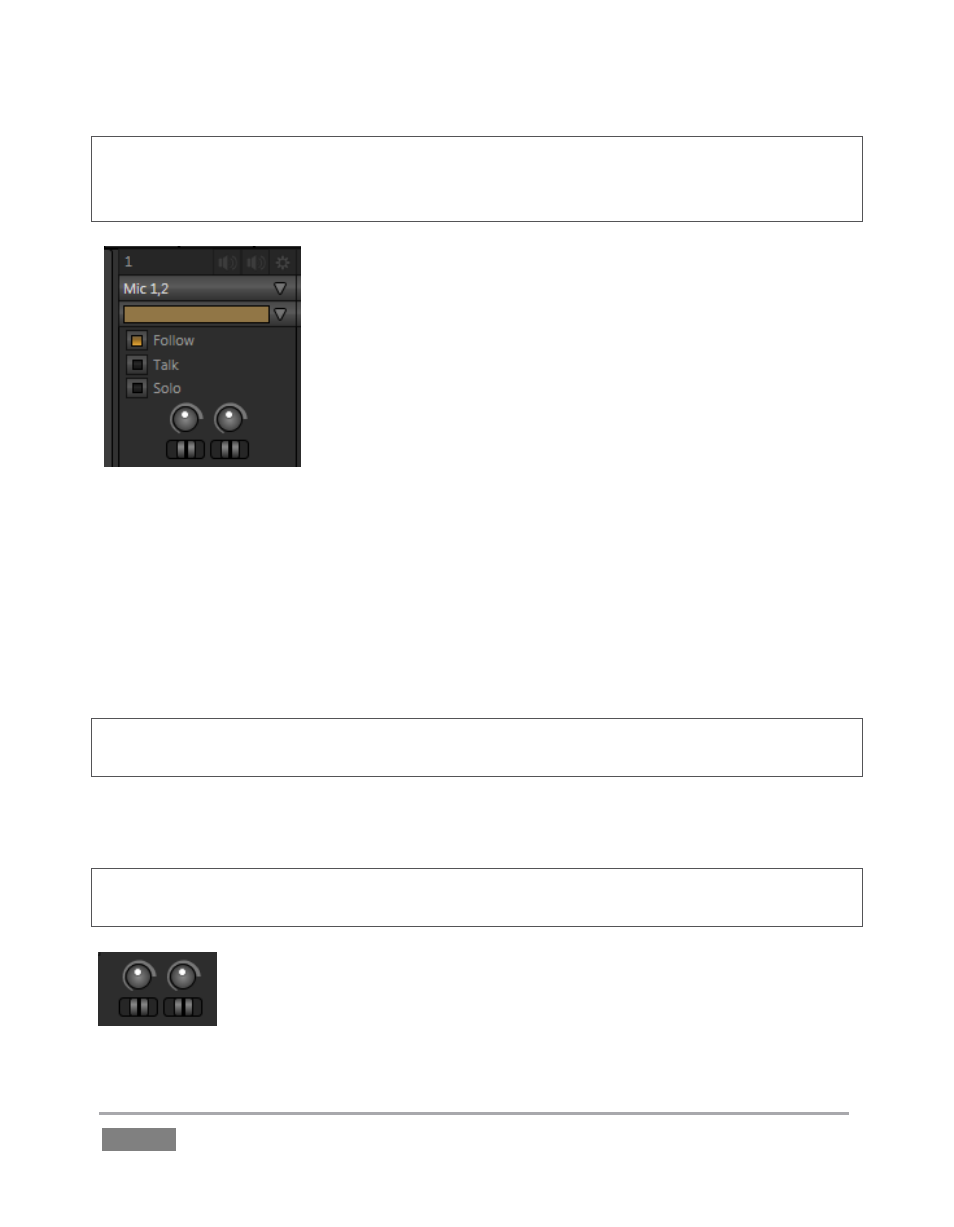
There is a source Type selector drop-down at the top of the control
panels for each Input. Clicking it reveals the list of Connection Types
(Figure 26).
Options include Mic 1, 2 (with and without phantom power), Line,
SDI Embedded, and in some cases, Line Quad. (The latter option
combines two neighboring input pairs as a one 4 channel source
governed by a single Gain slider.)
After connecting audio sources to the input connectors (see also
Section 3.5.1), the first thing to do is set the correct Type using the
drop-down menu:
Select Mic 1, 2 for professional grade microphones or other low impedance connections
(use the Phantom option for condenser microphones requiring supplementary power).
Choose Line for higher impedance device connections (such as a CD player, computer
audio output or VCR), or Line Quad where required.
Select SDI Embedded to access digital audio from an SDI video source.
Note: Analog levels conform to SMPTE RP-155. The maximum input/output level is +24 dBu,
nominal input level +4 dBu (-20dBFS), and the sample rate is 96 kHz.
The Gain sliders (next to the VU meters) default to their lowest settings on first launch. After
adding audio sources, slowly bring these sliders up to pass their signals through the system.
Hint: Most numeric controls in TriCaster can be reset to their defaults using Shift + double-click on
the control knob. The default for Gain sliders is 0dBVU, equivalent for our purposes to -20dBFS.
Some variation exists as respects signal levels from individual sources, even
within the same type. For Mic (and Mic + Phantom) connections, the Trim
controls provide a preliminary adjustment allowing you to fine tune the input
level. Use Trim to bring levels for microphone into a useful range on the meter.
Figure 26
Figure 27