Copy and paste clips in the timeline, Replace a clip in the timeline – Adobe Premiere Elements 8 User Manual
Page 101
96
USING ADOBE PREMIERE ELEMENTS 8 EDITOR
Arranging clips in a movie
Last updated 8/12/2010
Copy and paste clips in the Timeline
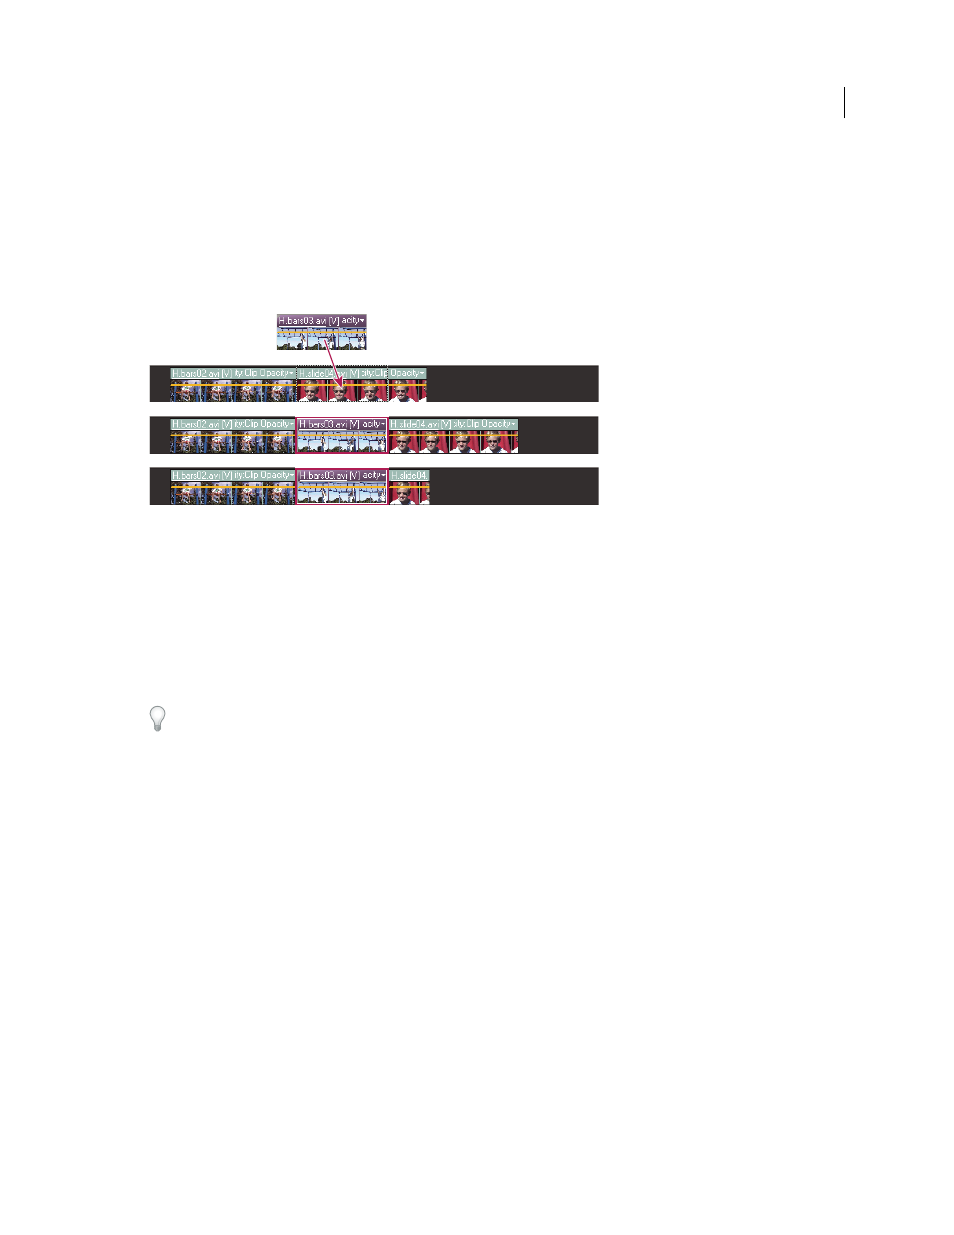
You can rearrange clips in a movie by copying and pasting them within your project. You can copy and paste multiple
clips at a time, and either insert them between existing clips or overlay existing frames. The clips maintain their relative
spacing in time. Adobe®
Premiere®
Elements
8 pastes clips to the Video 1 or Audio 1 track at the location of the
current-time indicator. However, you can avoid this action by manually copying clips on multiple tracks. When you
paste a clip in the Timeline, the current-time indicator moves to the end of a clip. This feature enables easy and efficient
handling of consecutive paste operations.
Pasting and inserting (middle), pasting and overlaying (below)
1 In the Timeline, select one or more clips in the movie, or to select only the audio or video of linked clips, Alt-click
the desired clip.
2 Choose Edit > Copy.
3 In the Timeline, position the current-time indicator at the point you want to paste, and do one of the following:
•
To overlay the clips and replace existing footage on the track, choose Edit > Paste.
•
To insert the pasted clips and shift existing footage, choose Edit > Paste Insert.
You can also copy a clip’s attributes—motion, opacity, volume, and other effects—and paste them into another clip.
Replace a clip in the Timeline
If you want to replace a clip in the middle of the Timeline, without altering the length or changing the effects or
overlays in the movie, use the Replace Clip command. This option is useful when editing expanded InstantMovies.
1 In either the Organize workspace or the Project view, select the clip you want to use.
2 In the Timeline, right-click the clip you want to replace and choose Replace Clip From > Organizer or Project.
If the incoming clip is longer in duration, it is trimmed from the end to match the existing duration of the outgoing clip.
If the incoming clip is shorter in duration, a warning message appears giving you the choice to cancel the replace action
or use black frames to fill the excess duration.
Select, move, align, and delete clips in the Timeline
After you’ve added a clip to your movie, you may need to rearrange clips, copy and paste scenes, and delete other clips.
Several techniques let you select individual clips, a range of clips, or only the audio or video portion of a linked clip.