Change smartmix preferences, Smartmix audio clips, Audio meters panel overview – Adobe Premiere Elements 8 User Manual
Page 250: Adjust volume in the timeline
245
USING ADOBE PREMIERE ELEMENTS 8 EDITOR
Adding and mixing audio
Last updated 8/12/2010
Change SmartMix preferences
To change SmartMix options, select Edit > Preferences > Audio. You can change the following options:
New Track Default
Specify the type of track. The available options are: Foreground, Background, and Disable. When
you create a track, by default, it is a Background track.
Skip Gaps Of
Specify the threshold, in seconds.
Reduce Background Volume
Specify the percentage by which you want the volume to drop.
Normalize Foreground Clips
Normalize the dialogs to ensure that the volume remains constant throughout the
duration of the clip.
SmartMix audio clips
Before you start SmartMix, ensure that you have an audio file in the Foreground track (Audio 1 track or the Narration
track) and one in the Background track (Soundtrack track).
❖
Do one of the following:
•
From the right side of the Timeline and Sceneline, select Audio Tools > SmartMix > Apply.
•
Audio Tools > SmartMix > Options, and click Apply.
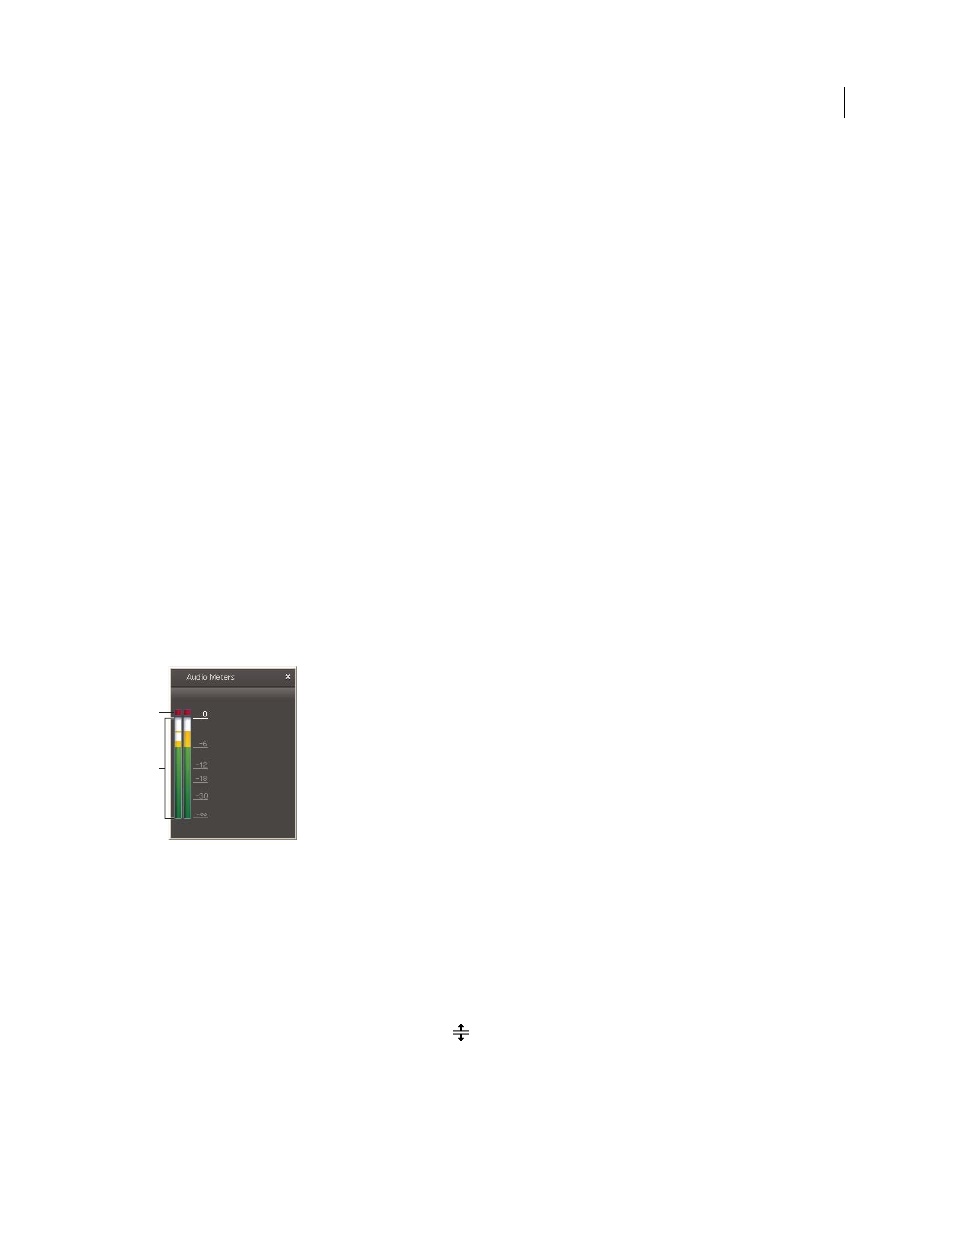
Audio Meters panel overview
The Audio Meters panel (Windows > Audio Meters) displays the overall volume level of the clips as you play them
from the Timeline or Sceneline. If the meter’s red clipping indicators turn on, lower the volume of one or more clips.
The peak indicators show the peak volume reached while playing the movie. Generally, you want the peak to be
between 0 and -6 dB.
Audio Meters panel
A. Clipping indicators B. Peak volume indicators
Adjust volume in the Timeline
You can adjust clip volume directly on an audio track in the Timeline. By dragging the Volume graph up or down, you
can, for example, make the volume of a clip match that of its neighbors, or mute it entirely.
Note: You can also raise and lower volume with keyframes.
1 To resize an audio track in the Timeline for better visibility, position the pointer between two tracks in the track
header area so that the Height Adjustment icon
appears, and then drag up or down.
2 In the Timeline, select Volume in the upper left corner of the clip. Then, select Volume > Clip Volume.
B
A