Change the placement and size of menu items, Edit menu text and buttons – Adobe Premiere Elements 8 User Manual
Page 263
258
USING ADOBE PREMIERE ELEMENTS 8 EDITOR
Creating disc menus
Last updated 8/12/2010
Change the placement and size of menu items
1 At the bottom of the Disc Layout panel, click the thumbnail of the menu you want to change.
2 Do any of the following:
•
To resize a menu item, select it in the Disc Layout panel. A rectangle (called a bounding box) with eight selection
points appears around the item. Drag any selection point to resize the item. Alternatively, in Roman language
versions, you can use the –
(minus) or = (equal) keys on your keyboard to resize the item proportionately in all
directions. The equal key enlarges the item.
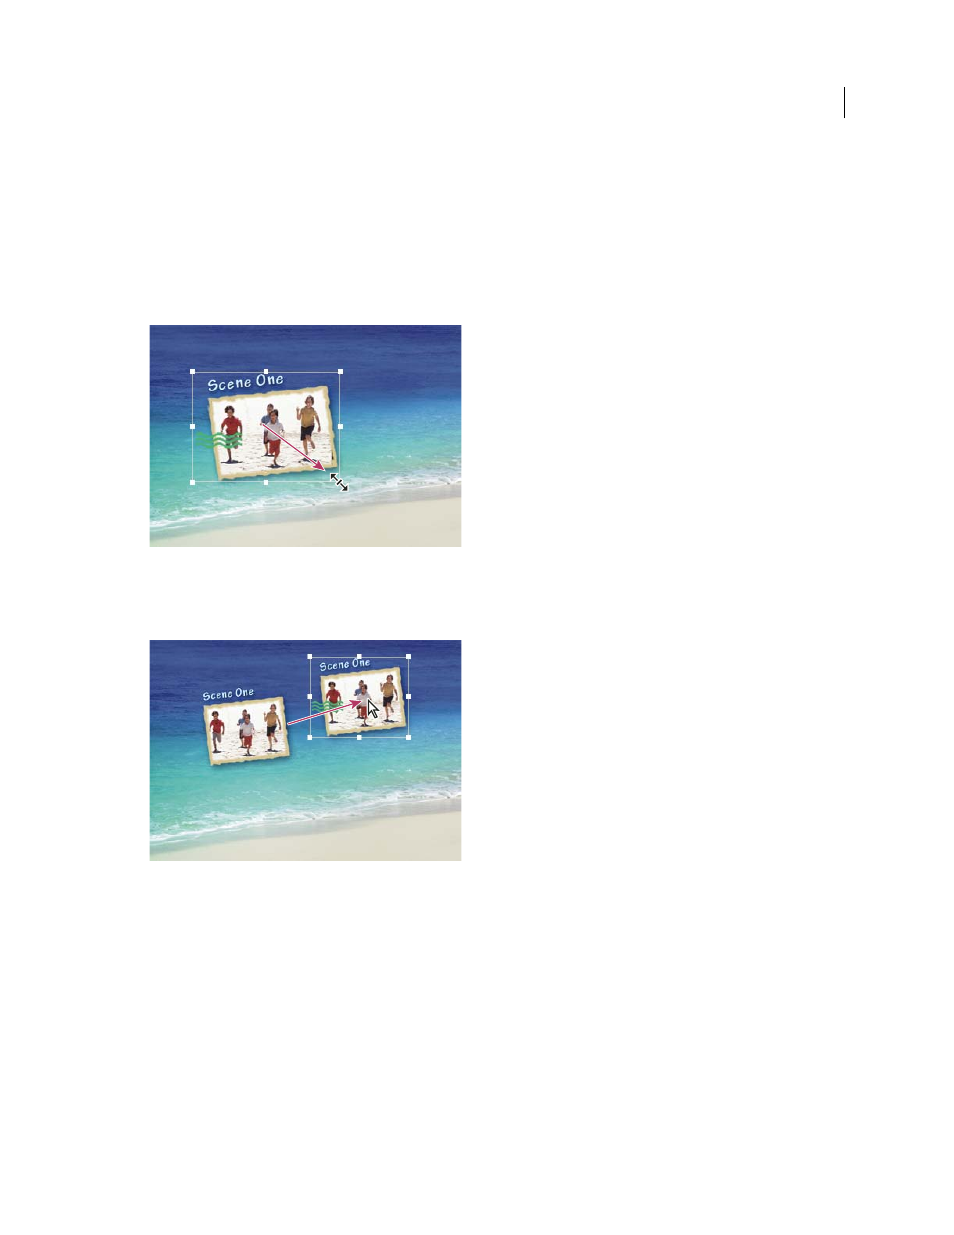
Drag a selection point on the bounding box to resize a menu item.
•
To move a menu item, select the item and drag it. Alternatively, you can use the arrow keys on your keyboard to
move the item in any direction.
Original location (left) compared to moved item (right)
Edit menu text and buttons
After you select the template, you can change menu text or the appearance of any of the main menu or scene buttons.
You can also delete any button. Because the buttons are linked to the markers, deleting a button deletes the marker
that generated it.
1 At the bottom of the Disc Layout panel, click the thumbnail of the menu you want to change.
2 To edit text or buttons not connected to markers, double-click the menu title or button and edit the text in the
Change Text dialog box. To use multiple lines, press Ctrl+Enter for each new line. Click
OK.