Background rendering, Enable background rendering, Delete rendered files – Adobe Premiere Elements 8 User Manual
Page 117: Render an area for preview
112
USING ADOBE PREMIERE ELEMENTS 8 EDITOR
Arranging clips in a movie
Last updated 8/12/2010
3 In the Export section, for External Device, choose whether to export to tape for the specified device. This option
doesn’t affect playback.
4 In the Desktop Display Mode section, choose Accelerated GPU Effects if your display adapter supports DirectX®.
Otherwise, choose Compatible or Standard, whichever gives best playback results on your system.
5 Leave the remaining Playback Settings as set by Adobe Premiere Elements, and click OK.
6 In the Project Settings dialog box, click OK.
Background rendering
You can preview complex effects in Adobe Premiere Elements when they are rendered. However, rendering of clips
during export is time consuming. Background rendering occurs when you are performing low-priority tasks or when
the system is idle. Background rendering facilitates rendering parts of the following clips on the Sceneline or Timeline:
•
Clips that are not the same as the project preset.
•
Clips for which you have applied effects or transitions.
If you change the effects or transitions to the clips, Adobe®
Premiere®
Elements
8 rerenders the clip with the new
settings.
Enable background rendering
1 To enable background rendering, select Edit > Preferences > General.
2 Select Enable Background Rendering.
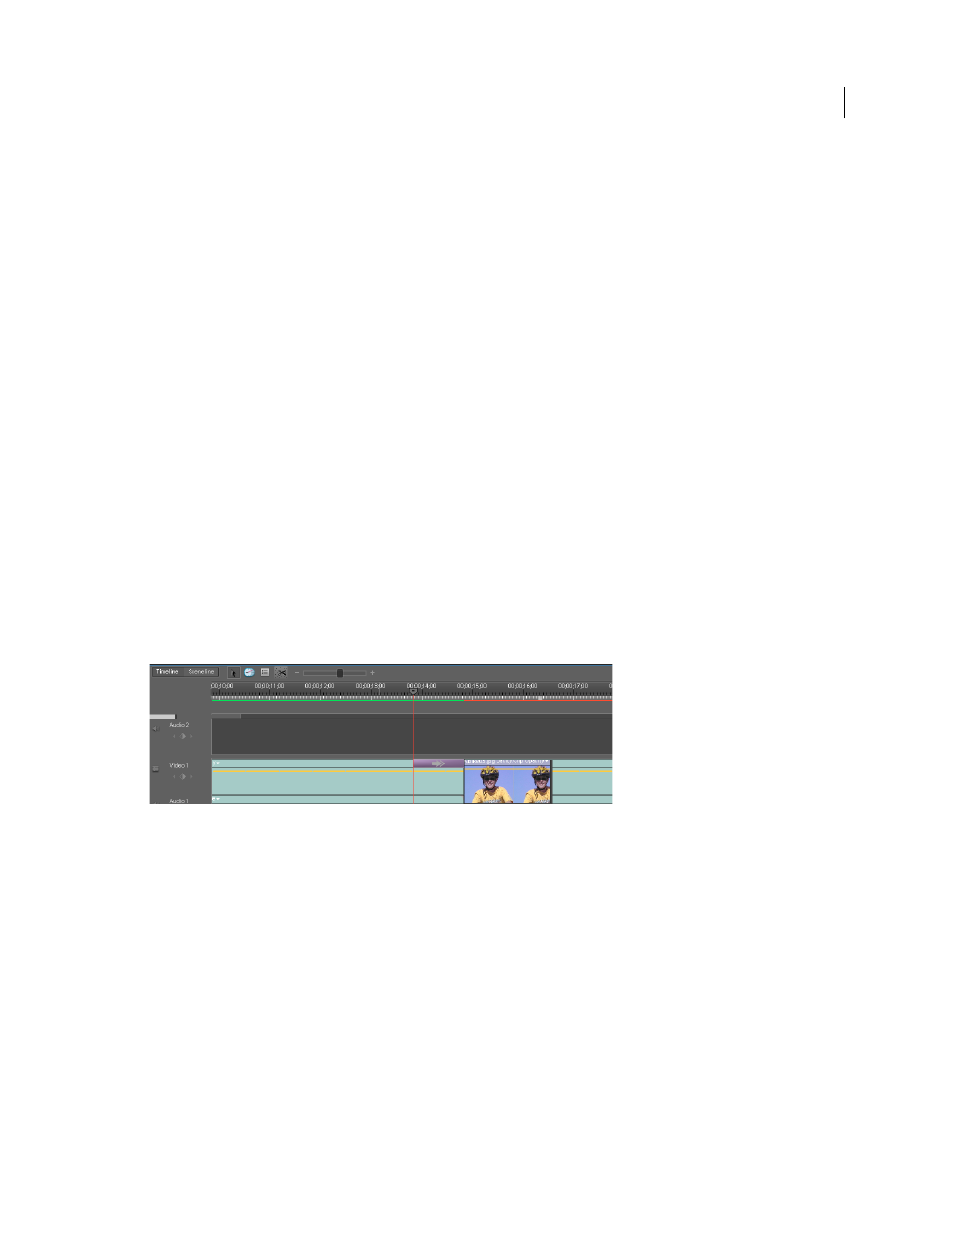
Note: The Timeline displays a red bar above a clip that is not rendered. When rendering is completed, it displays a green
bar above the clip.
Background rendering
Delete rendered files
To delete the rendered files, select Timeline > Delete Rendered Files. The green render bars change to red. If
background rendering is enabled, Adobe Premiere Elements rerenders the clips, as a background process.
Render an area for preview
More complex movies and InstantMovies (with effects and layered video and audio) require more processing time to
display properly. If Adobe Premiere Elements can’t display an area at full speed and quality, it adds a thin, red line in
the time ruler of the Timeline. To preview one of these areas, you can first render it. Rendering processes the layers and
effects and saves the resultant preview into a file, which Adobe Premiere Elements can use each time you preview that
section of the movie. Once rendered, a section doesn’t require re-rendering, unless changes are made to it. (In the
Timeline, rendered areas are marked with a green line.)
Note: If you make significant changes to a rendered area, the preview file is no longer useful, and the green line changes
to red. To preview complex effects at the full frame rate, you’ll have to re-render the area.