Chapter 7: arranging clips in a movie, Arranging clips in the sceneline, Sceneline overview – Adobe Premiere Elements 8 User Manual
Page 89
84
Last updated 8/12/2010
Chapter 7: Arranging clips in a movie
After you add media to your project, you are ready to arrange it in an order that tells a story, conveys an impression,
or communicates a thought. You can also create a slide show from still images, set video to a musical beat, or create a
picture-in-picture effect. Once everything is arranged, you can preview your movie.
You can prearrange clips (create a rough cut) by using icons in Project view or by arranging them in an album in the
Elements Organizer. Or you can simply drag them into the Timeline or Sceneline in the order you want them to
appear.
The Sceneline is useful for basic movie editing; the Timeline is best for more advanced editing techniques. You can
switch between the Sceneline and Timeline as you edit. For example, you can arrange your clips into their correct
order, narrate, create titles, place music, and place transitions in the Sceneline; then switch to the Timeline to layer
clips, trim clips, or add more soundtracks.
Arranging clips in the Sceneline
Sceneline overview
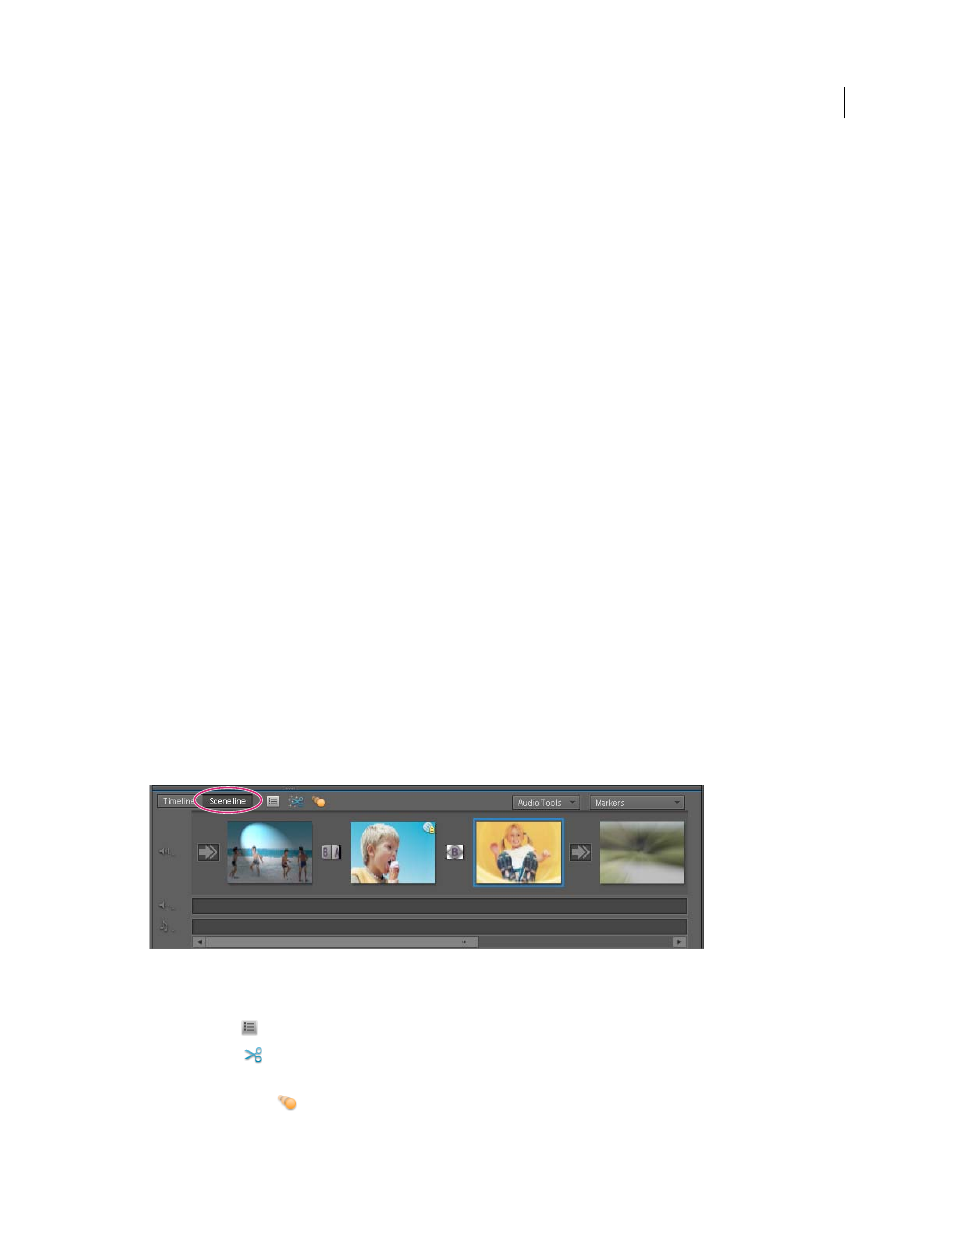
The Sceneline provides a stage on which you can arrange your clips into a movie. In the Sceneline, each clip is
represented by its first frame. This display makes it easy to arrange clips into coherent sequences without regard for
clip length. This technique is sometimes referred as storyboard-style editing. The Sceneline shows the following:
•
A Scenes video track where you place video clips and other images
•
A Narration soundtrack for any narrations you record
•
A soundtrack where you can place background music and other sounds
In the Sceneline, you can also add titles, transitions, special effects, and markers. Use the Sceneline to assemble your
movie quickly and easily. For more advanced editing, use the Timeline.
Sceneline
The Sceneline, as well as the Timeline, contains the following tools for easy access to commonly used features:
Properties tool
Opens the Properties panel of the Tasks panel for the selected clip.
Smart Trim tool
Enables you to enter the Smart Trim mode and trim clips. For more information, see “
Motion Tracking icon
Enables you to enter the Motion Tracking mode. For more information, see “