Move through the timeline – Adobe Premiere Elements 8 User Manual
Page 97
92
USING ADOBE PREMIERE ELEMENTS 8 EDITOR
Arranging clips in a movie
Last updated 8/12/2010
Motion Tracking icon
Enables you to enter the Motion Tracking mode. For more information, see “
Time Stretch tool
Changes the playback speed and duration of a clip without changing the In or Out points.
Dragging the edge of a clip in one direction lengthens it and slows it down. Dragging it in the other direction shortens
the clip and speeds it up. (See “
Change a clip’s speed by using the Time Stretch tool
Zoom
Lets you zoom in or out of the Timeline to display more or less detail in each clip. (See
Zoom in or out of the Timeline time ruler
Audio Tools
Tools that facilitate commonly used features related to Audio are grouped under Audio Tools. The
options under Audio Tools are:
•
SmartSound
Select SmartSound in the Audio Tools menu. The SmartSound window opens. You can select
soundtracks and custom-fit them to your project. (See “
•
Detect Beats
Detects musical beats in the Soundtrack track of the Timeline and adds unnumbered markers at each
•
Audio Mix
Opens the Audio Mixer so you can adjust the volume and balance for your different audio tracks. (See
•
SmartMix
Opens the SmartMixer. SmartMix facilitates automatic adjustment of the volume of the background
music to facilitate hearing the foreground dialogs. For more information, see “
•
Add Narration
Opens the Record Voice Narration panel, which holds tools for recording a voice-over. (See
Markers tool
Adds disc markers into the Timeline at the location of the current-time indicator. (See “
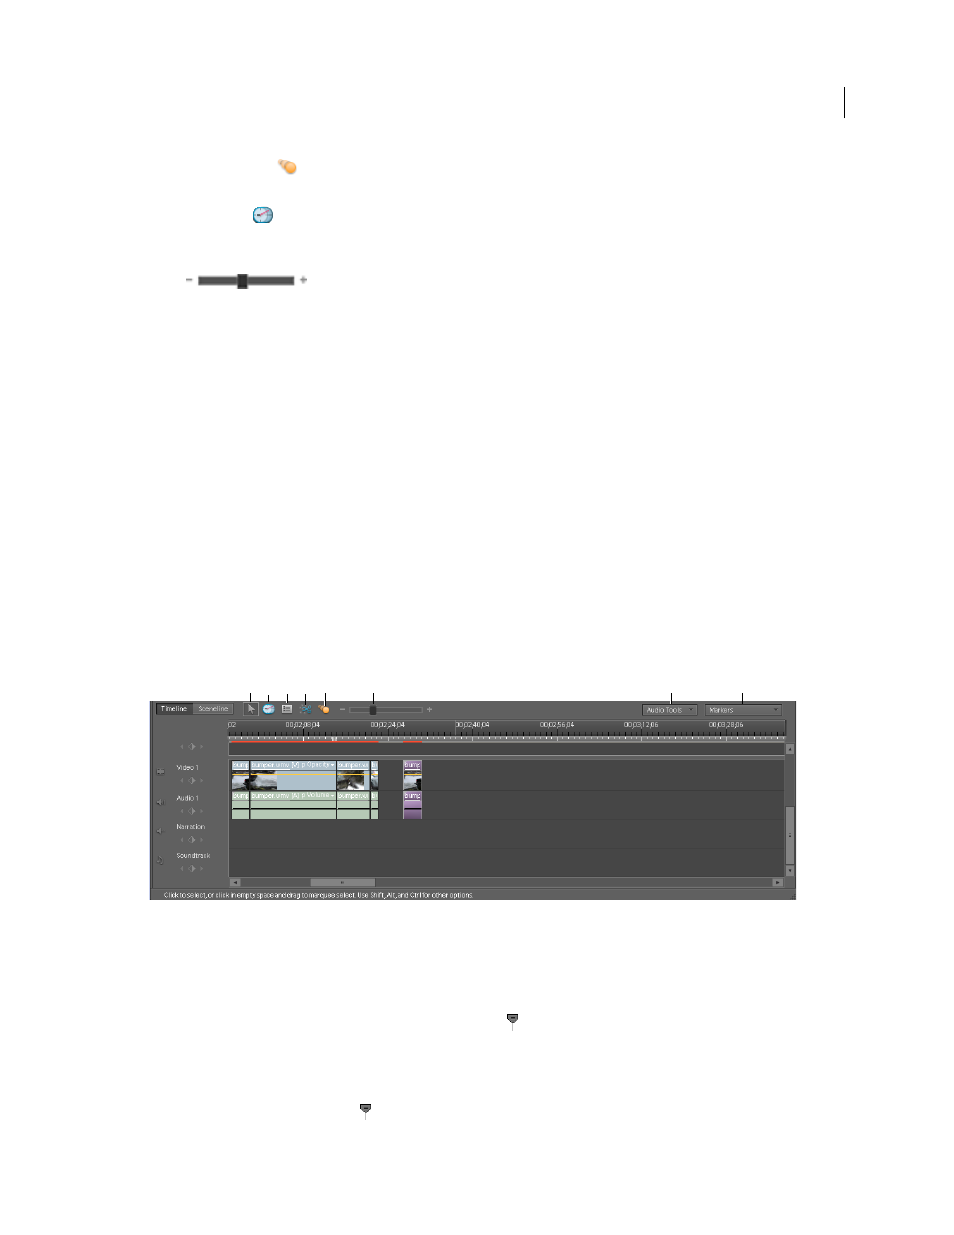
Editing tools in the Timeline
A. Selection B. Time Stretch C. Properties D. Smart Trim mode E. Motion Tracking mode F. Zoom G. Audio Tools options H. Marker
Tools options
Move through the Timeline
When placing and arranging clips in the Timeline, you need to move the current-time indicator to the proper location.
In the time ruler of the Timeline, the current-time indicator
corresponds to the frame displayed in the Monitor
panel. A vertical line extends from this current-time indicator through all the tracks. Zooming in and out of the
Timeline can help you locate the exact location for placing a clip or performing an edit.
❖
In the Timeline, do any of the following.
•
Drag the current-time indicator
.
G
A
B
C
D
E
F
H