Epiphan Networked VGA Grid User Manual
Page 207
Networked VGA Grid User Guide
5-4 File and recording transfer
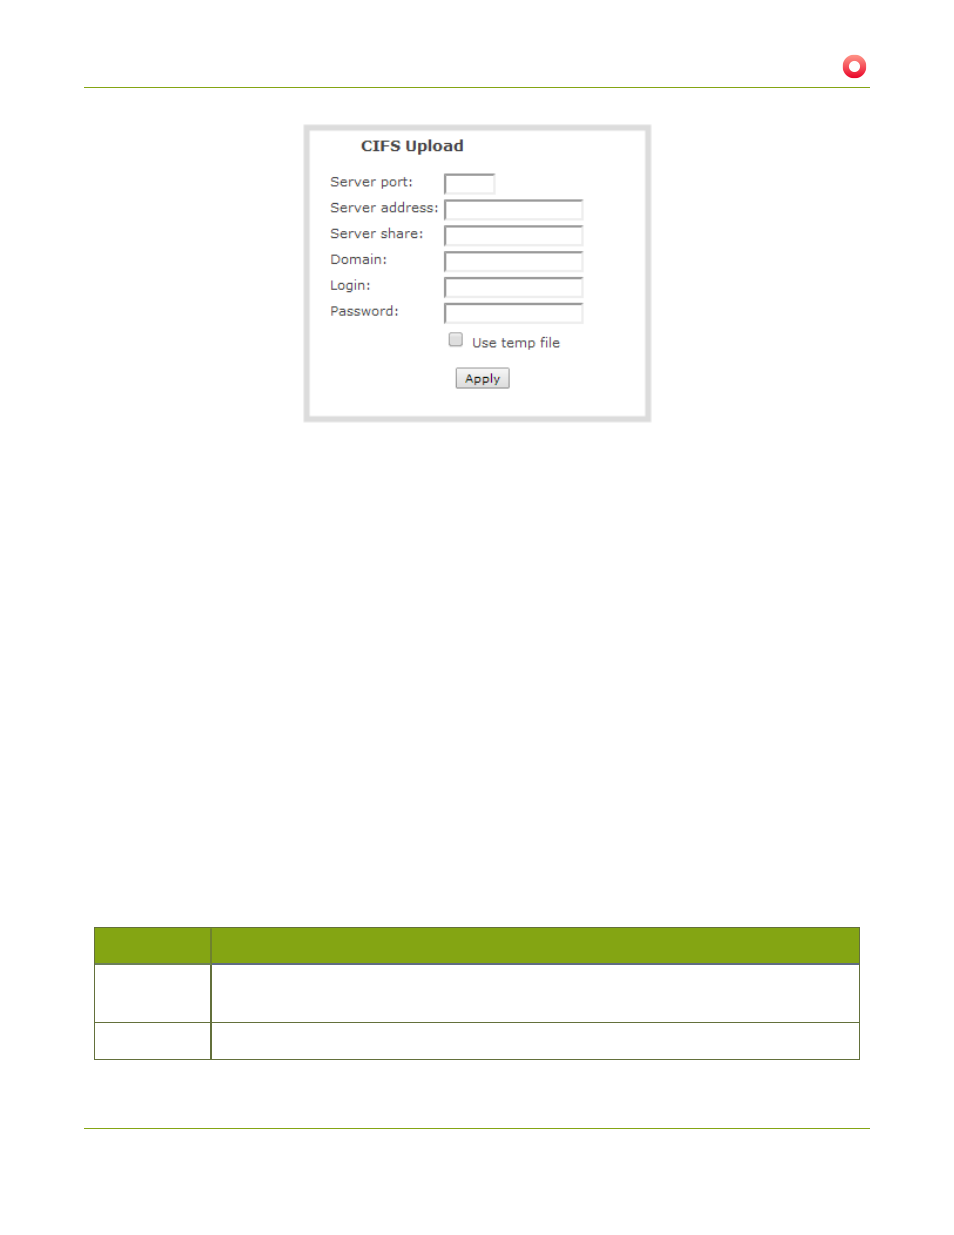
2. Specify the target Server address. If your system is configured with DHCP or has a valid DNS
), you can use the server’s fully qualified domain name
instead of the IP address.
3. Enter the target Server port, if you have configured the server to use something non-standard. Leave
this value blank to use the default port.
4. Specify the Server share. This is the CIFS share name or the name of the shared folder on the server. If
needed, request this value from the network administrator.
5. If the system is in a different domain than the server or if it is part of Active Directory, enter the Domain
name of the CIFS server.
6. Specify a username for the CIFS Server in the Login field. The user must have write permissions for the
share folder.
7. Specify the password for the user in the Password field; the value is masked by dots.
8. Select Use temp file to name files with a temporary filename extension (.part) on the server until upload
is complete.
9. Click Apply; if there are any problems the system notifies you with a message: One or more parameter
values are not valid and those were not applied!
The following table describes the options applicable to configuring upload to a CIFS server.
Table 30
CIFS Automatic File Upload Configuration Options
Name
Description / Options
Server Port
The CIFS server port. Leave blank to use the default port, or enter the port used for your
CIFS server.
Server address
The IP address (or fully qualified domain name) of the CIFS server.
195