Markers – NewTek TriCaster Studio User Manual
Page 149
Page | 129
Hint: Occasionally, you will want to move a clip up or down in the Timeline without altering its
position horizontally on the Timeline. To constrain your movement to vertical dragging only, hold
the v key down (press v before you click and drag). Stop dragging wherever you wish, release the
mouse button, and then release the v key.
8.4.7 MARKERS
Someone famous once said, “Timeline markers are the greatest thing since peanut butter.” (OK,
no one really said that … but that doesn’t mean it’s not true.) Markers are a huge convenience.
They serve as simple visual cues, like bookmarks, but offer a great deal more too.
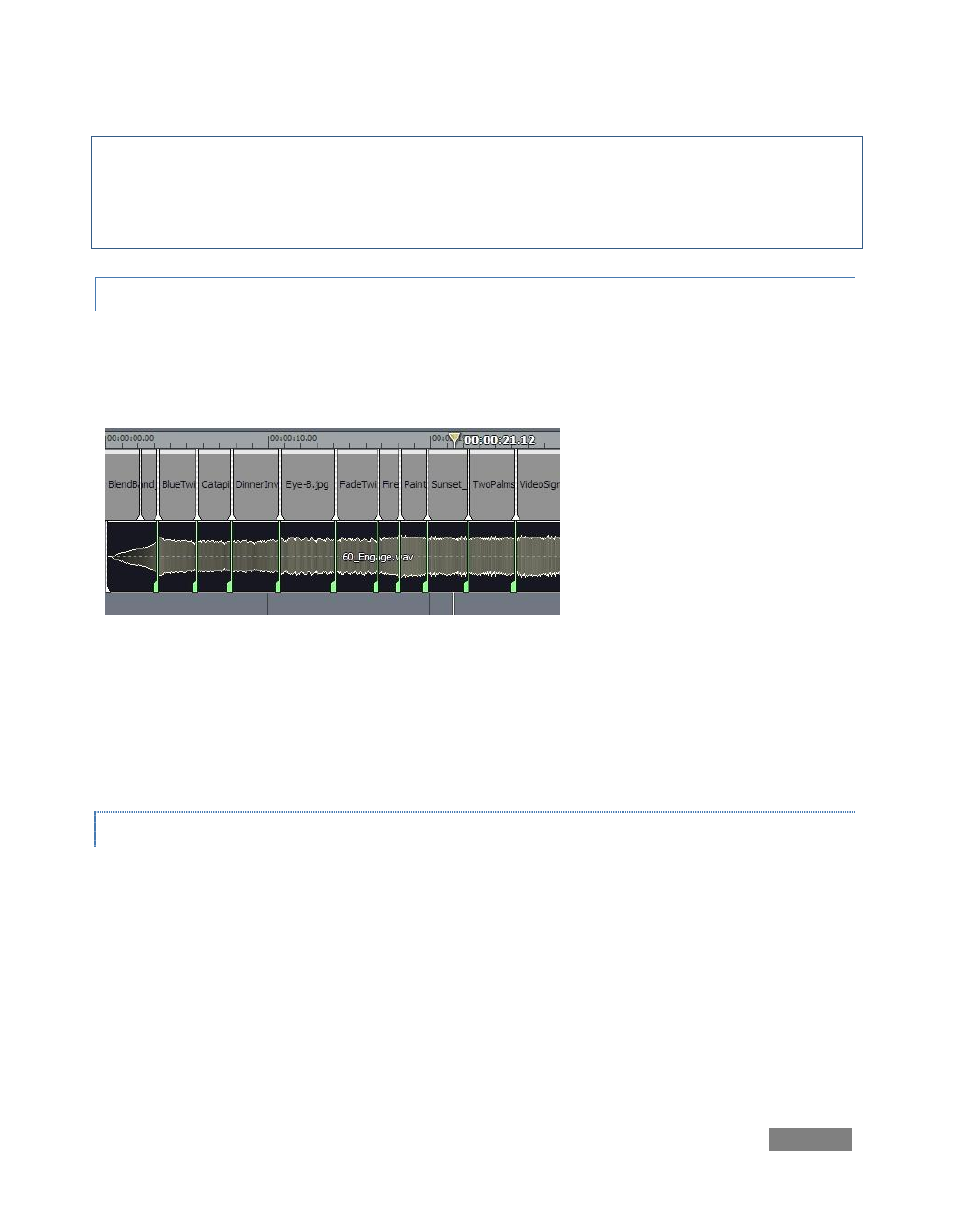
Figure 140
TriCaster provides two different types of timeline markers, the Clip Marker and the Project
Marker. The creation, management, and basic features of both types are identical. The primary
difference between the two is their domain. Project markers fulfill their raison d’être by clinging
tightly to the global Project time. Clip Markers accompany the clip, wherever it goes.
ADDING MARKERS
You can create a Project Marker in several ways:
1. With no clip selected, right-click in the background area of the Timeline pane to open a
context menu. Select Add Project Marker, and voila – a new marker is created at the
current position of the Edit Line. It appears as a distinct thin green vertical line
intersecting the Timeline display.