NewTek TriCaster Studio User Manual
Page 150
Page | 130
2. Adjust the current position of the Edit Line, but this time press the m key to create
another Project Marker. Now you have two Project Markers.
Hint: You can even use this keystroke shortcut while the project is playing back. This permits you
to easily mark visually (or audibly) significant events for later reference.
NAVIGATING BETWEEN MARKERS
Jump from marker to marker in the Timeline using the, (comma) and . (period) keys (or, if you
prefer to think of it that way, the <, and > keys … without Shift mind you).
MANAGING MARKERS
Remove markers as follows -- when the Edit Line is located at a Project Marker, right-click in the
Timeline background, and choose Remove Project Marker from the menu. When more than one
marker is present in the Project, the menu will also offer to Remove All Markers. You can also
left-click the mouse directly on a marker and drag to the left or right to reposition it more
carefully along the Timeline.
EDITING MARKERS
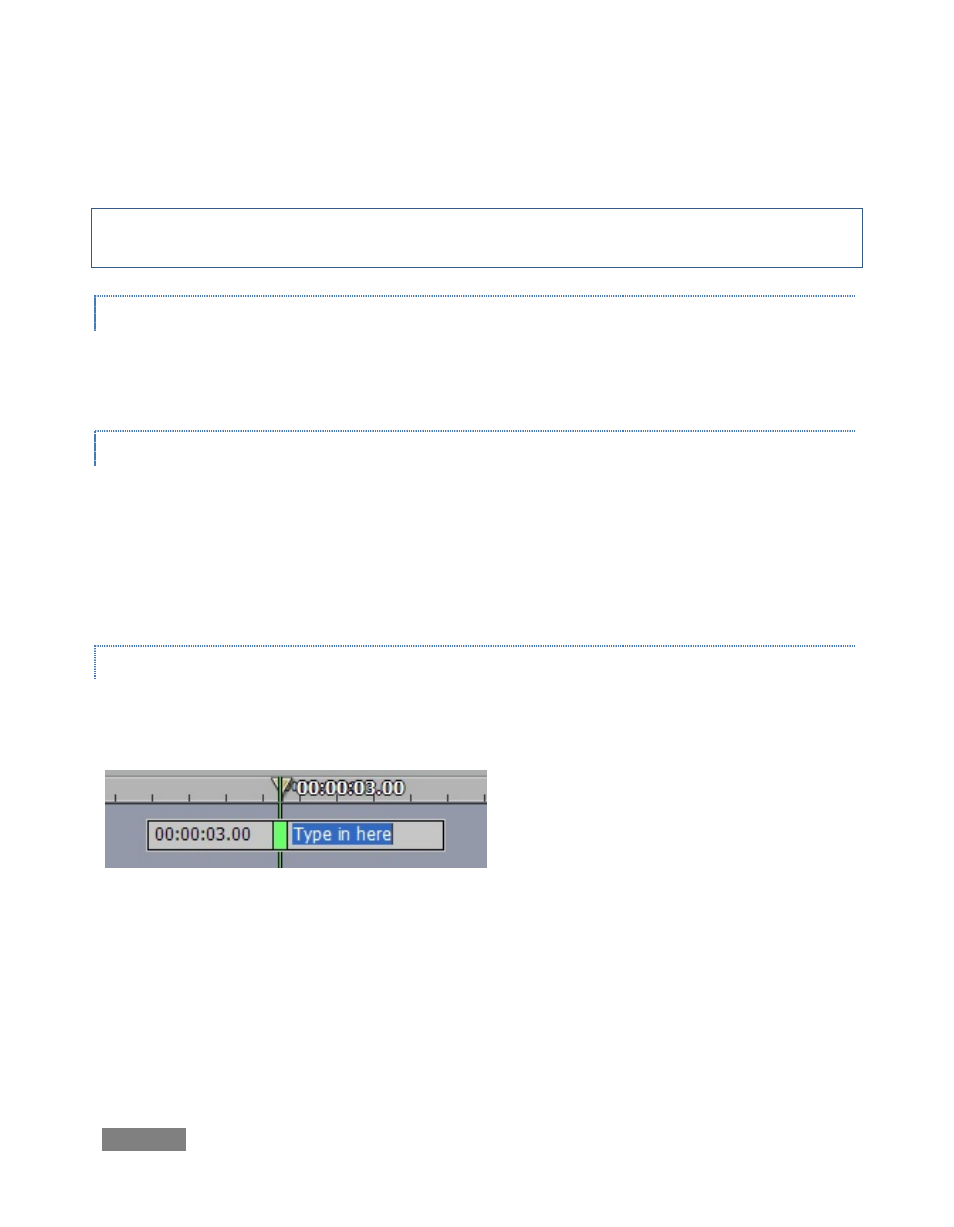
It gets even better. You can edit the appearance of marker(s), adding useful information at the
same time. Double-click the marker and up pops a small inset with three convenient features.
Figure 141
The Marker Tag field, shown in blue in the image, is active immediately after double clicking. Use
this field to provide a name or comment (i.e., brief editing notes) for the marker. While in
Marker Edit mode, you also will see another direct entry field to the left of the marker. Modify
the existing timecode value and press Enter on the keyboard -- the Marker jumps to the new
position.