NewTek TriCaster Studio User Manual
Page 75
Page | 55
INTERACTIVE FEATURES
The individual preview monitors are actually interactive live production controls. You can use
these to perform many operations that you might otherwise do using the Switcher.
Here’s a list of things to try:
Click on an unselected monitor to place it on the Preview row
Click the monitor assigned to Preview to perform a Take (swapping it with the current
Live row source and sending it to LIVE Output.)
Double-click any unselected monitor to place it on the Live row (moving the previous
Live source to Preview.)
Shift + click the small monitor assigned as Preview or Live monitor to Auto between
them.
Shift + click any monitor to Auto to it on Live (sending the original Live source to
Preview.)
(Observe that the Cue switch responds normally when you switch interactively in this manner.)
Hint: Take advantage of keystroke shortcuts mentioned in the Switcher discussion which follows.
Beneath DDR monitors are Cue, Stop, Pause and Play buttons. These function just like the
controls in the tabbed DDR panels below.
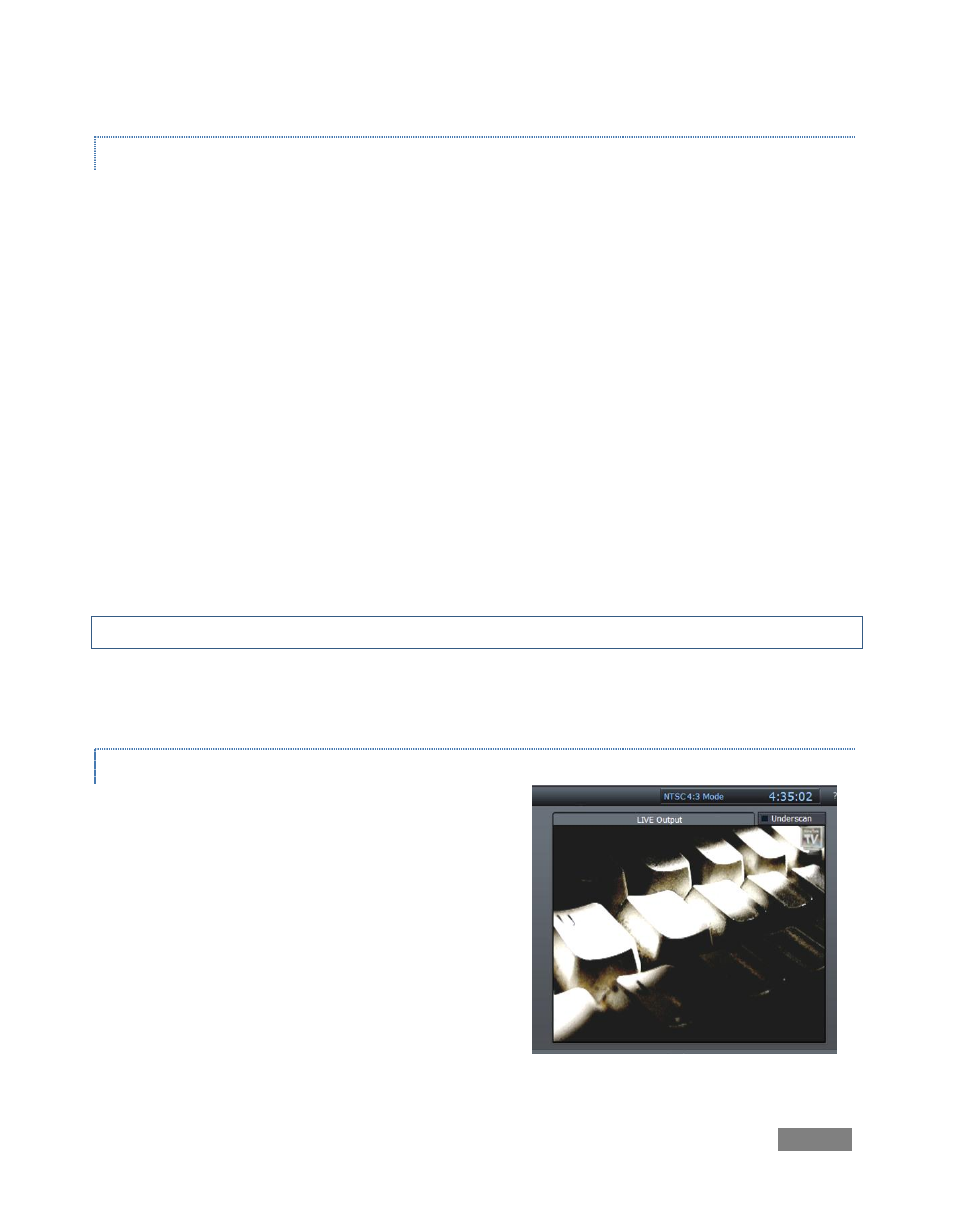
LIVE OUTPUT
At right, a larger monitor is provided so that you
always know exactly what your current program
output stream is displaying. The LIVE Output display
includes any active effects and Overlays.
By default, the program view is slightly cropped, just
as it would be viewed on most television sets. The
LIVE Output Underscan switch at upper right causes
the monitor to display the entire frame, right to its
extreme edges.
Figure 48 - TriCaster