Color correction — rgb/yuv – NewTek TriCaster Studio User Manual
Page 174

Page | 154
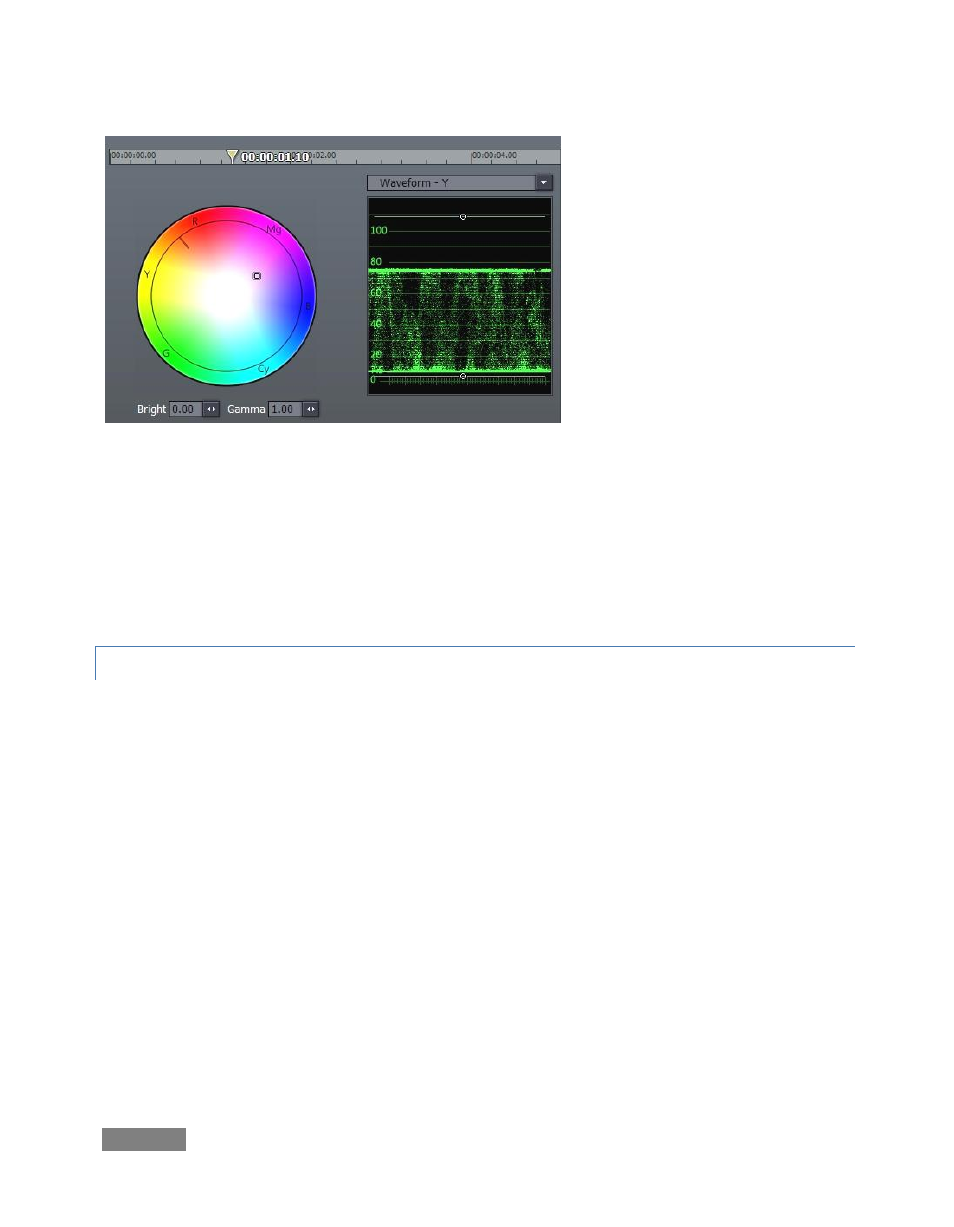
Figure 171
Before considering the rest of the tools in the Color Correction section, we need to pause and
familiarize ourselves with the features of the Master Color tabbed panel. This pane features a
standard RGB color wheel on the left, and a Waveform monitor displaying the selected clip’s
Luminance levels (represented as the Y value in YUV color space) at right. Let’s watch how this
panel interacts with and displays the various color settings in the Tree listing to the left.
8.7.1 COLOR CORRECTION — RGB/YUV
Expand the Color Correction (RGB) group. Drag your cursor around in the Color Wheel and
watch how this affects the values shown in the Red, Green and Blue Gain fields in the settings
pane. As you might expect, the converse is also true. Adjusting the Brightness and Gamma
settings trigger matching changes in the corresponding numeric fields in the Master Color pane,
too.
The Waveform display is also an interactive control panel. Drag your mouse over it, please. As
you move close to the white lines indicating your pedestal (0 or 7.5 IRE) and the 100 or 110 IRE
established as maximum, the cursor displays “Y Gain” - dragging will adjust the corresponding
value in Color Correction (YUV). Dragging in the middle of the range adjusts the Y Offset.
Click and hold the drop-down menu directly above the Waveform display, and choose Waveform
YUV. Now you have the same ability to adjust each of those values (discussed in more depth
below) graphically too, with realtime results showed on the Output monitor, and scope-accurate
information at your fingertips.