NewTek TriCaster Studio User Manual
Page 162
Page | 142
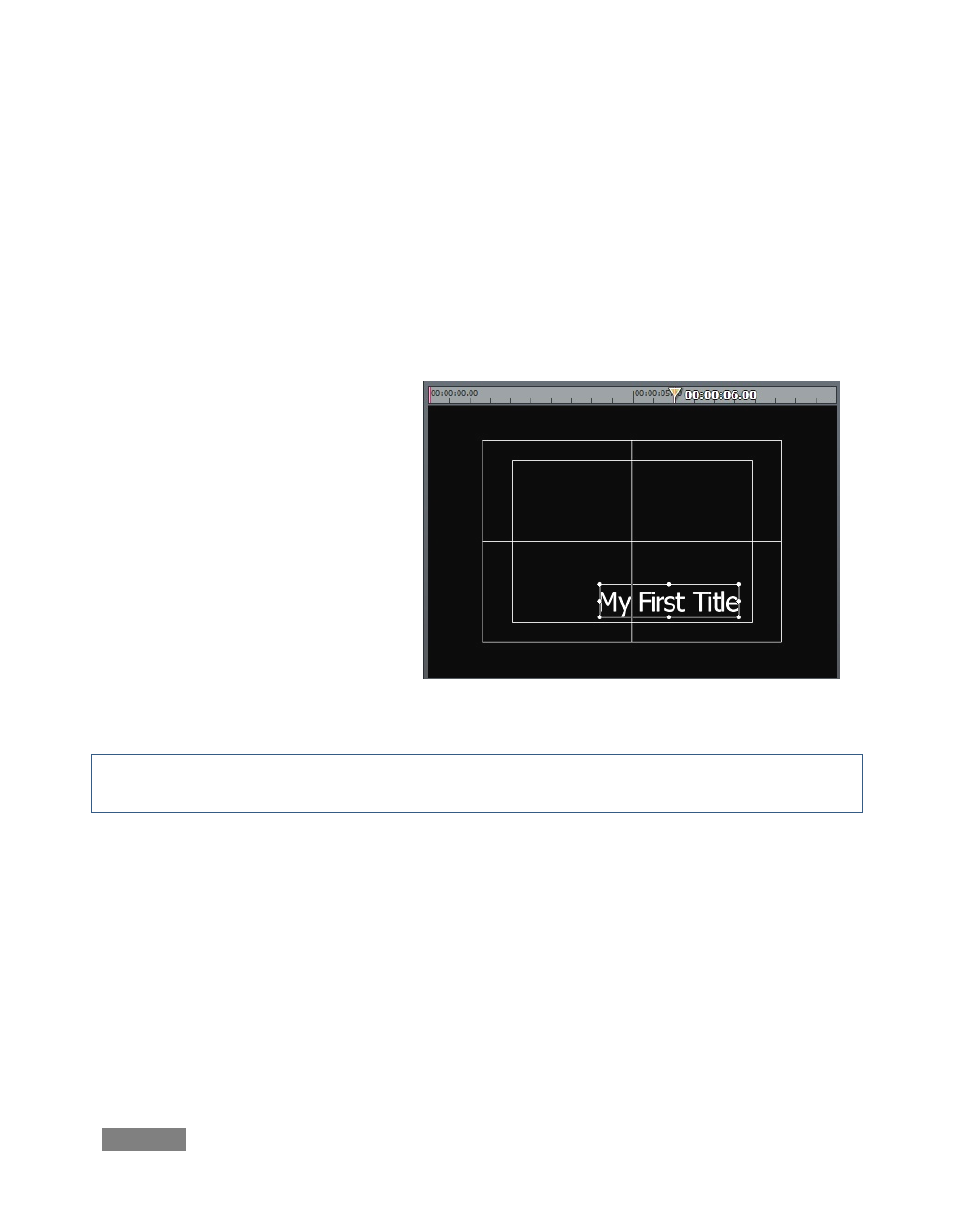
Now, move the edit line to the right – for this example, use the 6 second mark. Drag the text to
a new position on the screen, as shown in Figure 158. Hover the cursor over one of the title
objects corners, and drag to make it much larger.
By moving to a different point in time and adjusting the size and position of the object, you
automatically created a second keyframe for those values. Once the Ready to Play light
illuminates, you have an animated title.
Note that a small pink vertical mark
has been ‘left behind’ at the left end of
the time bar.
This mark indicates that a keyframe
exists. If you click the left arrow beside
the Keyframe button, you will jump
back to that previous keyframe
position – click the right arrow and you
return to the next keyframe, at 6
seconds.
Hint: If you create a keyframe inadvertently, simply jump to it, and then click the Keyframe button
again to remove it.
Our title animation could stand a little refinement. First, we can see that it is slamming into its
at-rest position. It would be nicer if it would slow down and ‘park’ gently. Jump to that
Keyframe, and click the Ease In button. Play your animation again – that’s much better, isn’t it?
Let’s add a fade-in to the motion effect. We could simply use the fade triangle control on the
Title Page clip in the timeline, but let’s take this opportunity to briefly explore the settings panel
beneath the composition window.
Figure 158