Filters and fades – NewTek TriCaster Studio User Manual
Page 154
Page | 134
Click on Transitions entry in the category list at lower left the left, and then select Add
Transitions. In the Transitions selection menu above, you may not find the specific Transition
that you want already listed, but you can choose any one TriCaster provides. If the transition isn’t
in the project already, drag it out of its directory and onto the Timeline. Be sure it’s selected, and
then click Grab Transition. The Transition menu will show “User” as the current selection, and
the transition name and number will then be displayed above.
Now, you can set the duration for the transition. The 1, 2, and 3 buttons are just fast ways to
enter exactly 1, 2, or 3 seconds. Next choose whether the Transition will be added between
every clip in the project or only applied to a specific range. Of course, if you pick Time Range, you
need to go to the Timeline and shift-click a range of clips to mark that range. Then, click on
Perform and the Transition will be added.
Hint: Tool Shed also provides powerful tools to add, remove or replace transitions.
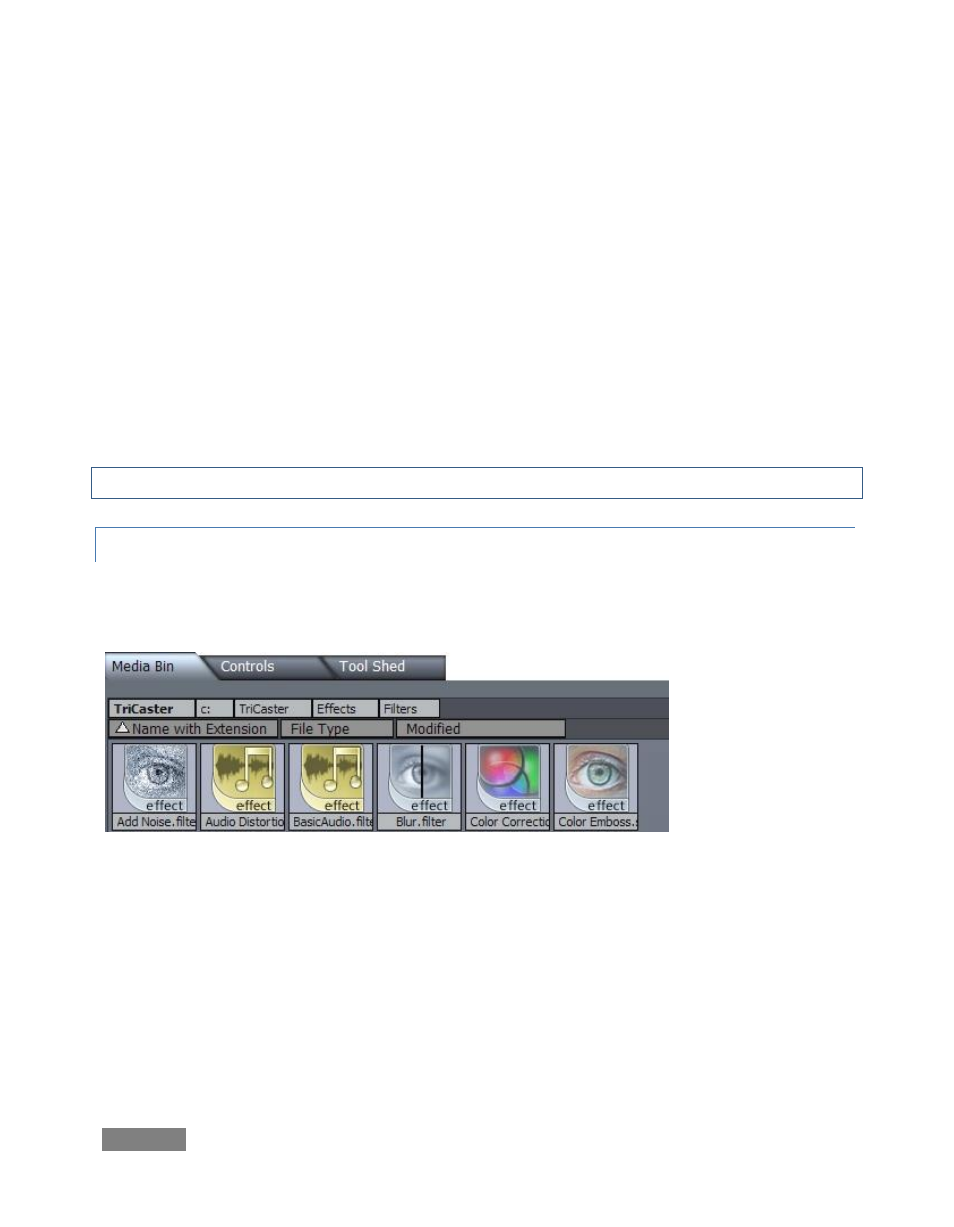
8.4.10 FILTERS AND FADES
The Filters folder is listed among the Hotlist buttons at the bottom of the Media Bin panel, and
contains some useful items for creative work.
Figure 145
Both audio and video filters are found here. To use one, you drag it from the folder onto the
timeline. Generally, filters affect all tracks above their insertion point. Selecting the filter on the
timeline permits you to access any controls and settings it may offer in the Controls window,
discussed in depth shortly.