NewTek TriCaster Studio User Manual
Page 165
Page | 145
Now click the main color swatch to pick a different color for the rectangle’s face (we’re going to
change this later, so for the moment just use any easily visible color.
Then, click the Depth button to position the rectangle behind your existing text object.
(You may wish to resize and reposition the
rectangle a bit at this point, to conform to the size
of the title.)
Right, that’s more sensible. Now, use the main
color swatch again to change the rectangle color to
black or dark brown. Look in the settings panel for
the Filled Rectangle entry in the list, and expand it
by clicking the [+] button.
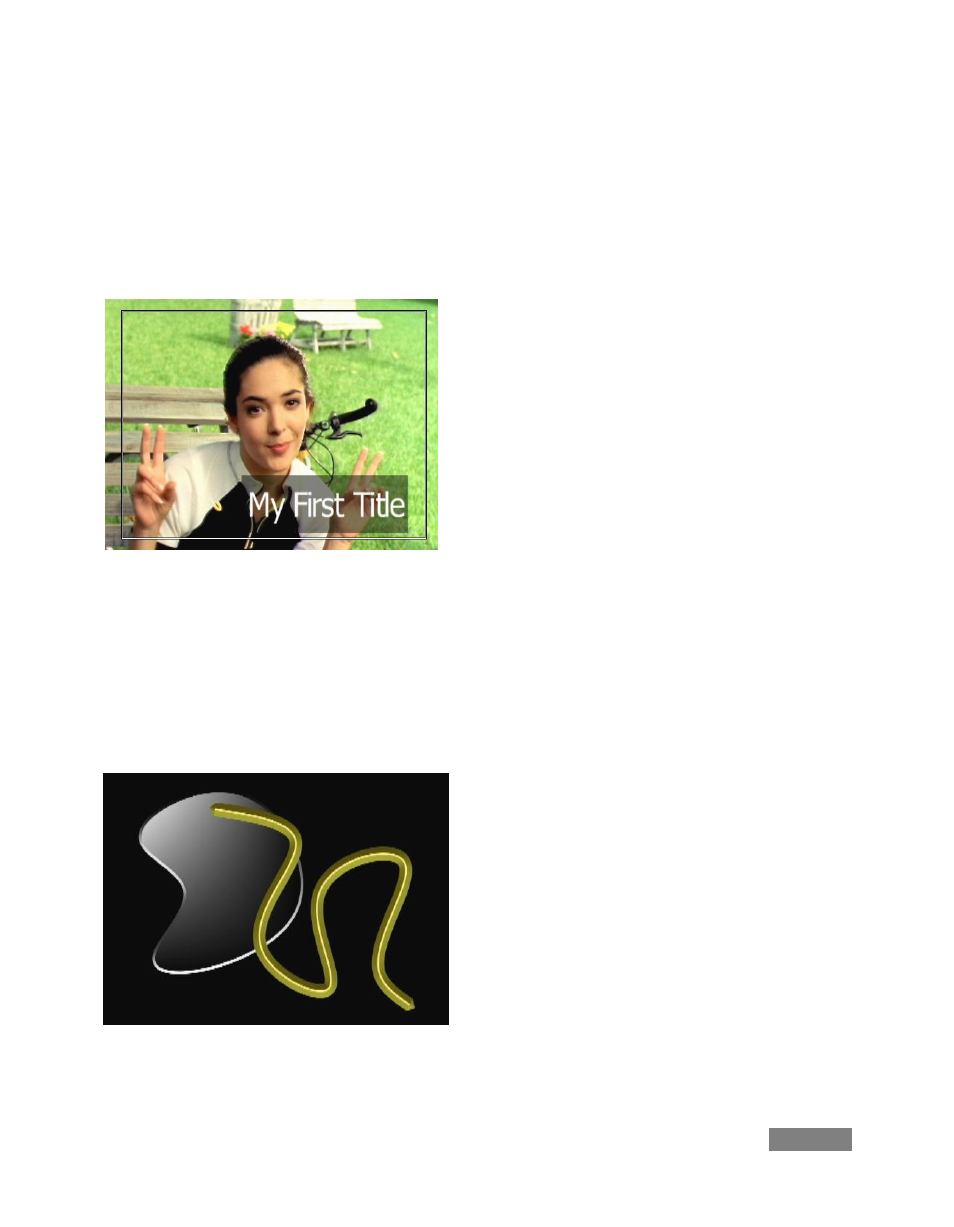
Set the Alpha value to 128. Your result should look something like Figure 163. Later, you’ll want
to experiment a bit with the drawing tools – they are amazingly capable. Combined with
adjustments in the settings pane, you can draw - and animate - almost any shape you wish!
To end a drawing operation with one of the spline drawing tools, double-click the mouse. Spline
objects such as lines and filled shapes can be modified after their creation, as well:
Select the object and resize it in the usual way, or
and hold down Shift while dragging just outside a
corner to Rotate it. If you press shift while right
over a corner, you can Shear (italicize) the object
by dragging.
You can even add and reposition the vector
control points defining the object. To do this,
hold down the Alt key. As you near a control
point, the cursor will read Delete – click a point to
remove it.
Figure 163
Figure 164