Pressure testing, Leak testing – Fluke Biomedical Cufflink User Manual
Page 47
Operation
Pressure Testing
2
2-19
Note
The baseline heart rate for all arrhythmias is set to 80 BPM.
6. Compare the monitor values with the target values displayed on the
Makearm
display.
7. Press
F3 Print
to print the arrhythmia test results.
8. Press
F4 Draw
to display the pressure envelope pulse.
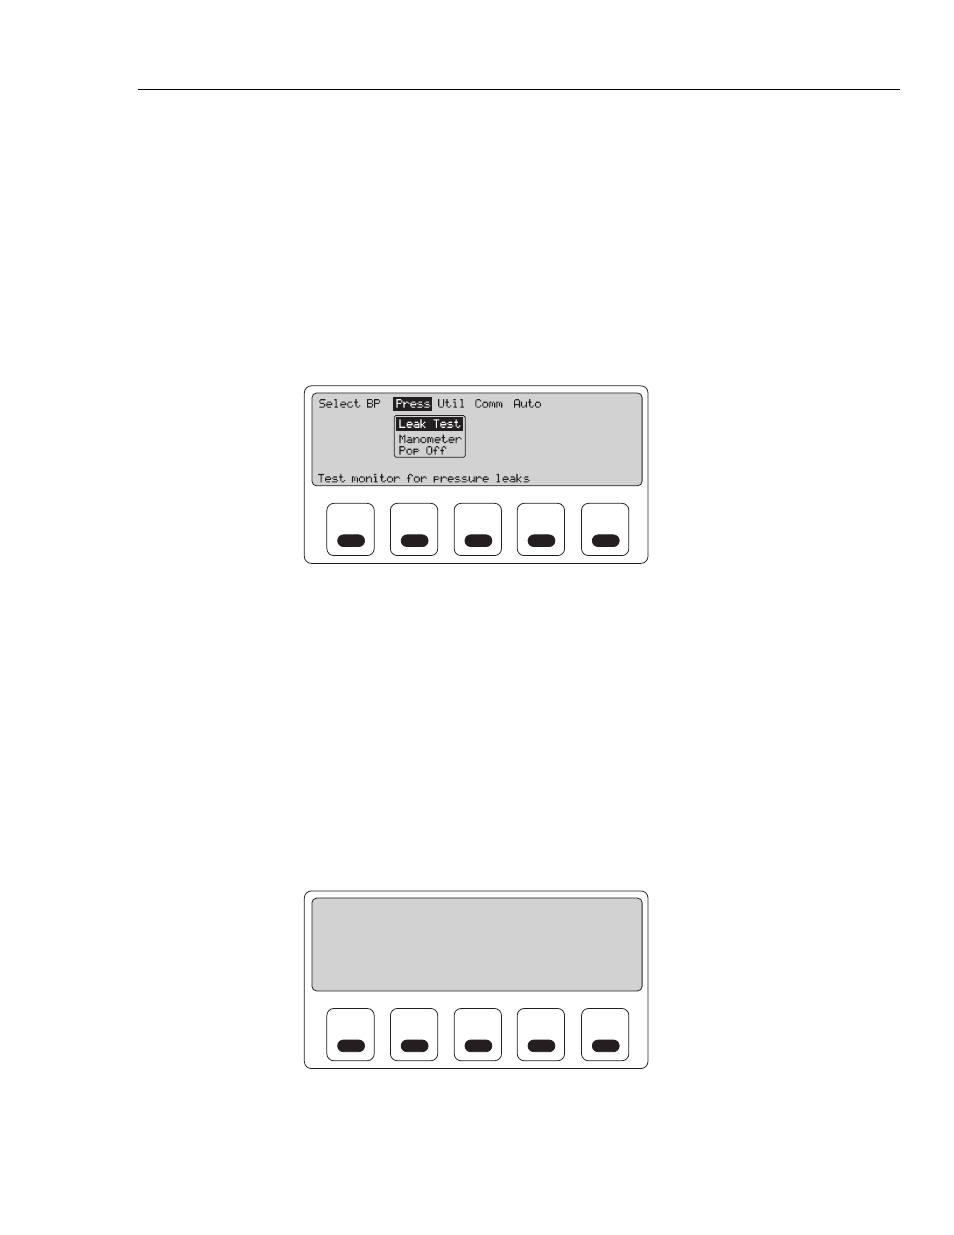
Pressure Testing
The analyzer enables the user to test for pressure leaks in the test system, measure general
pressure, and evaluate the monitor’s pressure release valve. All three of these functions
are accessed from the
Press
submenu:
F1
F2
F3
F4
F5
fcv099.eps
Leak Testing
The
Leak Test
option allows testing of NIBP equipment, including cuff and tubing, for
air leaks.
Note
If the NIBP device has an internal system leak test or one that vents the
cuff inflation pneumatic circuit to the atmosphere when idle, do not use
the Leak Test option. Rather, use the Manometer option to check for
internal system leaks. Refer to the NIBP monitor operators manual for the
recommended test protocol.
To test for pressure leaks in the NIBP test system:
1. From the
Press
submenu, highlight
Leak Test
and press the
Ent
key. The
Leak
Test
screen displays:
F1
F2
F3
F4
F5
*** Leak Test ***
Pressure actual
(mmHg):
-
0.75 Target
Pressure drop
(mmHg):
15.50 200
Elapsed time (min:sec): 1: 0
Leak rate (mmHg/min): 15.50
Reset
Utility
Start
Pump
Release
Pressure
fcv027.eps
From the
Leak Test
screen, several options can be selected.
2. If necessary, set the cuff pressure to zero, as described in Simulating Adult Blood
Pressure: Setting Zero Pressure, above.