Managing a scheduled report, Adding a scheduled report – H3C Technologies H3C Intelligent Management Center User Manual
Page 112
103
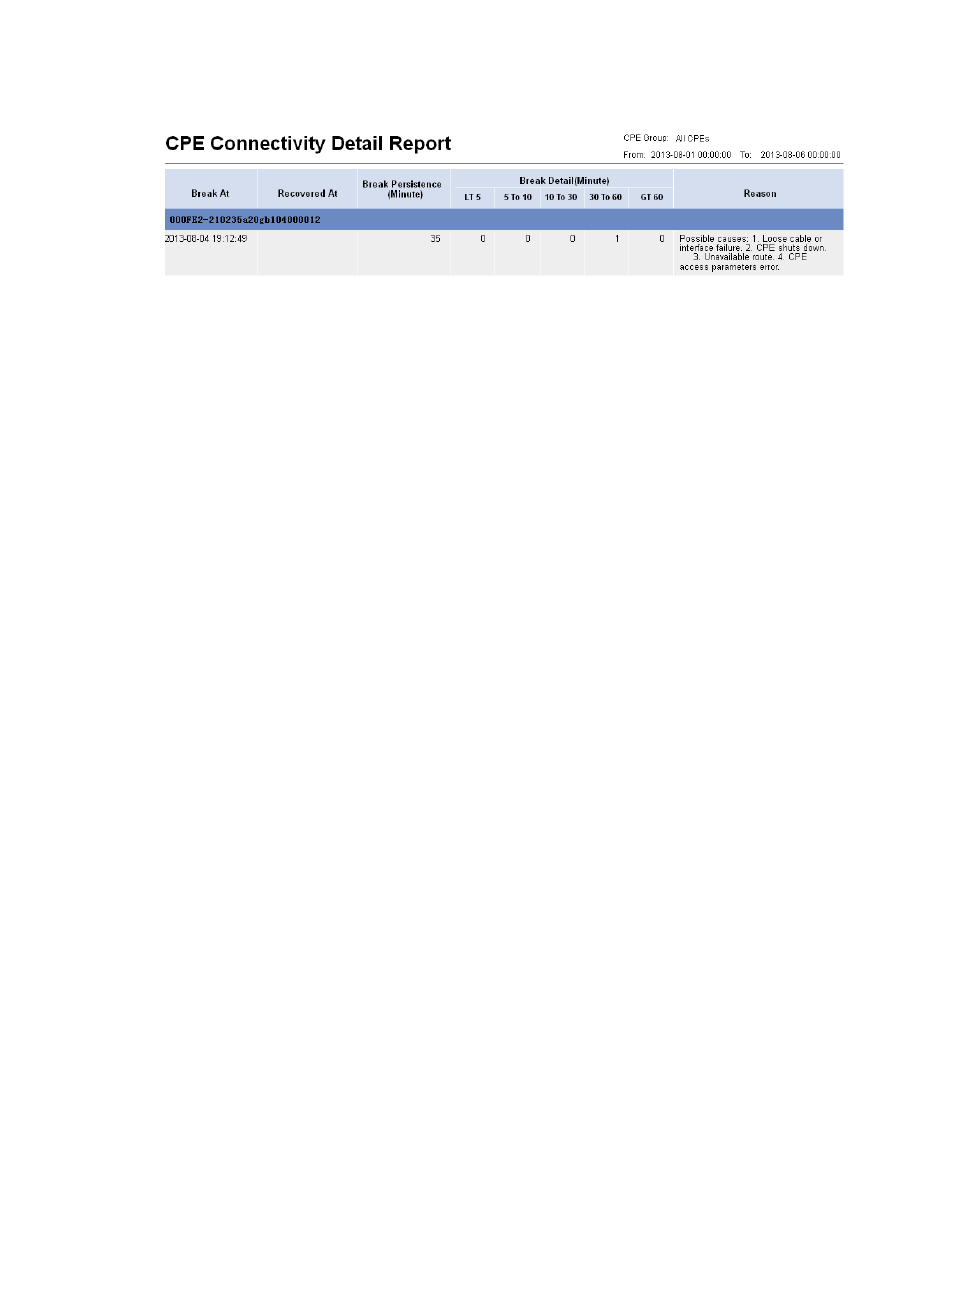
Figure 10 CPE Connectivity Detail Report
CPE Connectivity Detail Report parameters:
•
CPE Group—Statistics collection range, a CPE group or ALL CPEs.
•
From To—Statistics collection time range.
CPE Connectivity Detail Report fields:
•
Break At—Time stamp when a break occurred.
•
Recovered At—Time stamp when a break is recovered.
•
Break Persistence (Minute)—Break duration, in minutes.
•
Break Detail (Minute):
{
LT 5—Number of breaks recovered in less than 5 minutes.
{
5 to 10—Number of breaks recovered in 5 to 10 minutes.
{
10 to 30—Number of breaks recovered in 10 to 30 minutes.
{
30 to 60—Number of breaks recovered in 30 to 60 minutes.
{
GT 60—Number of breaks recovered in more than 60 minutes.
•
Reason—Possible reason causing the break.
Managing a scheduled report
Scheduled reports are generated in a scheduled time period. The report generation period and report
templates must be predefined. The administrator can view reports generated in different schedules and
compare and analyze data in reports.
Adding a scheduled report
1.
Enter the page for adding a scheduled report in one of the following ways:
{
Click the Report tab. Select Reports > Add Scheduled Report from the navigation tree to enter
the page for adding a scheduled report.
{
Click the Report tab. Select Scheduled Reports > All Scheduled Reports from the navigation tree
to enter the All Scheduled Reports page. Click Add to enter the page for adding a scheduled
report.
2.
Select a template:
a.
On the right of Template Name, click Select.
b.
From the Type list in the Query Template area, select BIMS Report, and then click Query.
c.
Select the target report template, and click OK.
3.
Enter the report name in the Scheduled Report Name field.