Sending scanned data by e-mail – Epson WorkForce AL-MX300DN User Manual
Page 84
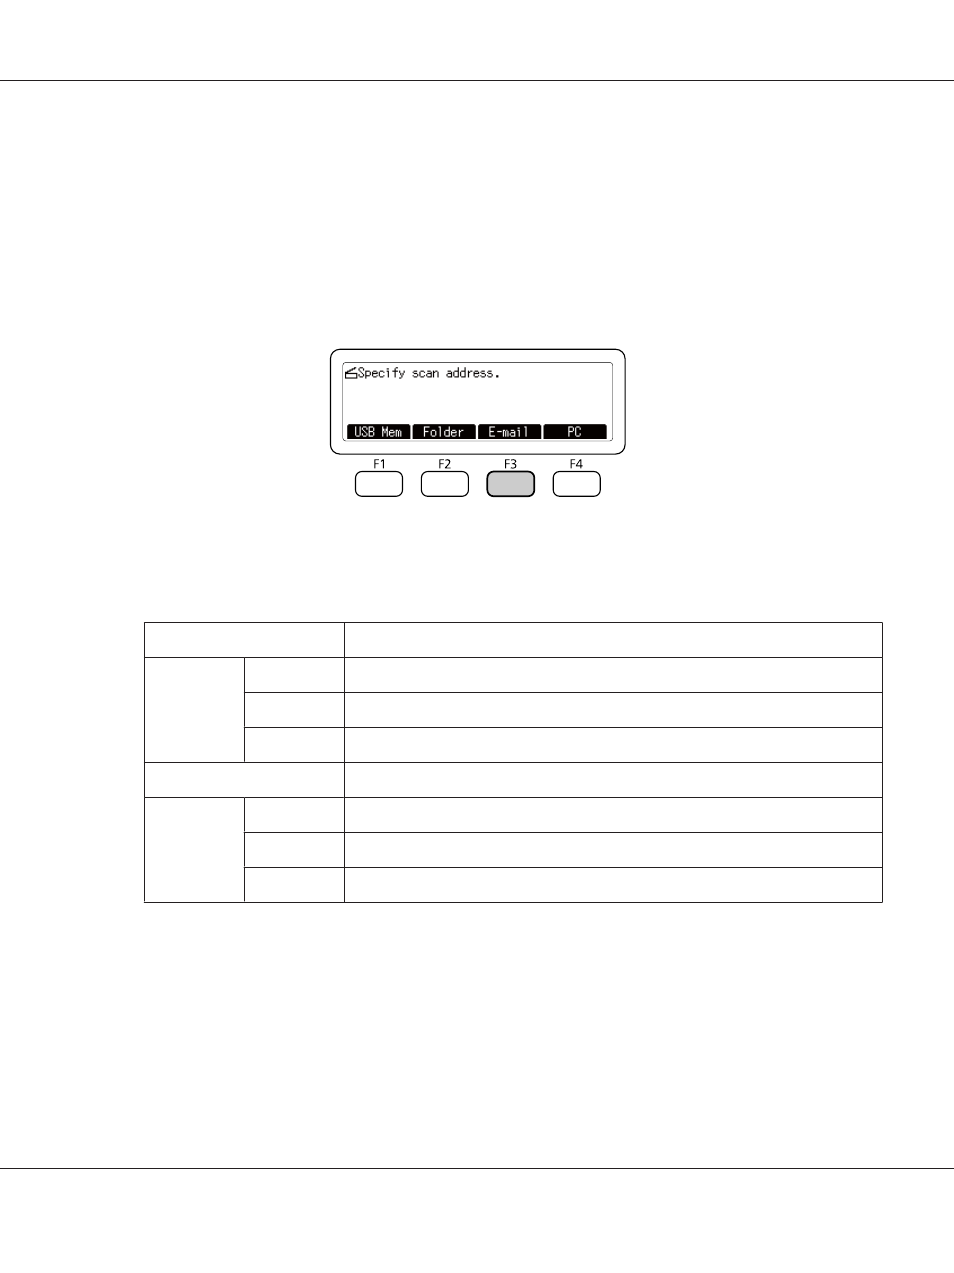
Sending scanned data by e-mail
1. Press the Scan button.
2. Place your original either on the document table or in the Auto Document Feeder. For details on
how to set your original, see “Setting Your Originals” on page 50.
3. Press the F3 button on the control panel.
4. Press the l or r button several times to select the Basic Setting tab and press the F1 button.
5. Press the F1 or F3 buttons to select the items and enter a destination e-mail address and subject.
Item
Description
Address List
Address
Select a destination from the Address Book.
Direct
Enter the mail address directly. (Up to 64 characters)
Delete
Delete the selected address.
Input Subject
Input the e-mail subject.
Reply
Address
Address
Select a reply destination from the Address Book.
Direct
Enter the reply mail address directly. (Up to 64 characters)
Delete
Delete the selected reply address.
Note:
A maximum of 255 characters can be entered for the destination e-mail address.
6. Press the OK button.
Note:
If necessary, specify the desired settings, such as Basic Setting, File Setting, and Scan
Setting
. For details about each setting, see “Scan mode menu list” on page 80.
AL-MX300 Series User's Guide
Scanning 84