Epson WorkForce AL-MX300DN User Manual
Page 92
9. Click Preview to preview your image(s). The Preview window opens and displays your image(s).
See “Previewing and Adjusting the Scan Area” on page 95.
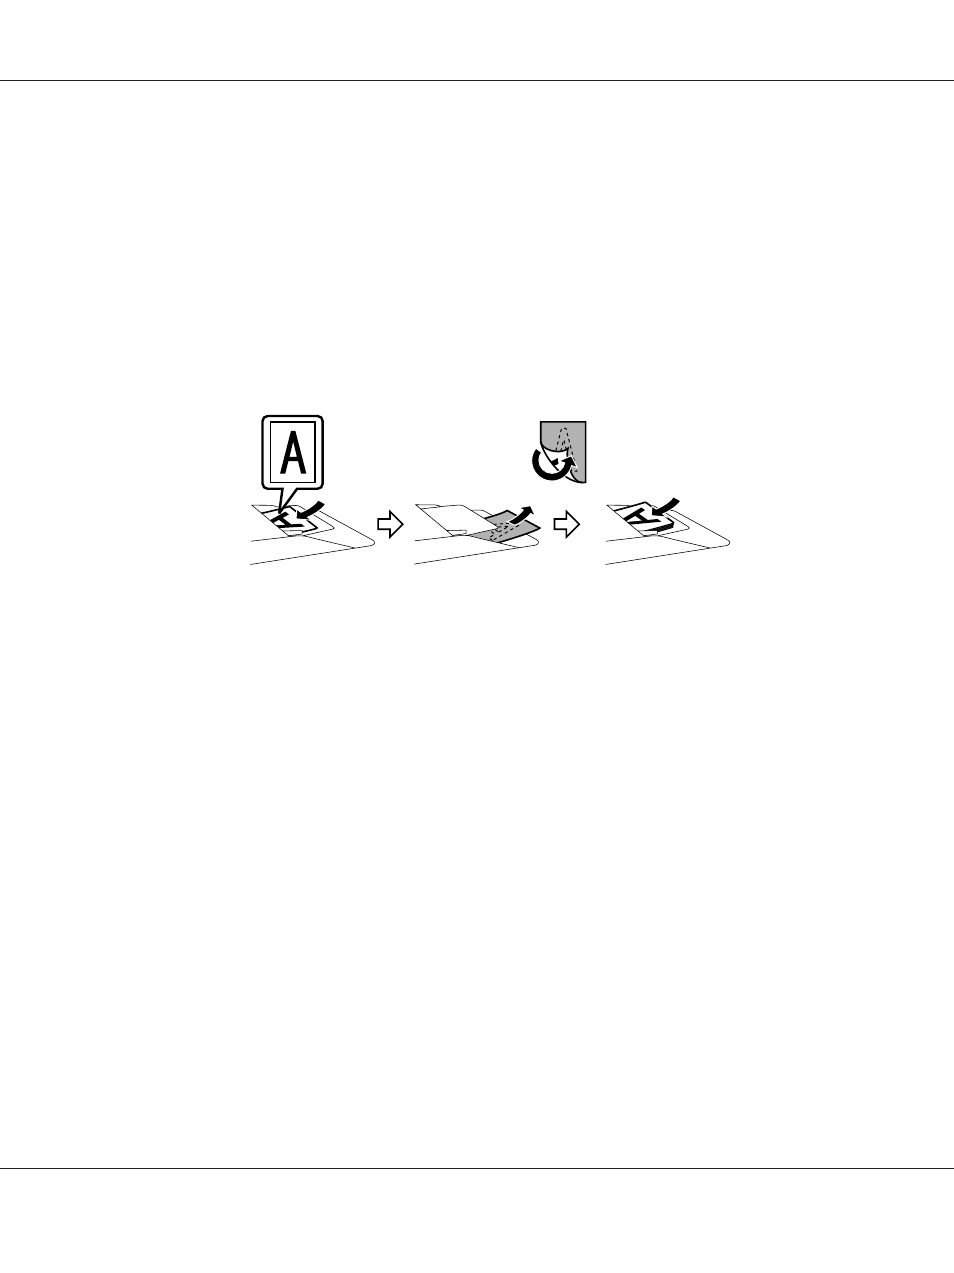
Note for the Automatic Document Feeder (ADF):
❏ When a document with multiple pages is loaded and Preview is selected, the first and second
pages are fed into the printer. Epson Scan pre-scans the first page and displays it in the Preview
window. The ADF then ejects the first and second pages. Place these pages on top of the rest of the
pages, and then load the entire document into the ADF.
❏ The document page ejected by the ADF has not been scanned yet. Reload the entire document
into the ADF.
10. Select the size of the scanned image(s) as the Target Size setting if necessary. You can scan your
images at their original size, or you can reduce or enlarge their size by selecting Target Size.
11. Adjust the image quality if necessary. See “Image Adjustment Features” on page 93.
12. Click Scan.
13. In the File Save Settings window, select the Type setting and then click OK.
Note:
❏ If the Show this dialog box before next scan check box is cleared, Epson Scan starts scanning
immediately without displaying the File Save Settings window.
❏ You can create a password protected PDF file. Select the Security tab in PDF Plug-in Settings. See
the Help for more details on Epson Scan.
Your scanned image is saved.
AL-MX300 Series User's Guide
Scanning 92