NewTek TriCaster 8000 User Manual
Page 253
Page | 237
On the Program monitor, you should see the talent clip overlaid on the image
from GFX 1 (LiveMatte is turning the green pixels in the DDR 1 clip transparent).
You’ll also see imagery from DDR 2 displayed wherever the (originally) orange
card appears in the frame.
What’s happening is that the Advanced Tracking effect is applying the values
from the (DDR 1) Tracker for a secondary iteration of LiveMatte. Our LiveMatte
settings cut away the green, revealing the C layer behind. Afterward, the orange
color range is also keyed out, revealing the B source through the transparent
region.
Up to this point, the effect takes advantage of the Tracker color values, applying
them as a secondary keyer – but we haven’t yet done anything with the actual
motion data the Tracker is supplying to TriCaster. Let’s do so now.
16. Click the Position button for input B to open the Position Panel for that layer.
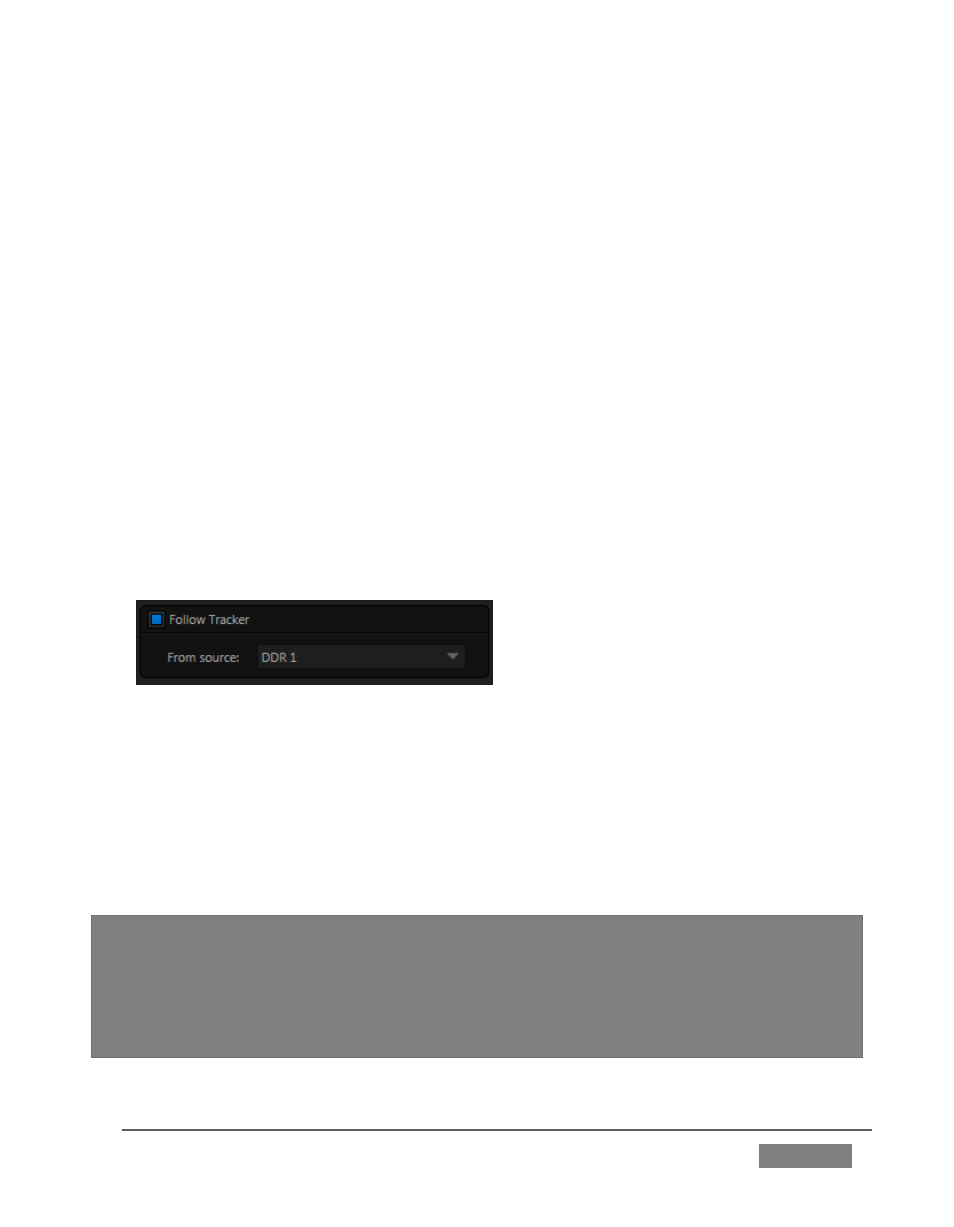
17. Select DDR 1 in the From source menu.
FIGURE 228
18. Enable Follow Tracker (Figure 228).
The result on your Program monitor should look much like Figure 229; full motion
video appears wherever the orange card appears in the foreground clip. This is the
standard setup for the Advanced Tracking effect, though it’s possible to use it in
different ways too.
Further Notes: Advanced Tracker 2 provides much improved compositing. (The original
effect is provided for legacy purposes, but might also produce a better result in rare
cases where a source has embedded transparency). Among other benefits, the newer
effect performs spill supression at the edges of the tracked region. Using the size (etc.)
parameters of the tracker, the area being tracked can be made slightly larger to taste, to
moderate this effect.