NewTek TriCaster 8000 User Manual
Page 86
Page | 70
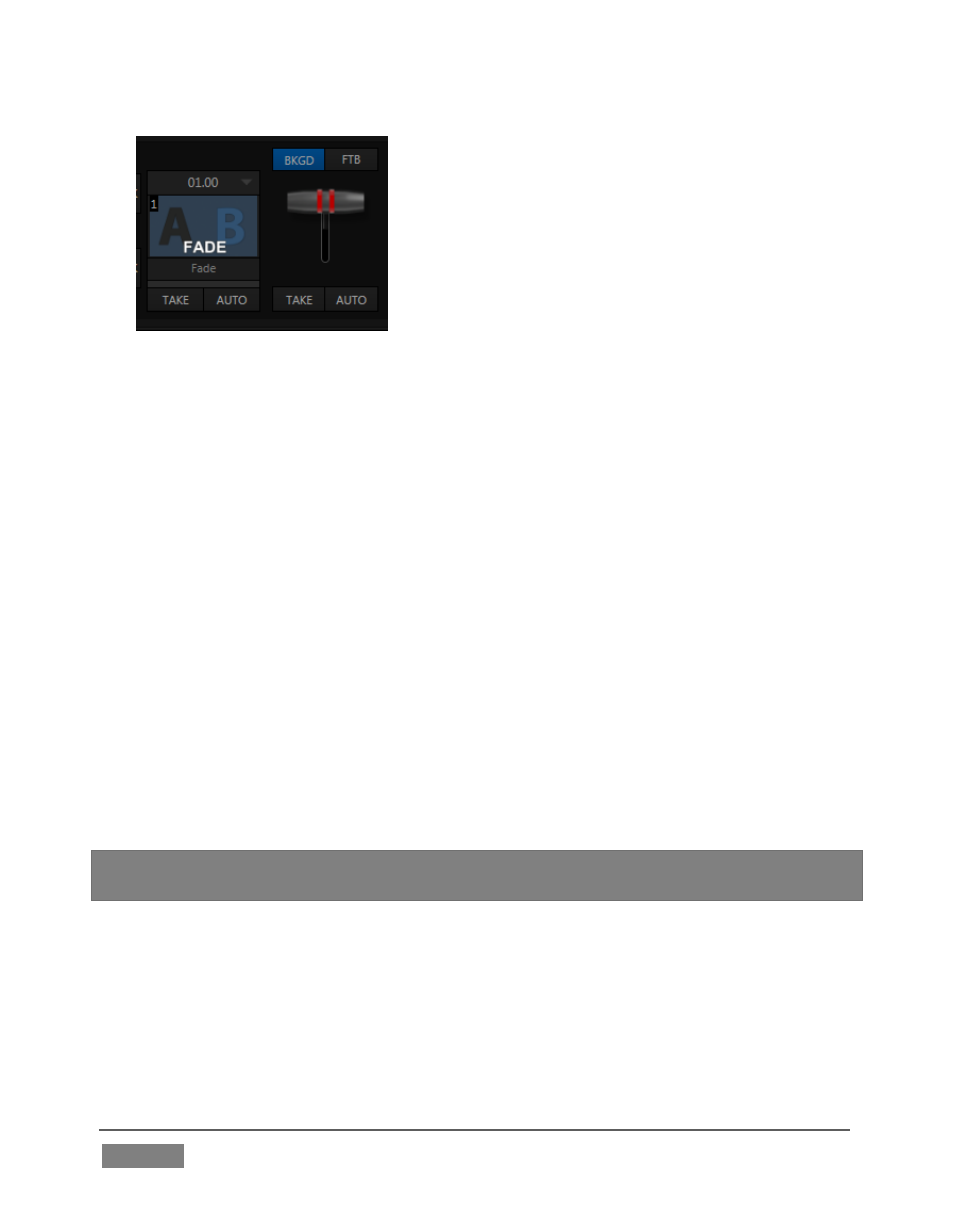
FIGURE 54
4. Click the BKGD button above the T-bar in the Transition group – Figure 54
(this dedicates the T-bar to control the BKGD video layer exclusively).
5. Click the Take button below the T-bar.
a. Camera 1 is instantly removed from Program Out.
b. Camera 2 (previously the Preview row selection) moves to Program
output.
c. The Camera 2 button is now lit up on the Program row.
d. The Camera 1 button is lit up on the Preview row.
e. The red and green monitor label highlights have been swapped.
6. Now click the local Auto button. The Program and Preview row selections
swap again, but this time, rather than a simple (and instant) Cut, the change
employs the currently selected transition – by default, a Fade.
Hint: By default, the keystroke shortcuts Enter and spacebar perform the (main Switcher)
Take and Auto operations, respectively.
7. To replace the current transition with a different one, follow these steps:
a. Click the large Fade thumbnail icon to open the Transition Bin.
b. Slide the mouse pointer down and click a different transition effect.
Test it, by clicking Auto.