8 – diagnostics – Hypertherm V9 Series Phoenix Rev.11 User Manual
Page 185
Phoenix 9.76.0 Installation and Setup Manual 806410
185
8 – Diagnostics
For all axes to pass, the following conditions need to be met.
You can only test the number of axes that are enabled on the hardware key (axes installed in Control Information kit).
If you have a 2-axis CNC, you still have 4 or 6 physical axes
The test will not allow you to test the other axes. Nothing will happen when you click on the 3
rd
/4
th
axis connector
for example.
Axes are tested by their assignment in Phoenix.
Axis switching, like Dual Transverse, CBH if no 3
rd
axis, or Rotate/Tilt on a 4 axis CNC, will fail the axis diagnostic
test.
If you are not using the 3rd or 4th axis, or have an assignment that puts the axis at 5 and higher in the application,
you can test the hardware by temporarily assigning the 3rd and 4th axes to Sensor THCs.
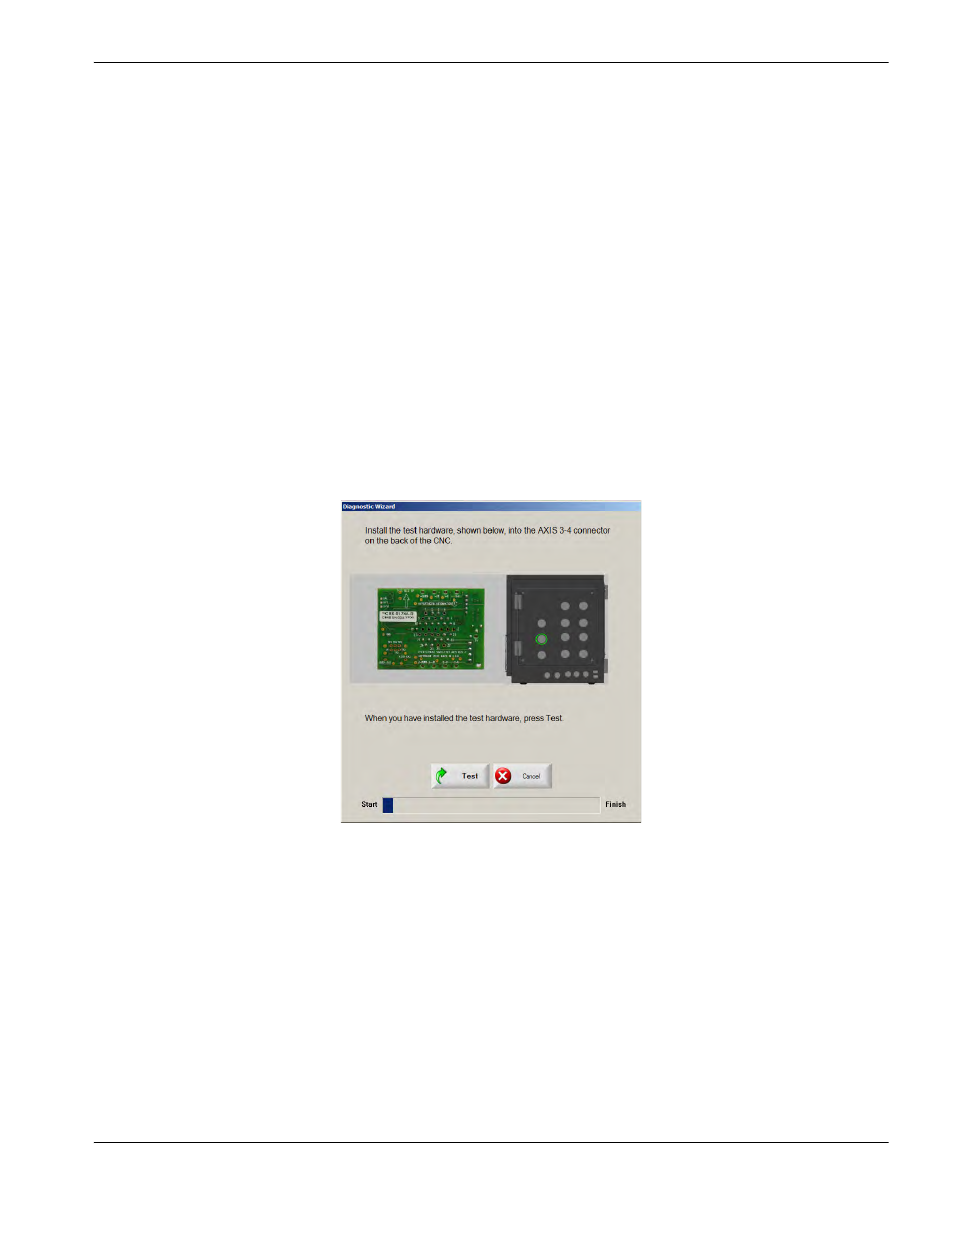
To test an axis:
1. On the Machine Interface screen, press the axis port you want to test.
2. Follow the instructions on the screen to connect the Hypath (green) or Picopath (blue) axis simulator board to the
CNC at the axis port you selected.
3. On the Machine Interface screen, press Test. A message informs you if the test is successful.
If the test fails, contact your OEM or system integrator to check or replace these parts in the following order:
1. Servo field interface
2. Ribbon cable
3. MCC card