Speeds for waterjet height control – Hypertherm V9 Series Phoenix Rev.11 User Manual
Page 288
288
Phoenix 9.76.0 Installation and Setup Manual 806410
16 – Waterjet Application
2. After installing the height sensing device with analog voltage output to the CNC, set up the Sensor WHC axis. See
Torch Height Control Axis Setup on page 103 for information on setting up the waterjet height control axis. The
waterjet height control axis is like the Sensor THC axis that is used for plasma cutting.
3. Monitor incoming voltage from the height sensing device. Carefully lower the waterjet nozzle to the surface of the
workpiece. When the nozzle touches the workpiece, the voltage should be 0 V. Choose Setups > Diagnostics >
I/O and enter the Machine Setups password. Choose Analog Input to view the incoming voltage.
You may need to use a voltage offset provided by your hardware; for example, in the SERCOS III drive. Adjust the
voltage offset so that the height sensing device is outputting 0 V when the waterjet nozzle touches the workpiece.
Changing the length of the nozzle installed in the waterjet cutting head would also require
you to re-check the voltage input to ensure that 0 V is being output when the nozzle
touches the workpiece.
4. Calibrate the waterjet height control. After you have the 0 V signal at the workpiece surface, run the Calibrate WHS
routine. Home the height control, then choose Setups > Process > Calibrate WHS.
5. Perform the first initial height sense. Before starting a cutting job, choose Test Lifter from the Main screen. The CNC
lowers the cutting head to the workpiece, then moves to the cut height for the cutting job.
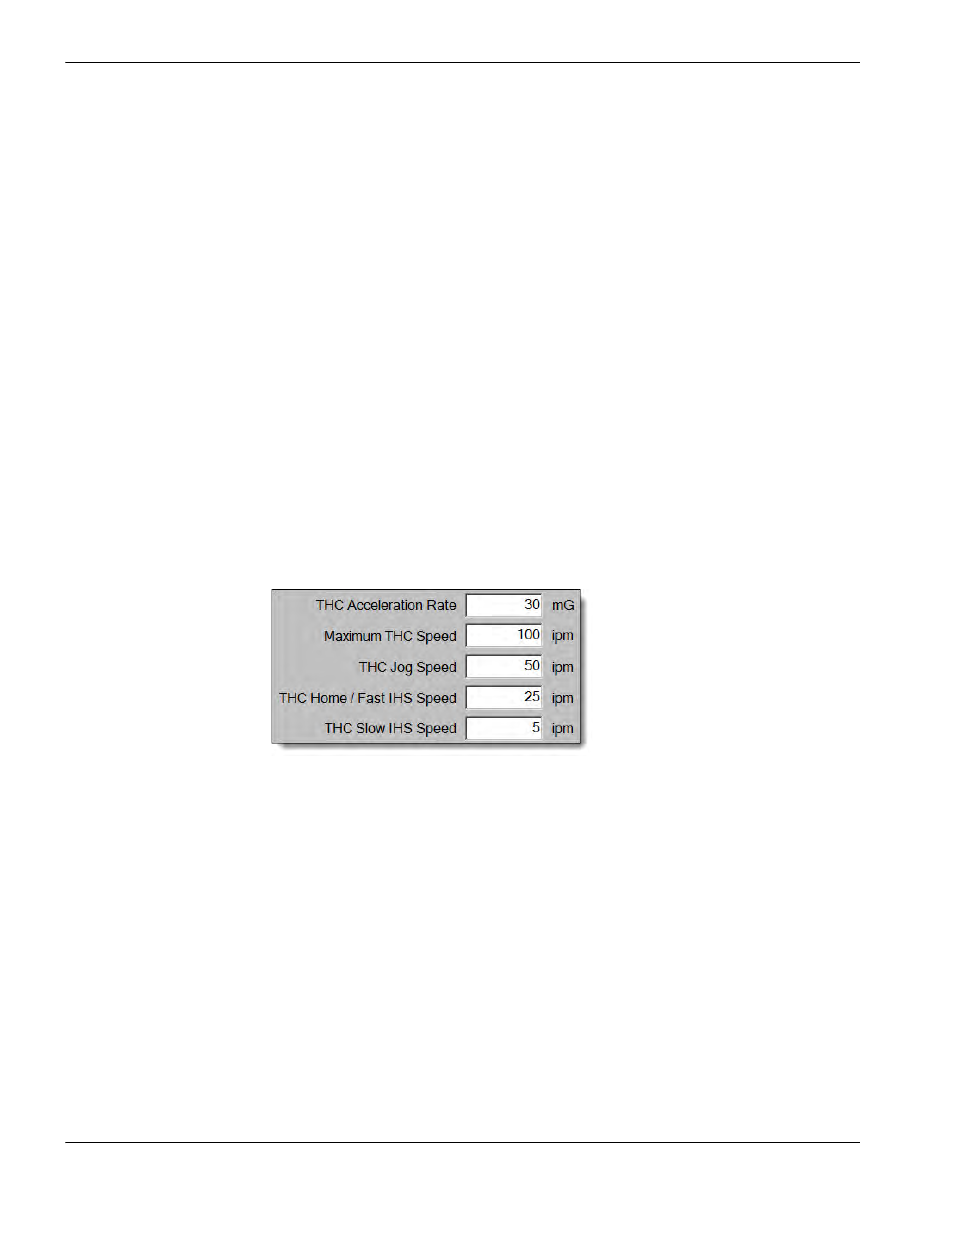
Speeds for waterjet height control
Choose Setups > Password > Machine Setups > Speeds to set the travel speeds for the waterjet height control.
Below are some suggested speeds for a foot-sensor height sensing device.