Configuring a static trunk, Figure 37: configuring static trunks – Microsens MS453490M Management Guide User Manual
Page 134
C
HAPTER
5
| Interface Configuration
Trunk Configuration
– 134 –
C
OMMAND
U
SAGE
Besides balancing the load across each port in the trunk, the other ports
provide redundancy by taking over the load if a port in the trunk fails.
However, before making any physical connections between devices, use
the web interface or CLI to specify the trunk on the devices at both ends.
When using a port trunk, take note of the following points:
◆
Finish configuring port trunks before you connect the corresponding
network cables between switches to avoid creating a loop.
◆
You can create up to 5 trunks on a switch, with up to eight ports per
trunk.
◆
The ports at both ends of a connection must be configured as trunk
ports.
◆
When configuring static trunks on switches of different types, they
must be compatible with the Cisco EtherChannel standard.
◆
The ports at both ends of a trunk must be configured in an identical
manner, including communication mode (i.e., speed, duplex mode and
flow control), VLAN assignments, and CoS settings.
◆
Any of the Gigabit ports on the front panel can be trunked together,
including ports of different media types.
◆
All the ports in a trunk have to be treated as a whole when moved
from/to, added or deleted from a VLAN.
◆
STP, VLAN, and IGMP settings can only be made for the entire trunk.
C
ONFIGURING
A
S
TATIC
T
RUNK
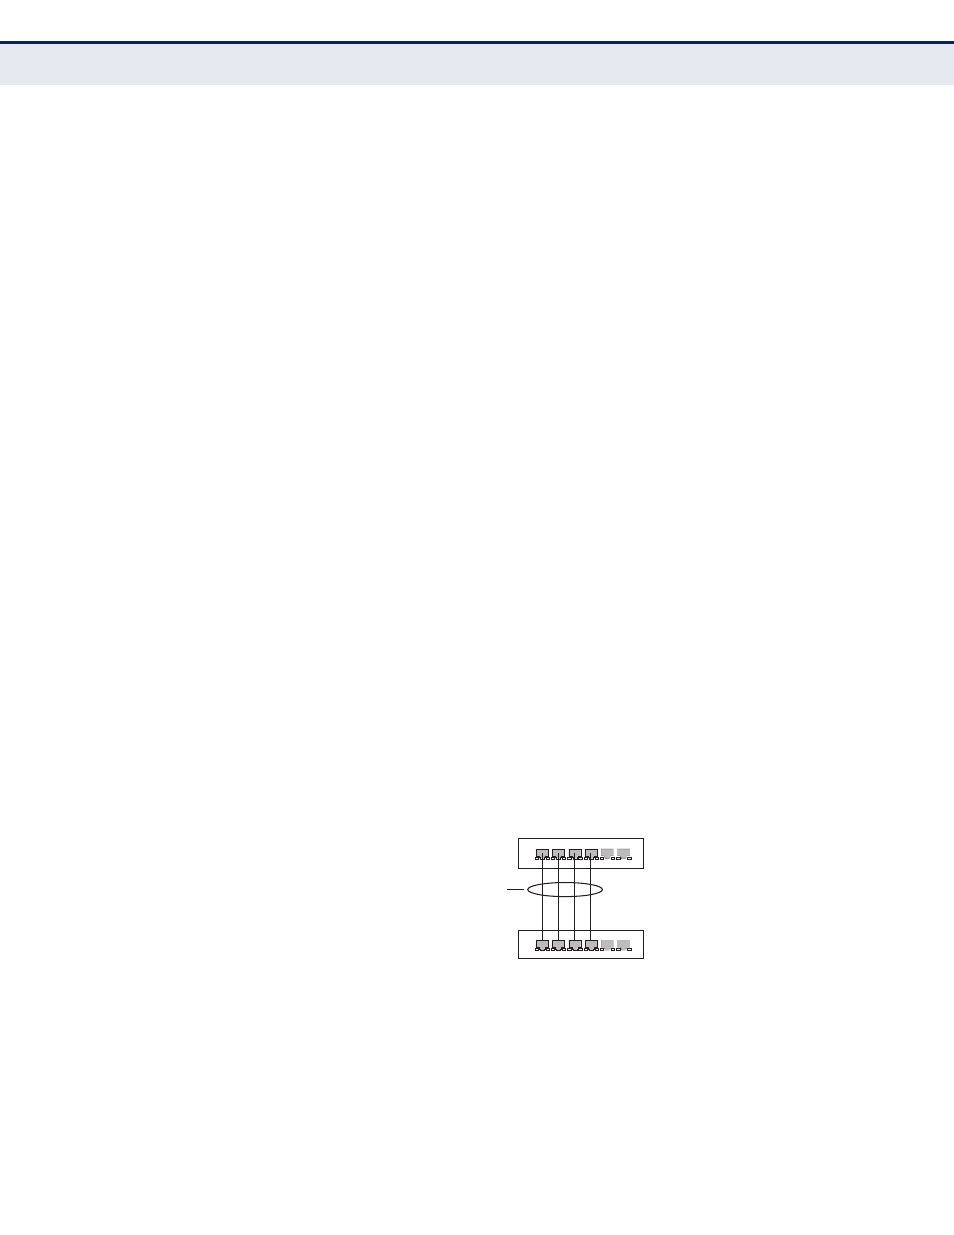
Use the Interface > Trunk > Static page to create a trunk, assign member
ports, and configure the connection parameters.
Figure 37: Configuring Static Trunks
CLI R
EFERENCES
◆
"Link Aggregation Commands" on page 717
◆
"Interface Commands" on page 699
active
links
}
statically
configured