Tutorial #20: how to order objects, Figure 119: placing objects in message studio – Daktronics Venus 1500 Ver 3.x User Manual
Page 103

The Venus 1500 Message Studio
Tutorial
89
With the Message Studio, other useful actions can be performed such as ordering objects
within a graphic frame. This means that different objects can be inserted and moved
independently from others in a graphic frame. For instance, one object can be placed in front
of or behind another. To do this, follow the instructions below:
1.
Open the File menu and select New message.
2.
Select the corresponding display type.
3.
Activate a new graphic frame
.
4.
Delete the text frame opened by default
.
5.
Click on the Create New Image Box button
.
6.
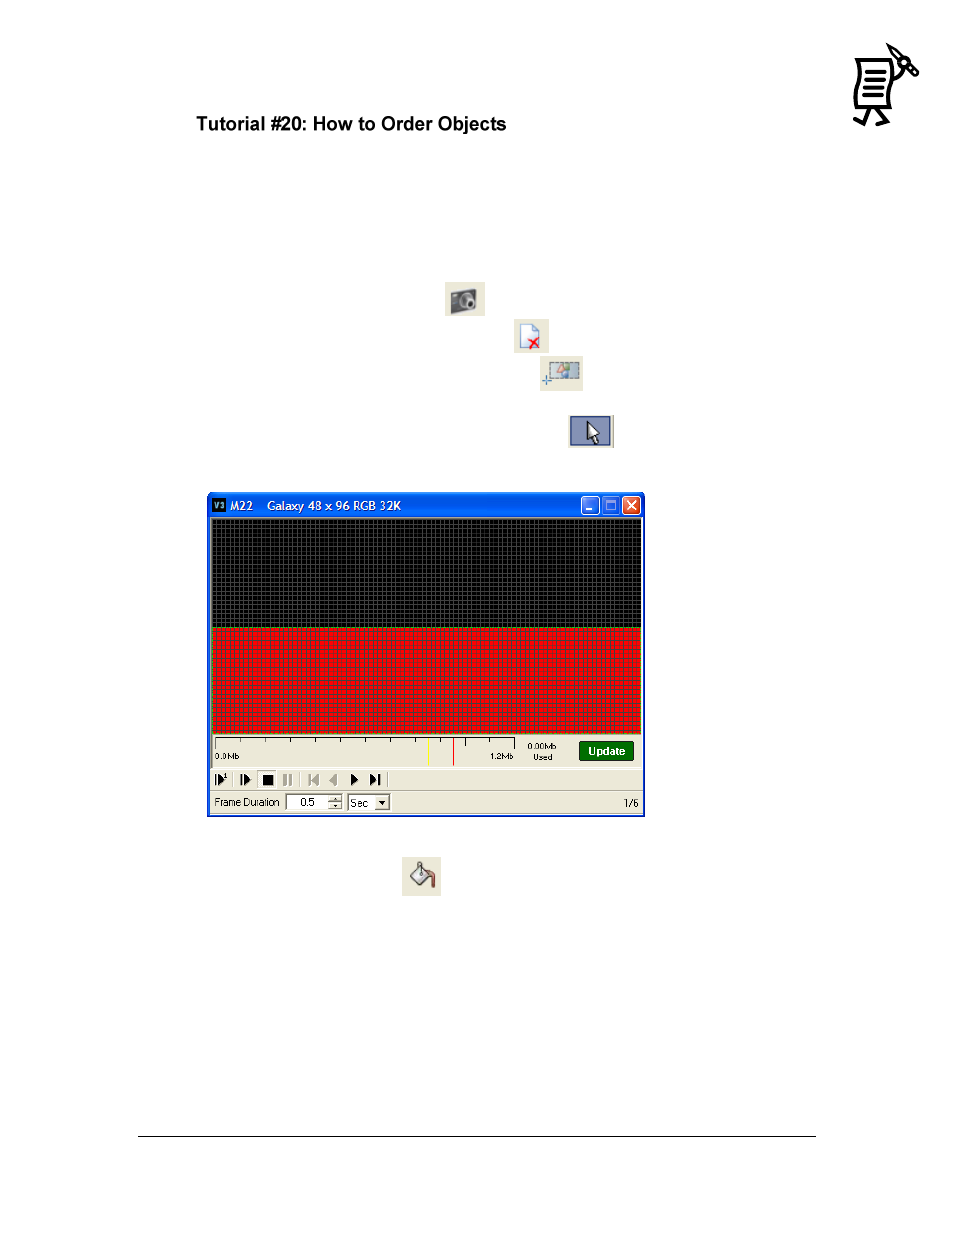
Click inside the frame. A red box will appear.
7.
Select the box with the Object Selection button
.
8.
Stretch the box so that it fills somewhat less than half of the frame (Figure 119).
9.
Click on the Fill button
.
10.
Select blue from the color palette and click inside the selected red box to paint it.
11.
The user may now import a graphic, such as a sun.
12.
Once the graphic is imported into the frame, select it and apply the smoothing effect to
it.
13.
Resize it using the diagonal two-directional arrows so that the graphic keeps its
proportions.
14.
Drag the selected graphic to bottom-left part of the frame.
15.
Right-click on this object or open the Object menu and select Order > Send to Back.
Figure 119: Placing Objects in Message Studio