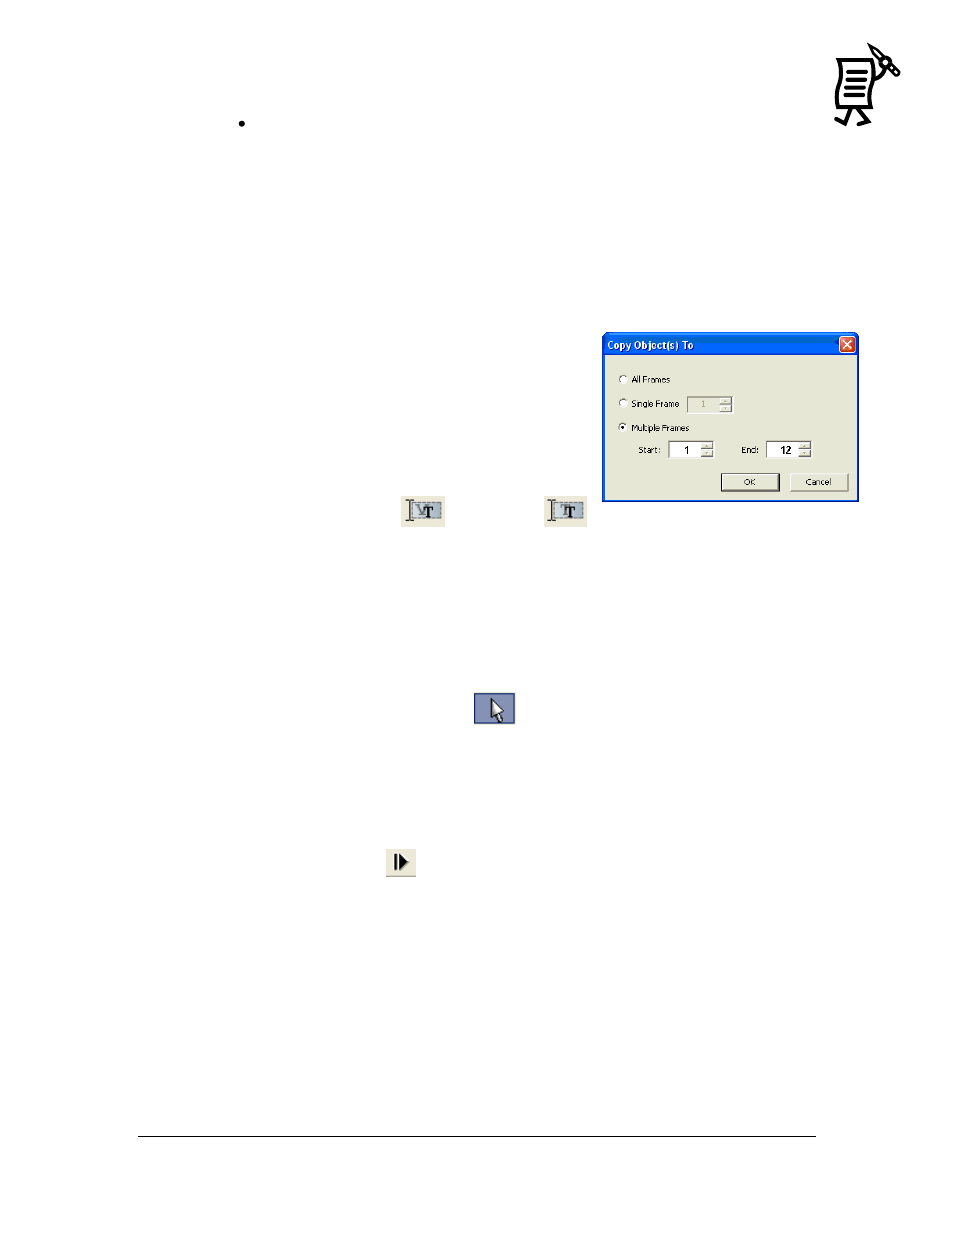
Figure 107: copy to range of frames – Daktronics Venus 1500 Ver 3.x User Manual
Page 91

The Venus 1500 Message Studio
Tutorial
77
Multiple Frame will place the object(s) in the same location on a range of
frames. The objects will be copied only to the graphic frames within the range and
the text frames will be skipped. Click in the Start field or use the arrows at the end
of the field to set the frame number of the first frame in which the object should
appear. Click in the End field or use the arrows at the end of the field to set the last
frame number in which the object should appear.
Following are instructions for copying different text onto various frames. In this example,
different text will be placed in the first half and second half of an animation message.
1.
In the Start field, enter the number which
corresponds to the first frame of the animation
sequence – in this case, number 1.
2.
In the End field, enter the frame number that is
halfway through the animation – in this case, 12.
3.
Click OK.
4.
The text will be copied to the designated frames.
5.
Activate the next frame number from the frame
sequence.
6.
Select either the Venus
or True Type
font button.
7.
Right-click inside the frame to open a green writing box if using Venus 1500 fonts or a
white writing box if using the True Type ones.
8.
Type in the desired text.
9.
Format the text using the outline, shadow, or color button to change the text.
10.
Close the writing box if using a True Type font.
11.
Click inside the text in the frame to select it.
12.
In the Object menu, select Center to center the text box in the frame.
13.
Click the Object Selection button
to select the text box.
14.
Right-click inside the active frame. A pop-up menu will appear.
15.
Click Copy Object(s) To.
16.
Check Multiple Frames and enter the Start number as the frame with the new text (in
this example, 13) and the End number as the last frame of the sequence.
17.
Click OK.
18.
The text will be copied to the remaining frames.
19.
Preview the message
.
20.
If the message runs too fast, stop the preview.
21.
Open the Properties window.
22.
Increase the duration time.
23.
Enter the Frame Range.
24.
Check the Duration box.
25.
Click Apply and then on OK.
26.
Preview the message again.
27.
Save the message.
Figure 107: Copy To Range of Frames