Tutorial #7: how to work with frames, Adding frames in a message, Removing frames from a message – Daktronics Venus 1500 Ver 3.x User Manual
Page 76: Moving between frames, Figure 85: adding a new frame
The Venus 1500 Message Studio
Tutorial
62
1.
In the File menu, click New.
2.
Choose the corresponding display type configuration and click OK.
3.
Click on
to add a new text frame or click on
to add a new graphic.
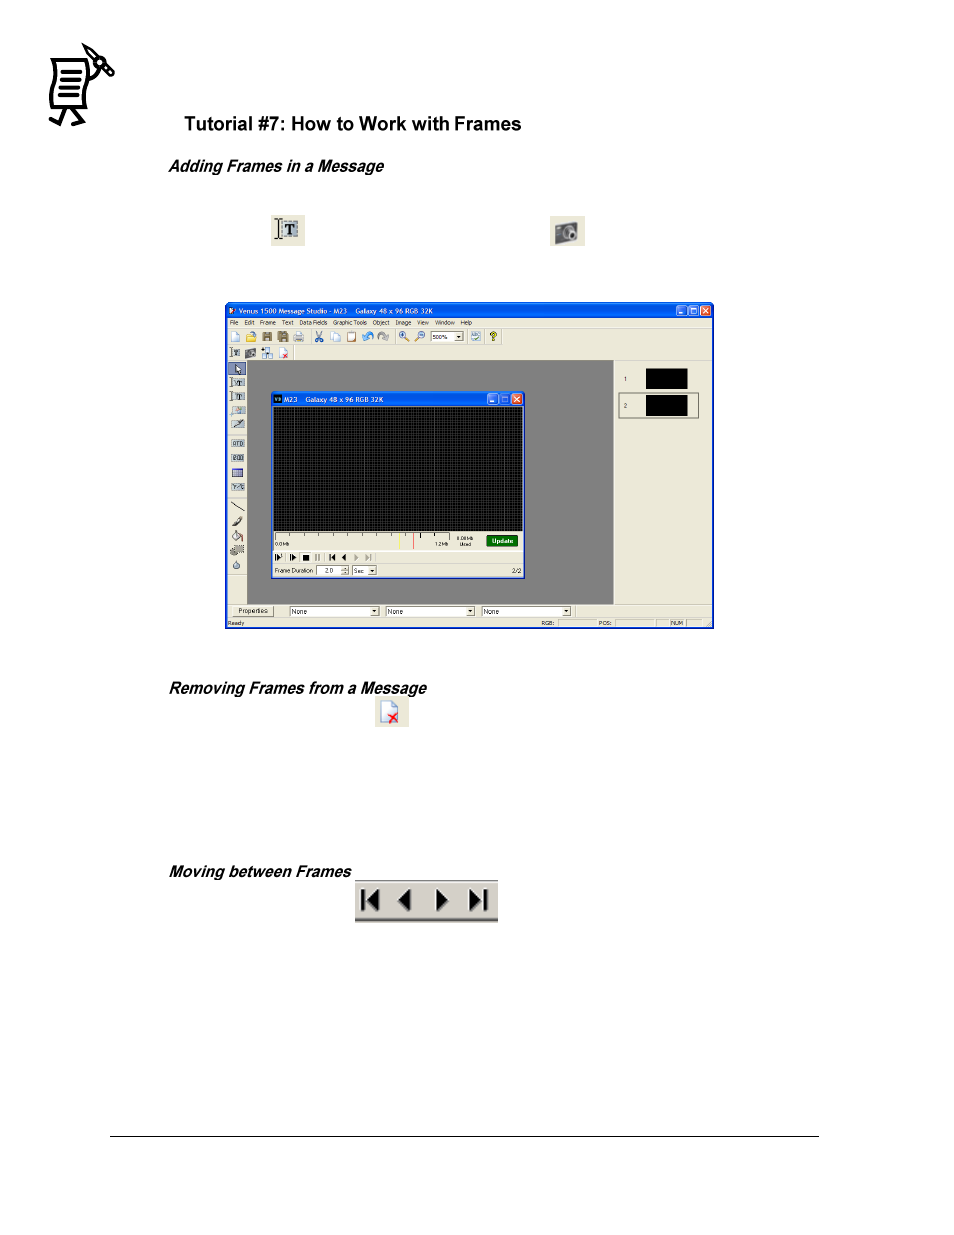
4.
In the Frame Sequence area to the right of the screen, the new frame will be designated
by a gray rectangle highlighting the new frame and number (Figure 85).
1.
Click the Delete button
to delete the currently selected frame.
2.
This frame will disappear from the Frame Sequence area.
3.
It is also possible to delete a frame directly in the Frame Sequence. Click on the frame
until it is highlighted in blue and then click the Delete button.
4.
Alternatively, place the cursor on the frame to be deleted in the Frame Sequence area,
right-click on it, and select Delete Frame(s).
Use the Frame Play buttons
to move back and forth from one frame to
another. The Frame Sequence area will show a gray rectangle to show current location.
Importing Frames from Another Message
Note: This feature is only possible on Version 3 displays of the same type and size.
Right-click inside the frame that will be in sequence just before the new frame(s) and choose
Import Frame(s) from Message. Navigate to the message file containing the frame(s) to be
imported. Open the message and click on each frame to be imported. Click Import Options
and select the desired option. Click Import and the frames will be added to the message file
in the sequence chosen. These new frames can now be edited as other frames in the message.
Figure 85: Adding a New Frame