Tutorial #1: how to create a new schedule, Choosing the type of event, Adding an entry – Daktronics Venus 1500 Ver 3.x User Manual
Page 120: Figure 133: new schedule, Figure 134: event menu
The Venus 1500 Schedule Studio
Tutorial
106
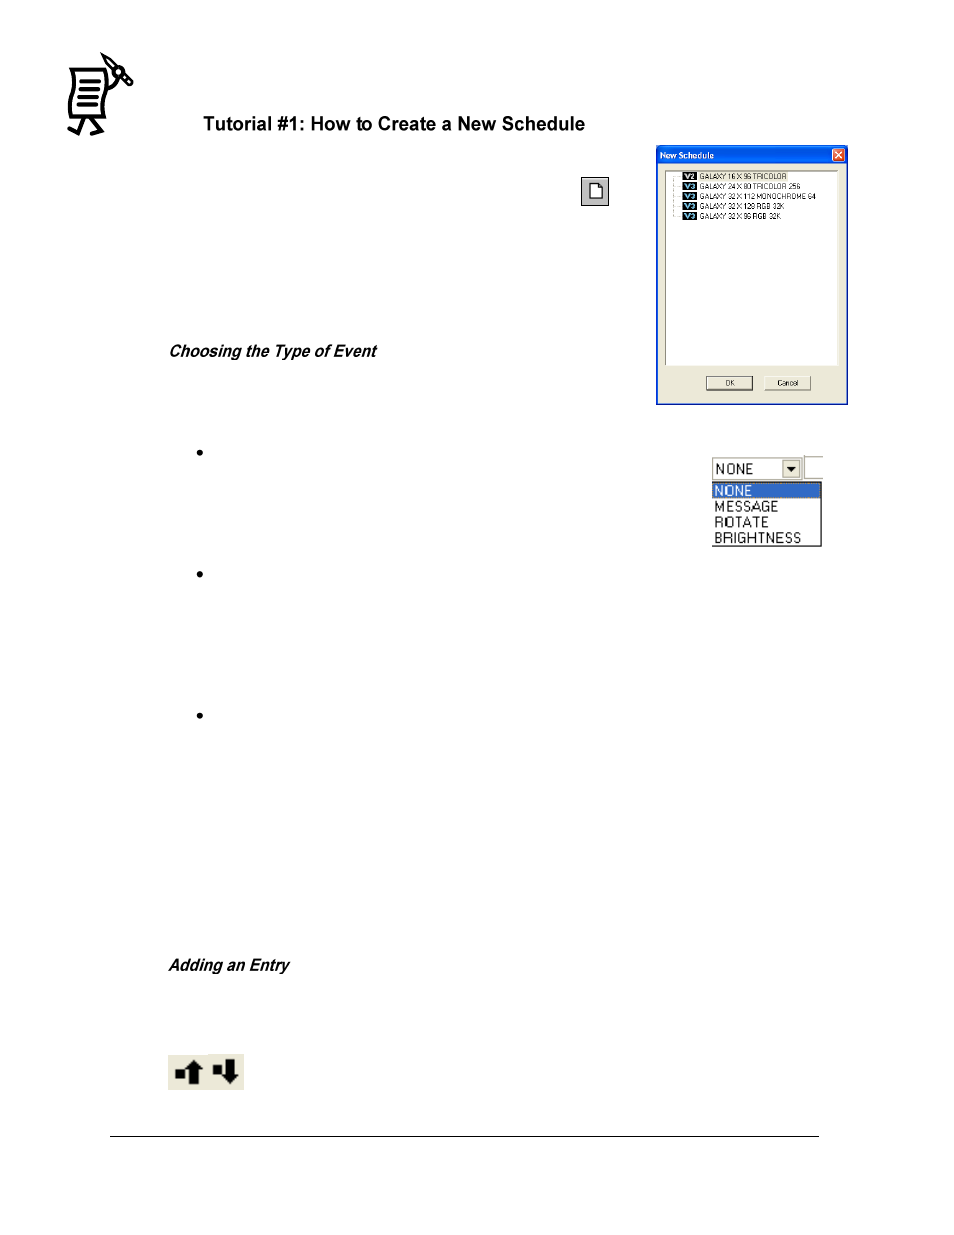
To start a new schedule:
1.
Select New from the File pull-down menu or click on
.
The New Schedule dialog will appear (Figure 133).
2.
Double-click on the type of display for the new schedule, or
highlight the display type and click OK.
A new, blank schedule is opened in the Schedule Studio.
The Event column includes three options: Message, Brightness, and
Rotate. To access these choices, click None in the Type column and
the menu shown in Figure 134 will appear.
Message
Clicking on MESSAGE activates the Open Message dialog box. Click
on the plus sign (+) to select the folder where the desired message is
located. Highlight the name of the message and click Open. The
message will show in the Event field of the schedule screen.
Brightness
BRIGHTNESS can be set to either auto or manual. Auto will adjust
the brightness of the display’s LEDs based on readings from an installed light sensor.
Manual is used to set a specific value of brightness for the display at a particular time.
Possible values range between 0 (complete dimming) to 63 (full brightness) for
Version 2 Control Systems and 1-100 for Version 3 Control Systems.
Rotate (Available only on Version 3 Displays)
ROTATE allows messages to be inserted into the schedule more frequently than
other messages in the Playlist. For example, the time and temperature are to be
inserted every three messages. To do this, set the rotate rate to 3 and select the time
and temperature message already created. After every three messages run on the
display, the time and temperature will run.
To change the rotation rate of a message, click in the Event field of the Rotate
message and select Change Rotate Frequency from the drop-down menu. Enter the
new rotation rate or click the spinner up or down to change the rate. The maximum
number allowed for the rotation setting is 255.
To add an entry, click on the yellow plus sign as many times as necessary to create as many
entries as necessary. Enter the event, start and stop time and date, and the days of the week.
To reorder the entries, highlight one entry and click on the Move Up or Down buttons
.
Figure 133: New Schedule
Figure 134:
Event Menu