Recording, Track header, 235 14.9. zoom buttons – Metric Halo Mobile I/O User Manual
Page 235
Record Panel
235
cannot be recorded from) should be listed in the tracks overview. It may be useful to list tracks from offline
boxes if you are doing offline configuration, but in general you will not want to show tracks from offline boxes.
When you are recording, each track shows a continuously updating track overview for the signal that has been
recorded for that channel. You can scroll back and forth in time; if the horizontal scroller is set to the far right,
the track overview will autoscroll, keeping the updating area of the track overviews in view.
Each track has a track header:
Figure 14.8: Track Header
The track header shows the box, the FireWire channel and the channel name for the track. If the height of
the tracks is too small for both lines to fit, only the channel name for the track is displayed. The channel
name is automatically set by the source for the track; you can change the names by editing the input names
appropriately.
To the immediate right of the label is a track record enable button. When the button is red, the track is record
enabled and will be recorded the next time you hit record. While you can change the record enable state of
the track while recording, it will have no affect on the current take — just the next take.
You can control the track enables directly from the Record Panel, or, if you are using a 2d Expanded box,
you can control the record enables from the mixer. The mixer interface is especially convenient because one
Record Enable button may actually control multiple tracks.
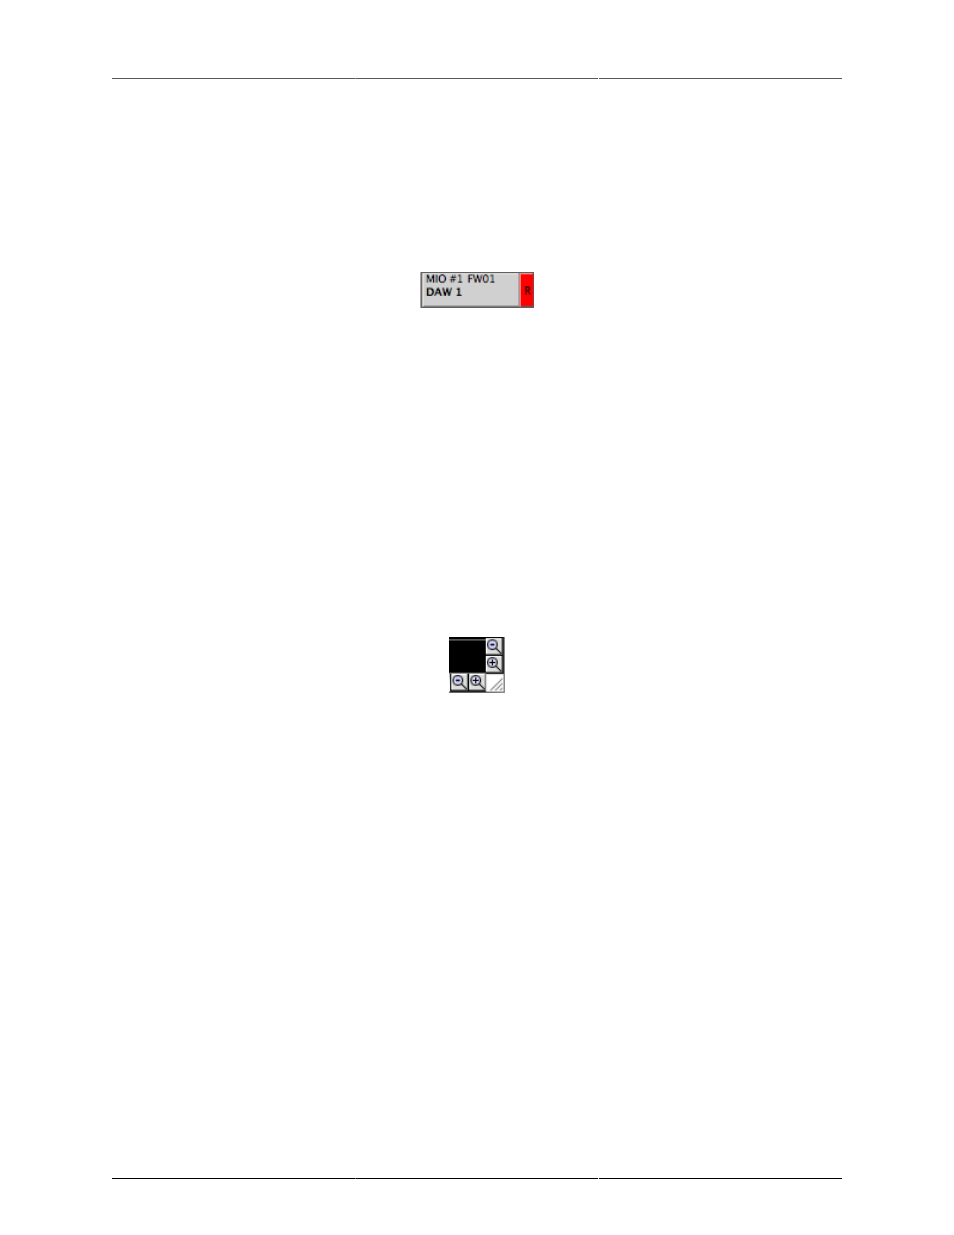
Finally, there are zoom buttons in the lower right corner of the window that control the zoom level of the
tracks overview:
Figure 14.9: Zoom Buttons
The buttons with the + in the magnifying glass icon zoom in (increase magnification), and the buttons with the
- in the magnifying glass icon zoom out (decrease magnification). The buttons stacked on the right side control
the vertical zoom and the buttons along the bottom control the horizontal zoom.
Recording
When you click the Record button (or initiate record using a control surface or command key), the Record
Panel recording engine creates a new Take Folder for you. The Take Folder is created in the Record Folder that
you set using the Recording > Set Record Folder… menu command. If you don’t set a Record Folder before
you start recording, the RP will default to using the Documents folder in your home directory.
Each time you start recording a new Take Folder is created. Depending on the state of the Name Take Folders
incrementally recording preference, this Take Folder will be named in one of two ways:
• If the preference is not checked, the Take Folder will be named:
Take_YYMMDDhhmmss
with YY = year, MM = month, DD = day, hh = hour, mm = minute, and ss = second
• If the preference is checked, the Take Folder will be named:
Take_NNN
with NNN = take number