H. uln-8/lio-8 jumper settings, Overview, H.1. top screw placement – Metric Halo Mobile I/O User Manual
Page 341: 341 h.2. side screw placement, with rack ear, 341 h.3. side screw placement, no rack ear
341
H. ULN-8/LIO-8 Jumper Settings
Overview
There are a number of settings that can be configured in the ULN-8 and LIO-8 using jumpers. We’ll detail
them here.
To access the ULN-8/LIO-8 configuration jumpers:
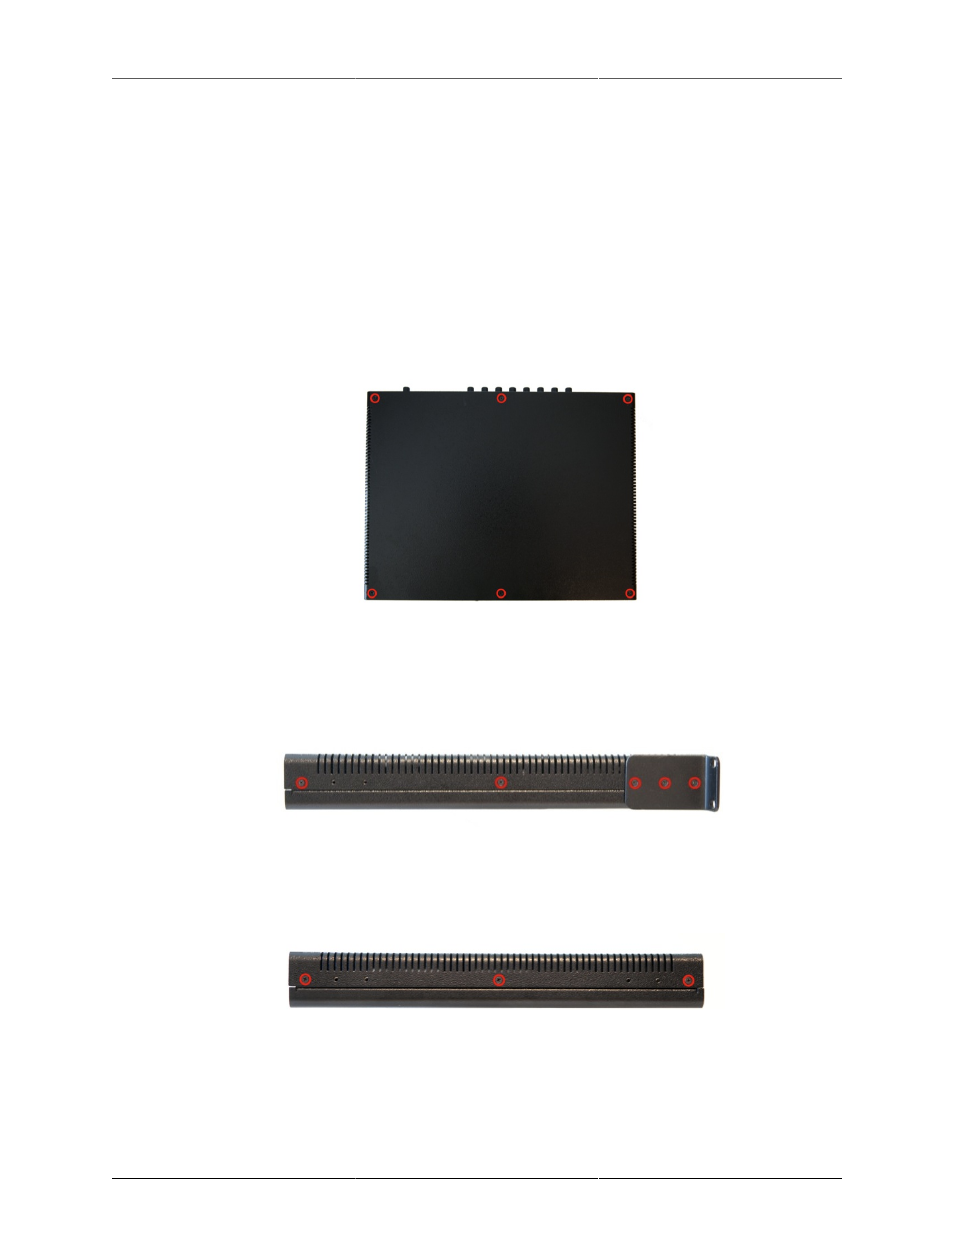
1. Remove the six screws from the top of the case:
Figure H.1: Top Screw Placement
2. Remove the screws from the left and right sides of the case. If the rack ears are fitted, there will be five
screws per side. Please note that the screws on the rack ears are longer than the others. Be sure to put
the longer screws back in the rack ears when you reassemble the LIO-8.
Figure H.2: Side Screw Placement, with Rack Ear
If the rack ears are not fitted, there will be three screws per side.
Figure H.3: Side Screw Placement, No Rack Ear
Remove the top cover, and rotate the unit so that the rear panel is facing you.
Reassembly is the reverse.