Preset expressions, Add a multi-track channel, Add a multi-channel track – PreSonus Notion 6 - Notation Software (Boxed) User Manual
Page 144: Preset expressions / add a multi-channel track
9.11
Preset Expressions
There may be expressions or articulations defined in your VSTi, that do not
exist in Notion . To add these to your score, follow the steps:
1 . Create the expression name in the Preset .xml within the Preset folder
2 . Create a Rule for playback for this expression, within the Rules Editor in
Notion
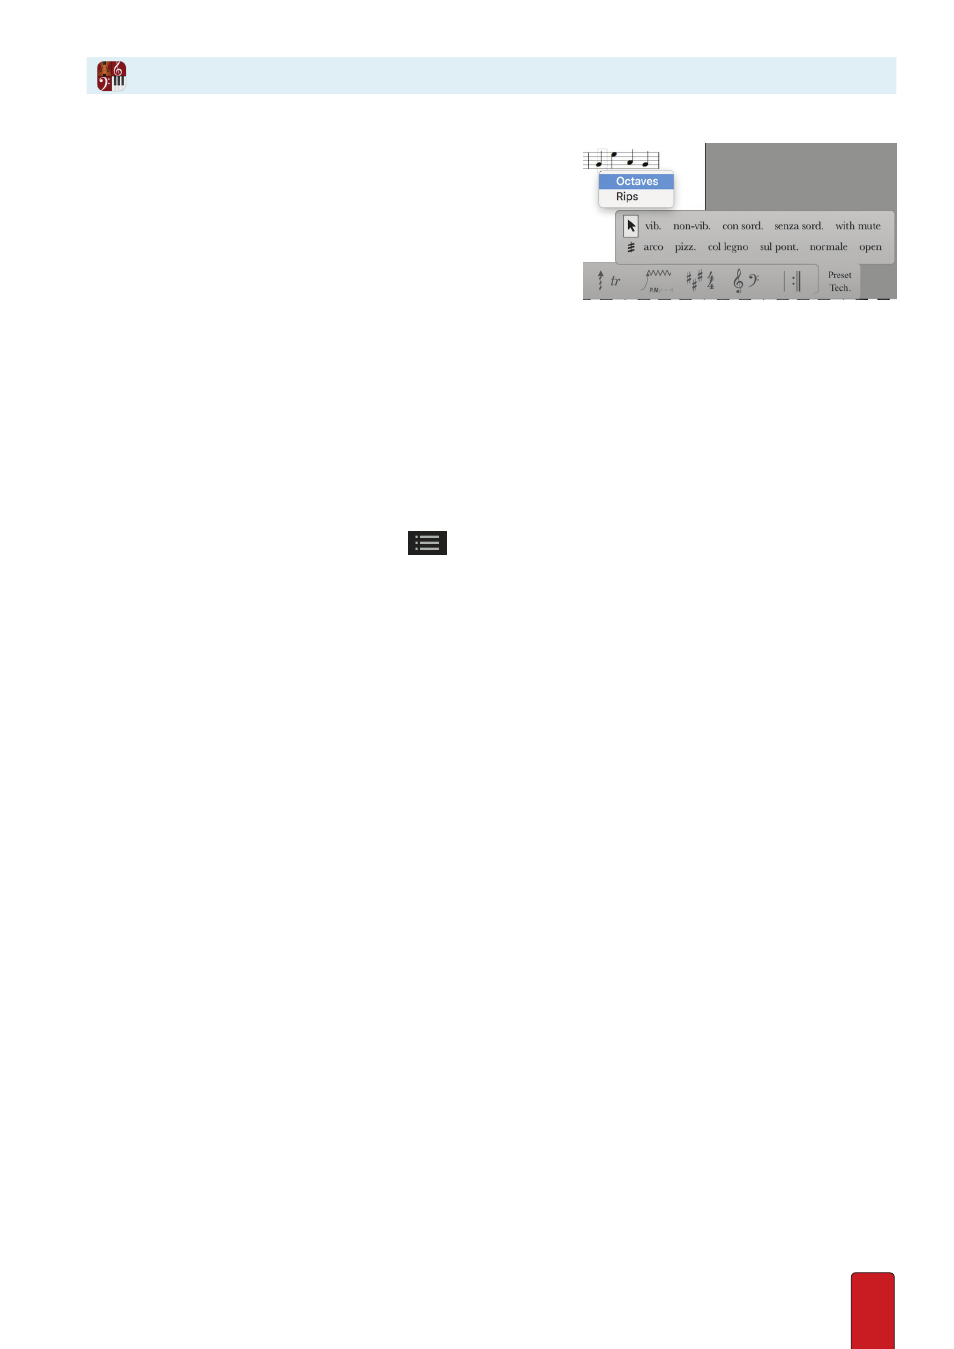
3 . These custom expressions can now be recalled from the palette - click
the arrow, place on the score, and then select which custom expression
you want to add .
Add a Multi-Channel Track
Most VSTi libraries on the market are
multi-channel
. That is, each appearance of a VSTi – often referred to
as a
track –
can supply up to 16 instruments/articulation sets using a template you program in the VSTi . In
Notion terms: you can assign any number of VSTi tracks to any score: each track on a separate staff .
This is the method you use if you are going to use a VSTi other than EWQL Symphonic Orchestra, Miroslav Philharmonik
or Vienna Symphonic Library – or if you want to use one of these Libraries with your own customized VSTi template .
Two preparations before you start: ensure you are in Edit mode . And, if If the Library you want to use
requires a dongle on your computer, be certain that hardware is in place before you proceed .
Step 1: Ensure the Library Is Known to Notion
1 . Open
Score Setup
(such as by clicking the
button in the Toolbar) .
2 . In the sound source options (the bottom palette), click the generic VST Instruments button .
3 . Look at the options in the upper palette . If the VSTi you want to use is listed, proceed to Step 3 .
If not, then go to Step 2 .
Step 2: Add Library to Plug-in Manager
1 . Go to the Menu bar and select Windows: File > Plug-in Manager; Mac: Notion > Plug-in Manager .
» The Plug-in Manager dialog box opens .
2 . Look at the list and verify if the library is already in the list or not .
>
If in the list, but disabled, then highlight the VSTi and click Enable . Skip to step 6 .
>
If not in the list, or displays as missing, complete steps 3 through 5 .
3 . Click Browse .
» The Open dialog box displays .
4 . Find the VSTi on your hard drive and select it .
5 . Ensure the VSTi appears on the Plug-in Manager’s list as an
enabled effect
. If not, highlight it in the list and click
Enable .
6 . To close the Plug-in Manager, click Close .
7 . Close Score Setup (click the Exit Score Setup button) and re-open Score Setup again .
Step 3: Assign a VSTi Track to a New Staff
Assuming you are now in Score Setup, click on the VSTi you want to use . Notion creates a new
staff with the name of the VSTi as the instrument name . This is now a track staff .
You can add more track staves or you can close Score Setup (press the Exit Score Setup button) .
Step 4: Assign Instruments to Channels
Now that you are out of Score Setup, in Edit mode:
1 . Click anywhere on this new VSTi track staff .
2 . Go to the Menu bar and select Tools > Open plug-in Interface (alternately, you can right-click and select Tools >
Open plug-in Interface from the context menu) .
» The actual VSTi opens up .
3 . According to the directions from the VSTi manufacturer, program your template, including assigning instruments/
articulations to up to sixteen channels (the track staff will automatically play Channel 1) . You do not need to assign all
sixteen channels .
4 . When finished, close the VSTi interface (or, if you want to use this template in other scores, save your
template . Then close the VSTi) .
Preset Expressions / Add a Multi-Channel Track