Chapter 6: module/unit replacement, 1 cpu rack – Yaskawa YASNAC PC NC Maintenance Manual User Manual
Page 183
Chapter 6: Module/Unit Replacement
PC NC Maintenance Manual
6-1
Chapter 6: Module/Unit Replacement
6.1 CPU Rack
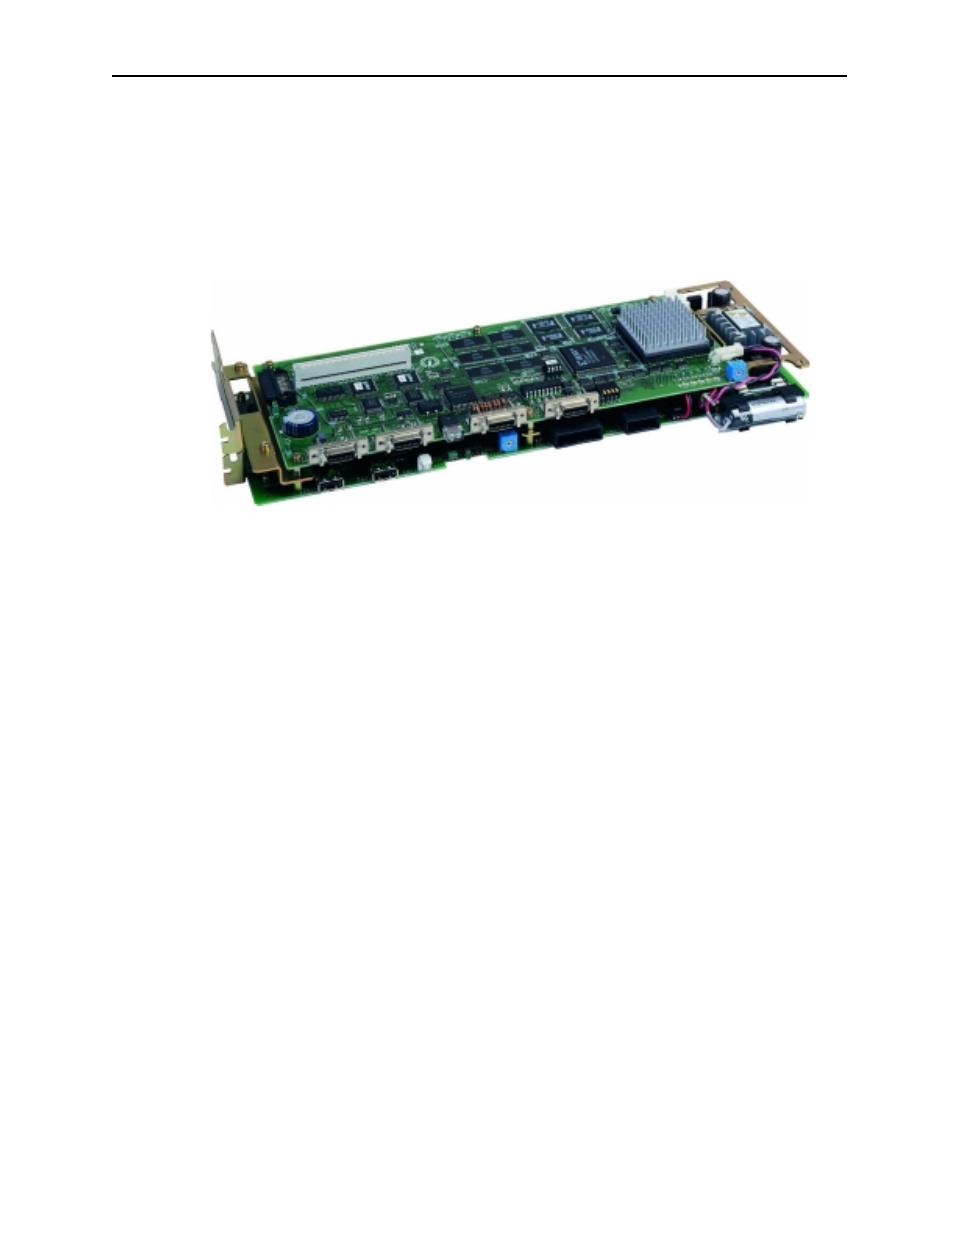
Numeric Control (NC) Board (MODEL JANCD-JFC10)
To remove the NC board, follow the steps below.
1.
Verify the main power is off and the power supply switch on the
rack is in the “O” position.
2.
Remove all connectors and cables from the NC card.
3.
Remove the NC card cover plate by loosening the top/bottom
thumbscrews.
4.
Loosen the two mounting screws from the top card mounting
brackets.
5.
Gently pull the card.
To install an NC card, follow the steps below.
1.
Insert the NC card in line with the card guides of the CPU rack
unit. Make sure that the edge connector of the card is properly
inserted in the ISA slot.
2.
Tighten the two mounting screws for the top card mounting
brackets.
3.
Attach the NC card cover plate and tighten the top/bottom thumb-
screws.