Yaskawa YASNAC PC NC Maintenance Manual User Manual
Page 187
Chapter 6: Module/Unit Replacement
PC NC Maintenance Manual
6-5
5.
Plug the hard disk drive data and power cables into their original
locations, if necessary.
Following installation of the CPU cooling fan, verify functions as follows.
1.
Return the CPU rack power supply switch to the “I” position and
power up to restart the control unit.
2.
Visually check the CPU fan operation. The fan should rotate
counter-clockwise, blowing air into the heatsink.
3.
Shut down the system and switch the main power OFF.
4.
Close the door and tighten the top/bottom thumbscrews.
5.
Power up to restart the control unit.
6.
Check for any CPU temperature-related alarms.
7.
Wait for a few minutes and check the CPU Monitor screen on the
MMI to verify that the CPU temperature is within a normal range
(below 30° C).
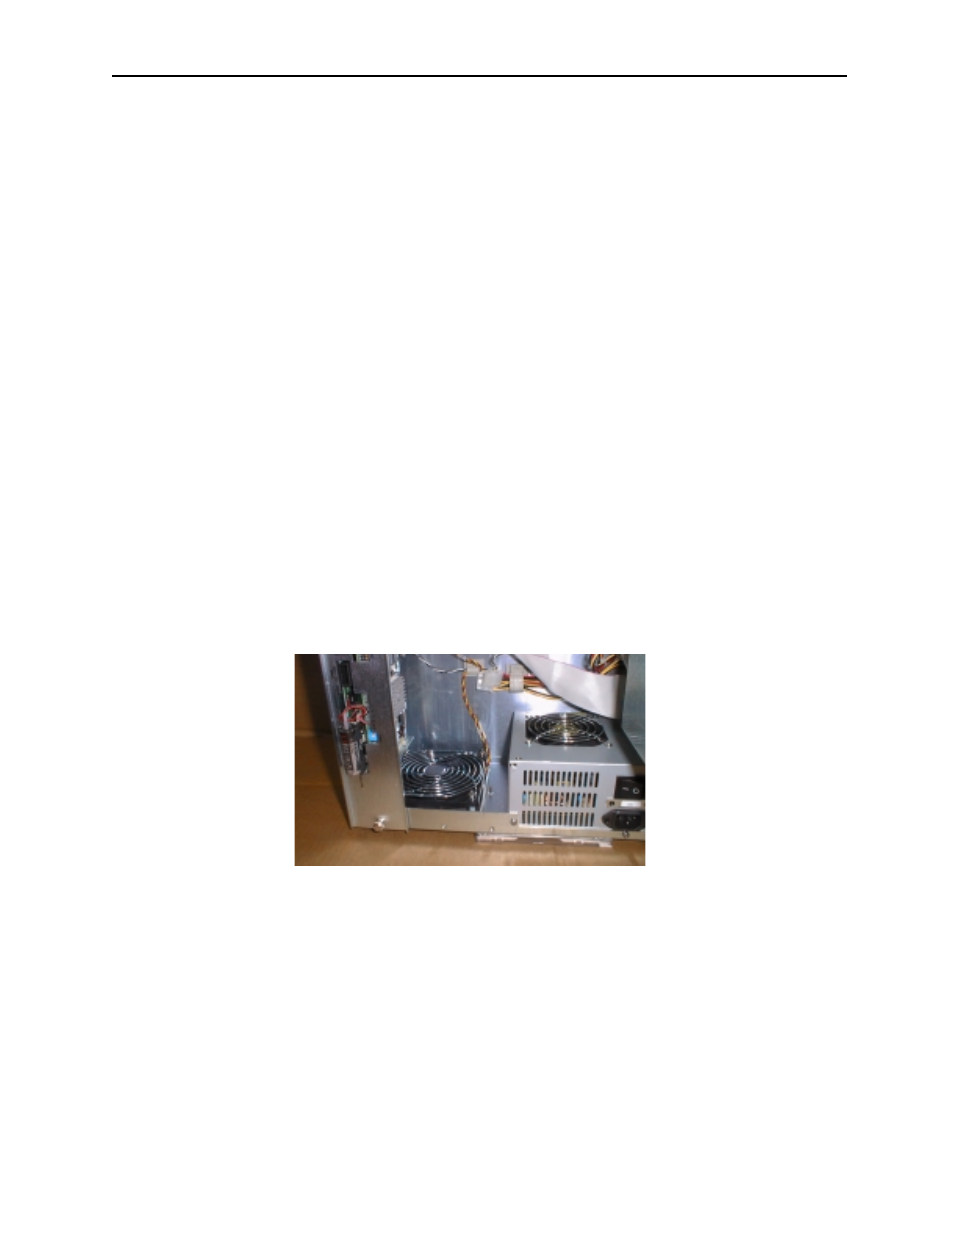
CPU Rack Cooling Fan Unit
Follow the steps below to remove the CPU rack cooling fan unit.
1.
Verify that the main power is off and that the rack power supply
switch is in the “O” position.
2.
Remove the center cover plate of the rack by loosening the top/
bottom thumbscrews.
3.
Open the rack door by loosening the top/bottom thumbscrews to
facilitate removal of the CPU fan unit.