Yaskawa YASNAC PC NC Maintenance Manual User Manual
Page 186
PC NC Maintenance Manual
Chapter 6: Module/Unit Replacement
6-4
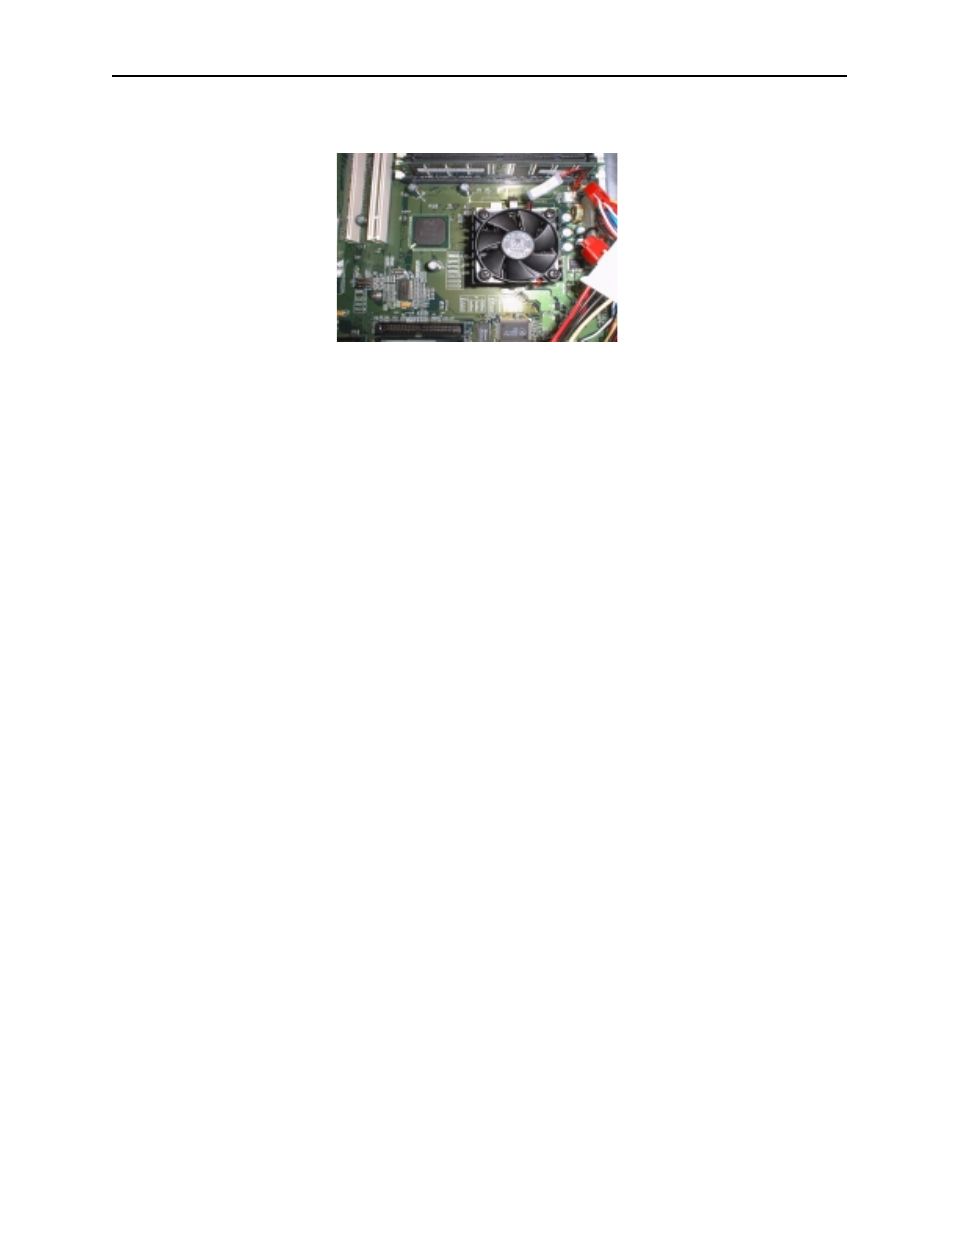
CPU Cooling Fan
Follow the steps below to remove the CPU cooling fan.
1.
Turn the main power off; set the CPU rack power supply switch
to the “O” position.
2.
Open the rack door by loosening the top/bottom thumbscrews.
Remove the data and power cables from the hard disk drive, if
necessary, to facilitate CPU fan removal.
3.
Disconnect the fan power connector from the motherboard recep-
tacle labeled FAN1.
4.
Remove the CPU fan/heatsink by pushing and unlocking the
metal clip from the CPU socket locking tabs. A small, flat screw-
driver may be used to help unlock the clip; however, use caution
to avoid damage to the CPU socket and other motherboard com-
ponents.
Install a CPU cooling fan by following the steps below.
1.
Apply additional heatsink compound to the CPU chip surface to
assure proper heat transfer between the CPU and the heatsink.
2.
Attach the new fan/heatsink to the CPU chip by first securing the
bottom clip lock in place.
3.
Lock the metal clip by pushing the clip into the socket top lock
tab.
4.
Connect the fan power connector to motherboard receptacle
FAN1.