Tel) – Kyocera TASKalfa 2552ci User Manual
Page 110
2-43
Installing and Setting up the Machine > Quick Setup Wizard
1
Display the screen.
[System Menu/Counter] key > [Quick Setup Wizard]
2
Select a function.
3
Configure the settings.
Start the wizard. Follow the instructions on the screen to configure settings.
Network Setup
Configures network settings.
1. Network
Network Selection
*7
Wi-Fi
*8
DHCP
*9
IP Address
*10
Subnet Mask
Default Gateway
*1 This is displayed when the option of two FAX Kits has been installed.
*2 Inch version only.
*3 DRD reception mode is available for some countries.
*4 This setting does not appear in some regions.
*5 This function is displayed when the optional Job Separator, Mailbox or 4,000-Sheet Finisher is installed. When an
Inner Finisher or a 1,000-Sheet Finisher is installed with the machine, this function is not displayed.
*6 This function is displayed when [Weekly Timer] is set to [On].
*7 This function is displayed when the Wireless Network Interface Kit (IB-35) is installed.
The Wireless Network Interface Kit is an option for some models. Contact your dealer or our sales or service
representatives for detail.
IB-35 "Wireless Network Interface Kit" (page 11-6)
*8 This function is displayed when [Network Selection] is set to [Wi-Fi].
*9 This function is displayed when [Network Selection] is set to [Wired Network].
*10 This function is displayed when [DHCP] is set to [Off].
NOTE
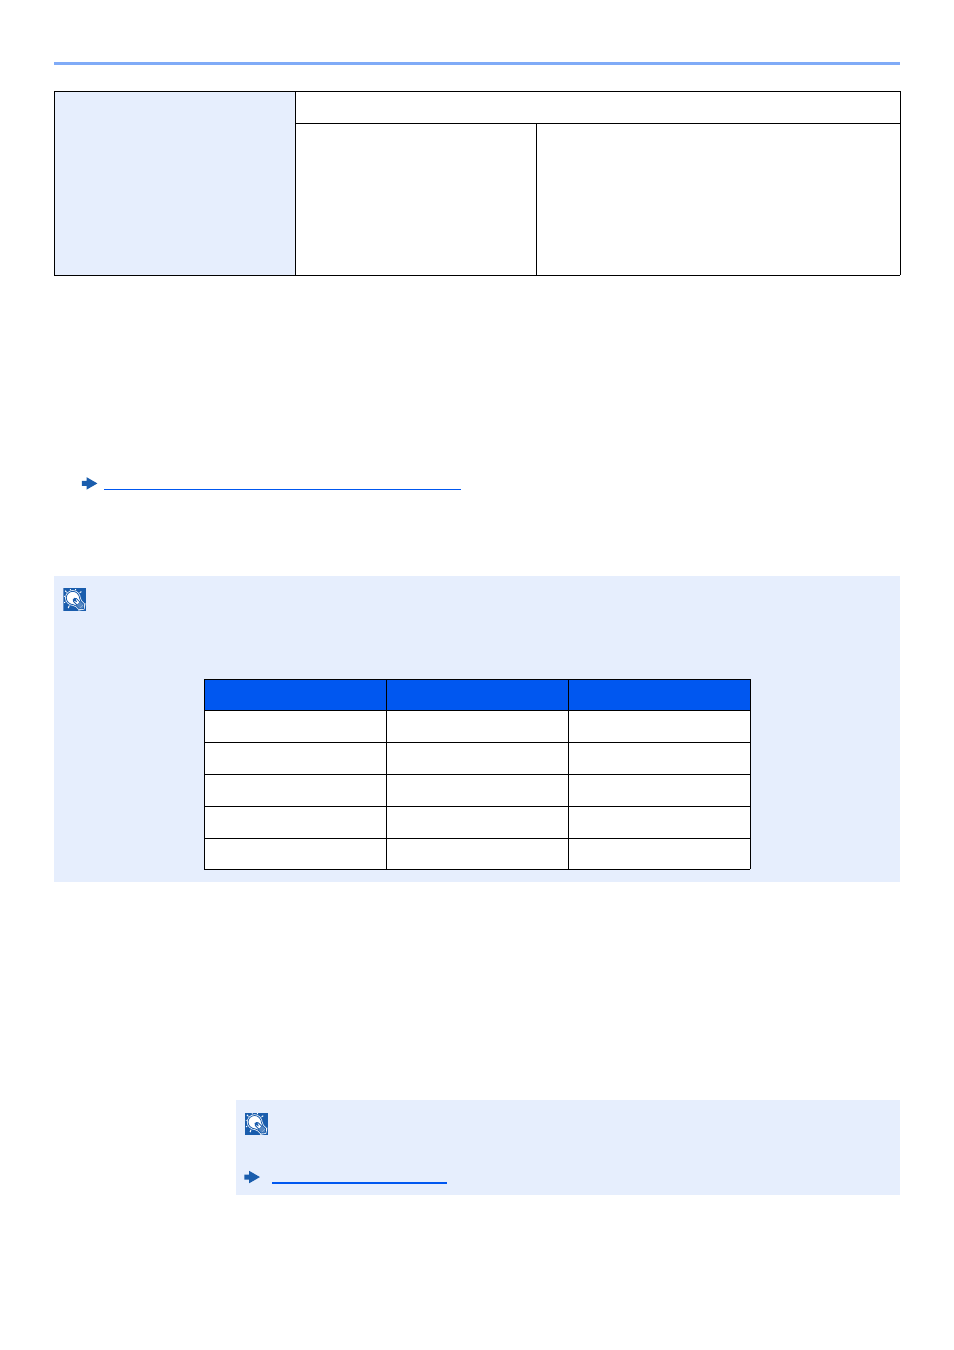
If the user authentication screen appears, enter your login user name and login password and select [Login].
The factory default login user name and login password are set as shown below.
NOTE
If you experience difficulty configuring the settings, refer to the following:
Model Name
Login User Name
Login Password
TASKalfa 2552ci
2500
2500
TASKalfa 3252ci
3200
3200
TASKalfa 4052ci
4000
4000
TASKalfa 5052ci
5000
5000
TASKalfa 6052ci
6000
6000