Display the screen, Add one touch keys – Kyocera TASKalfa 2552ci User Manual
Page 181
3-36
Preparation before Use > Registering Destinations in the Address Book
Adding a Destination on One Touch Key (One Touch
Key)
Assign a new destination (contact or group) to an one touch key. A maximum of 1,000 destinations can be registered.
1
Display the screen.
[System Menu/Counter] key > [Edit Destination] > "One Touch Key" [Add/Edit]
2
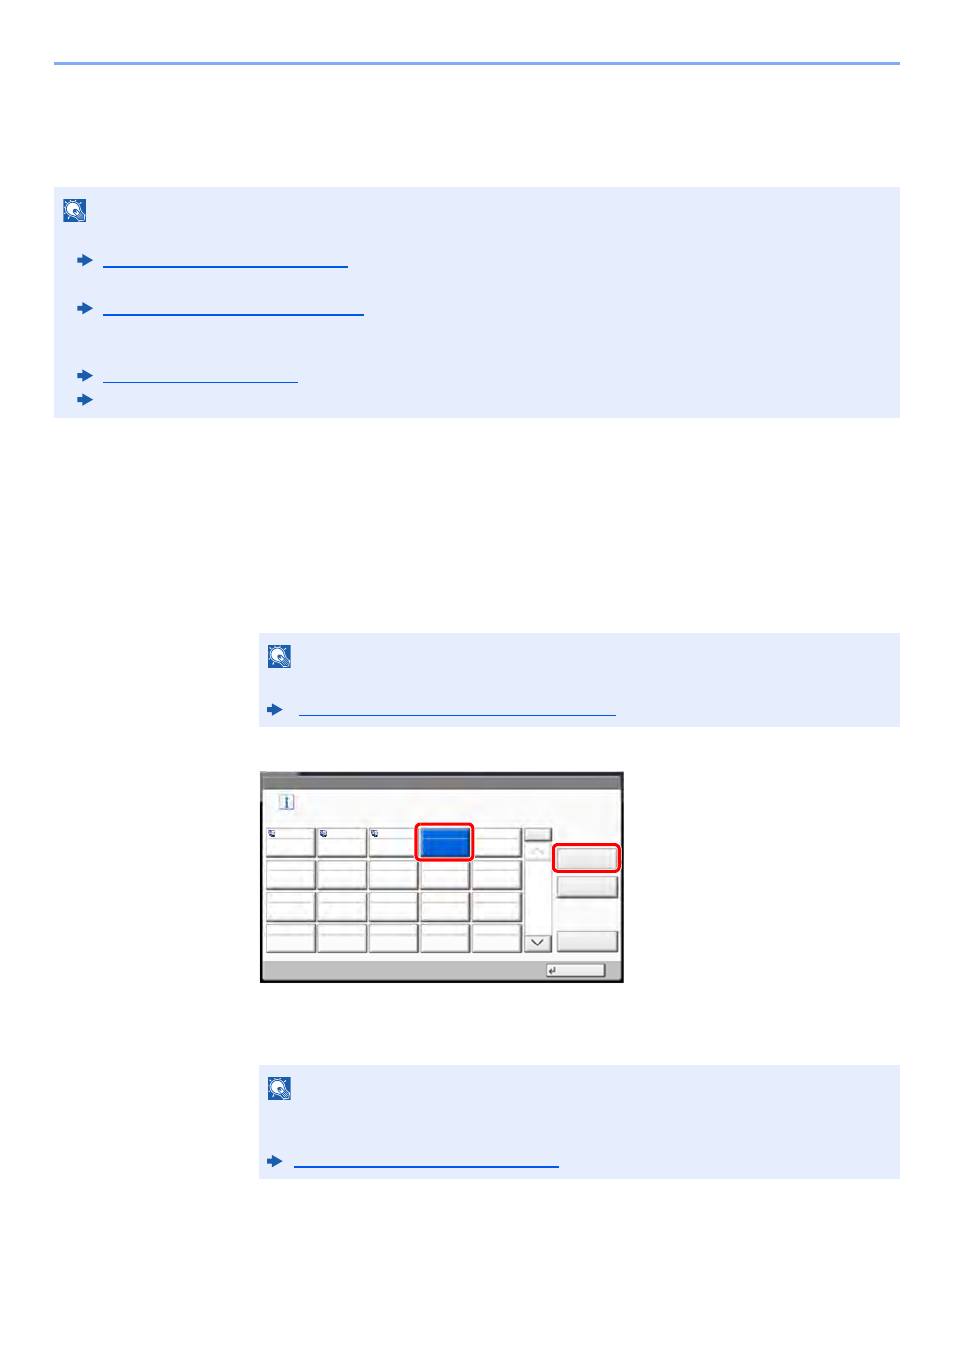
Add One Touch Keys.
1
Select a One Touch Key number (0001 to 1000) for the destination > [Add/Edit]
Selecting [No.] or the Quick No. Search key on the numeric keypad enables direct entry of
a One Touch Key number.
Select a One Touch Key with no registered destination.
2
Select "Display Name" [Change].
3
Enter the One Touch Key name displayed in the send base screen > [OK]
4
Select "Destination" [Change].
The Address Book appears.
NOTE
• Refer to the following for use of One Touch Key.
Specifying Destination (page 5-42)
• You can add One Touch keys and change their settings on Command Center RX.
Registering Destinations (page 2-69)
• If registering and editing of the One Touch Keys is restricted to administrators, you can edit the One Touch Keys by
logging in with administrator privileges.
Command Center RX User Guide
NOTE
For the Quick No. Search key, refer to the following:
Using the Quick No. Search Key (page 2-24)
NOTE
Up to 24 characters can be entered.
Refer to the following for details on entering characters.
Character Entry Method (page 11-10)
Edit Destination - One Touch Key
Add a One Touch key.
Add/Edit
No.
Delete
Detail
1/50
Close
0001
0002
0003
0004
0005
0006
0007
0008
0009
0010
0011
0012
0013
0014
0015
0016
0017
0018
0019
0020
AAA
BBB
CCC
m034701
2
1